See-through anime PSD test: 23-layer character decomposition with LayerDiff and Marigold
 Contents
See-through is a tool that takes a single anime character image as input, automatically decomposes it into semantic layers such as front hair, back hair, face, clothing, and accessories — completing hidden areas with inpainting — and outputs the result as a PSD file. The implementation combines SDXL-based LayerDiff 3D with pseudo-depth estimation using a fine-tuned Marigold.
- Paper: See-through: Single-image Layer Decomposition for Anime Characters (arXiv: 2602.03749)
- Authors: Jian Lin, Chengze Li, Haoyun Qin, Kwun Wang Chan, Yanghua Jin, Hanyuan Liu, Stephen Chun Wang Choy, Xueting Liu (Saint Francis University / Spellbrush / UPenn)
- Conference: SIGGRAPH 2026 conditionally accepted
- GitHub: shitagaki-lab/see-through
The paper was published on arXiv in February 2026 and open-sourced on GitHub in late March. @ljsabc introduced it on Twitter, though they’re not listed as a paper author.
Previously I tried facial part separation with Qwen-Image-Layered — that approach generates layer-separated versions as new images with LoRA applied from the original. See-through uses segmentation to separate the original image itself, then inpaints the hidden parts (the head behind the hair, the body under clothes). What’s visible comes from the original; what was hidden is AI-generated.
Genuinely interesting, but “put in one image and instantly get a finished Live2D character” it isn’t. Think of it as an “automatic PSD draft generator.”
What It Can Do
See-through automatically achieves the following from a single anime character image:
- Semantic layer decomposition: Splits areas like front hair / back hair / face / eyes / clothing / accessories / other body parts into RGBA layers
- Depth ordering: Automatically determines which parts are in front and which are behind
- Occlusion completion: Inpaints hidden areas like the head behind hair, the body under clothing
- PSD export: Writes the semantic decomposition — up to about 23 layers — in PSD format
Internally it combines SDXL-based LayerDiff 3D for body part consistency with a pixel-level pseudo-depth estimation adapted from Marigold. It attempts to automatically resolve interleaved structures (overlapping hair strands, accessories behind hair, clothing layers).
This Is Not Image-to-Live2D
This is not a tool that “automatically generates a complete Live2D character.”
As the authors themselves state:
Live2D requires “artistic decomposition choices + rigging.” We only automate segmentation and occlusion completion. This is a solid starting point that saves a lot of manual work.
So even with the PSD, the following remains:
- Layer re-merging, splitting, and naming cleanup
- Drawing the movable parts
- Final adjustments for Live2D
Where to Keep Expectations Realistic
It’s interesting but has limitations.
Good Fit
- Single character
- Front-facing to slightly angled
- Relatively clean coloring
- Hair/clothing/accessories follow “anime visual grammar”
Likely to Struggle
- Extremely complex frills
- Hands or props overlapping the face prominently
- Extreme perspective distortion
- Full scene illustration with background
- Heavy chibi-style deformation / broken human anatomy
- Semi-transparent materials or heavily effects-laden art
The paper’s intent is “reduce the manual decomposition workload,” not guarantee fully automated commercial-quality output.
Realistic Expectations for Trying It Today
The best use is “auto-generate a base PSD draft, then manually refine it.”
That means:
- Put in one image
- Get a PSD output
- Look at the PSD
- Keep the layers that work
- Fix only the broken ones
- Re-split and adjust for Live2D
- Final adjustments
Conversely, unrealistic expectations include:
- Instant Live2D character from this alone
- Works perfectly for any illustration
- Accessories and hair strands always separate cleanly
- Direct use in commercial work without review
Drop those expectations.
Setup Notes
The README environment setup is moderately heavy:
README requirements (examples):
- Python 3.12
- PyTorch 2.8.0
- CUDA 12.8
- Additional dependencies depending on use case: Detectron2 / SAM2 / mmcv / mmdet
On a bare Windows environment, this is the kind of thing that tends to hit snags. Don’t run your best illustration first. Start with a simple single-character standing pose where hair, face, and clothing are clearly distinct.
The main script is:
python inference/scripts/inference_psd.py \
  --srcp assets/test_image.png \
  --save_to_psd
Practical Usage Recommendations
What to evaluate:
- Are front hair and back hair separated?
- Are hidden areas around the face not broken?
- Is the front/back relationship of clothing natural?
- When opened in PSD, is the edit cost at the level of “not zero effort, but significantly reduced”?
Approach the initial test with the mindset of “will 3 hours of manual decomposition become 1 hour.”
ComfyUI Route
jtydhr88 (Terry Jia) has published ComfyUI-See-through, a third-party wrapper. Different developer from the paper authors (shitagaki-lab), with 40+ ComfyUI plugins in their catalog. They’ve already reported the ComfyUI integration in the main repo’s issue#1. If you prefer working within ComfyUI’s ecosystem, that route may be more approachable. Though stability may be lower than the research implementation itself — best to see results with the main repo first, then move to ComfyUI.
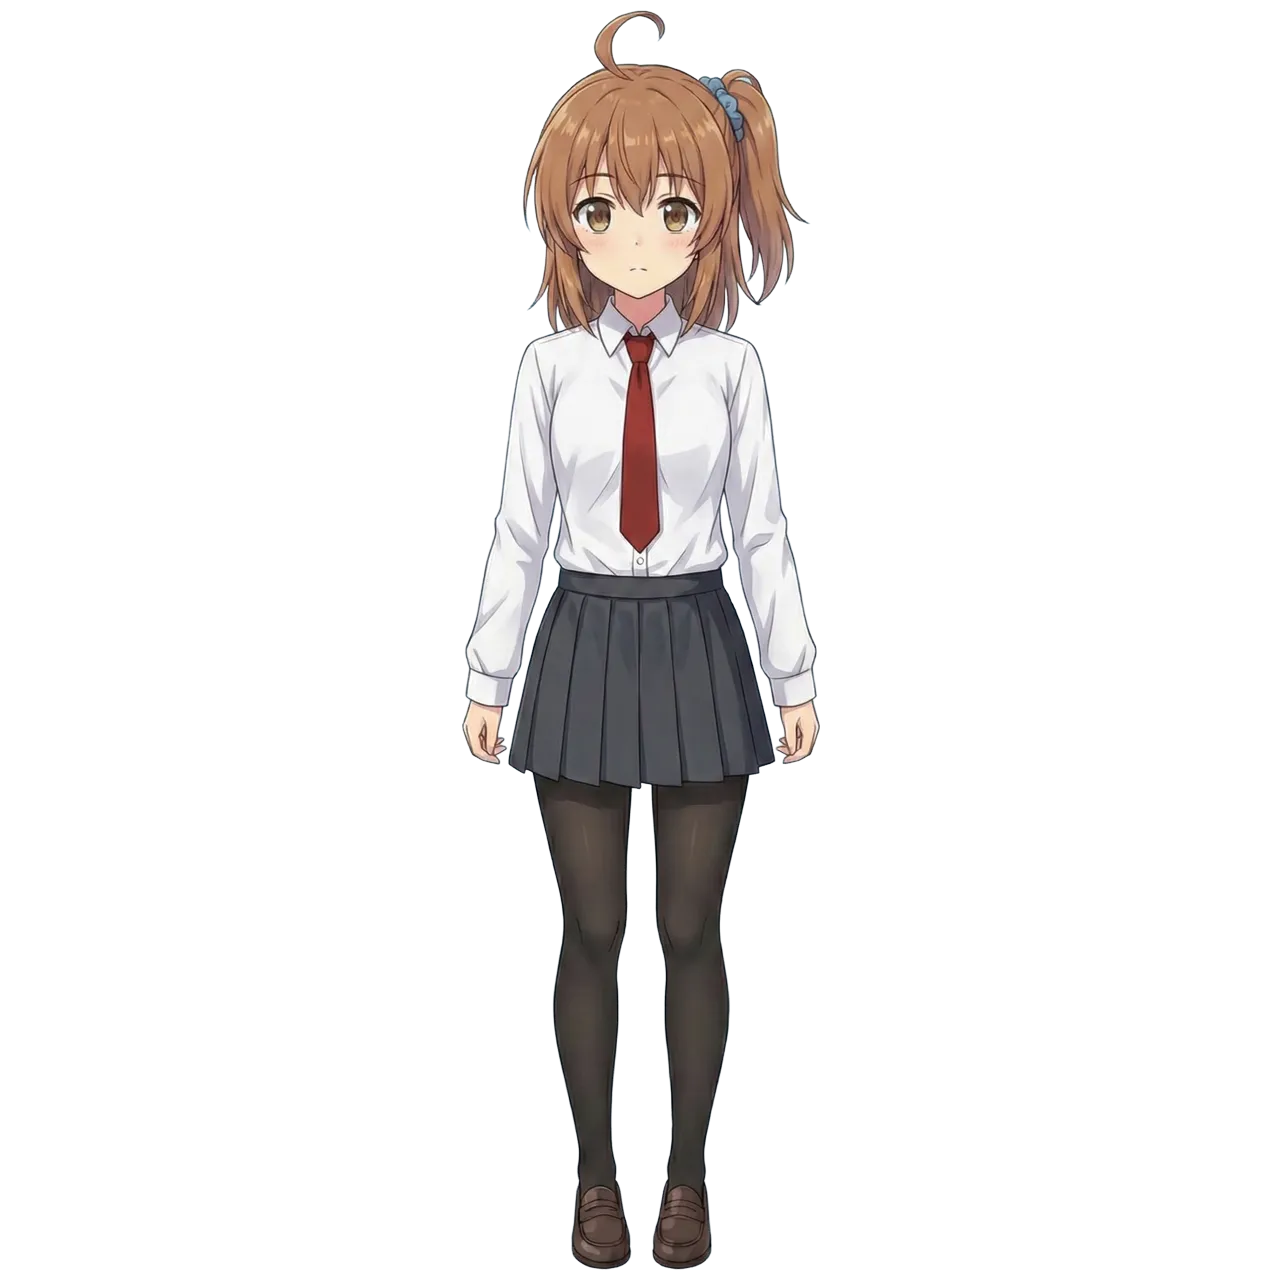
Input Image
The input for this run. 1280x1280, transparent background PNG.
Setup on RunPod × RTX PRO 6000
Models Used
See-through downloads 3 models from HuggingFace:
| Model | HuggingFace | Size | Purpose |
|---|---|---|---|
| LayerDiff 3D | layerdifforg/seethroughv0.0.2_layerdiff3d | 9.5GB | SDXL-based transparent layer generation |
| Marigold Depth | 24yearsold/seethroughv0.0.1_marigold | 3.1GB | Anime-tuned pseudo-depth estimation |
| SAM Body Parsing | 24yearsold/l2d_sam_iter2 | 1.3GB | 19-part semantic segmentation |
Total ~14GB. About 15GB including the repository.
DC Selection
To avoid switching GPUs after building a Pod due to VRAM shortage, choose a DC with inventory of multiple GPU types. Network Volumes can only attach to Pods in the same DC.
Chose EUR-IS-1 this time (RTX PRO 6000: Mid inventory, RTX 5090: Low).
Step 1: Network Volume + CPU Pod for Pre-downloading Models
Same “CPU Pod pre-download → Network Volume → GPU Pod” pattern as Qwen-Image-Layered. Wasting GPU billing time on downloads is inefficient.
Created a 50GB Network Volume. Models total 15GB so plenty of room.
Attached Network Volume to CPU Pod ($0.06/h) and ran:
cd /workspace
git clone https://github.com/shitagaki-lab/see-through.git
pip install huggingface_hub
Model download written to a script file and run with nohup. Web Terminal kills the process on disconnect so direct execution is avoided.
cat << 'EOF' > /workspace/dl.py
from huggingface_hub import snapshot_download
snapshot_download('layerdifforg/seethroughv0.0.2_layerdiff3d', local_dir='/workspace/models/layerdiff3d')
snapshot_download('24yearsold/seethroughv0.0.1_marigold', local_dir='/workspace/models/marigold')
snapshot_download('24yearsold/l2d_sam_iter2', local_dir='/workspace/models/sam_body')
print('ALL DONE')
EOF
nohup python3 /workspace/dl.py > /workspace/download.log 2>&1 &
Monitor progress with tail -20 /workspace/download.log. When ALL DONE appears, terminate the CPU Pod.
Step 2: Create GPU Pod
| Item | Setting |
|---|---|
| GPU | RTX PRO 6000 (96GB) |
| DC | EUR-IS-1 |
| Template | Runpod Pytorch 2.8.0 (runpod/pytorch:1.0.2-cu1281-torch280-ubuntu2404) |
| Network Volume | From Step 1 |
| Volume Disk | 0GB (Network Volume only) |
Wanted RTX 5090 (32GB) but no inventory. RTX PRO 6000 is around $2/h which is tight on budget, but 96GB VRAM means zero memory concerns.
Step 3: Environment Setup
Template has Python 3.12 + PyTorch 2.8.0+cu128, so no PyTorch reinstall needed. Ubuntu 24.04 blocks direct pip to system Python per PEP 668, so create a venv. --system-site-packages inherits template’s PyTorch.
python3 -m venv /workspace/venv --system-site-packages
source /workspace/venv/bin/activate
cd /workspace/see-through
pip install -r requirements.txt
Dependencies install in about 2 minutes.
Step 4: Run Inference
source /workspace/venv/bin/activate
cd /workspace/see-through
python inference/scripts/inference_psd.py \
  --srcp /workspace/input/kanachan_1280.png \
  --save_to_psd \
  --save_dir /workspace/output \
  --repo_id_layerdiff /workspace/models/layerdiff3d \
  --repo_id_depth /workspace/models/marigold
--repo_id_layerdiff and --repo_id_depth specify local model paths. Without them, it attempts to download from HuggingFace.
Time and Cost
| Step | Time | Cost |
|---|---|---|
| CPU Pod: model download | ~1 min | ~$0.00 |
| GPU Pod: environment setup | ~2 min | ~$0.07 |
| GPU Pod: model loading | ~1 min | ~$0.03 |
| GPU Pod: inference | 2 min 5 sec | ~$0.07 |
| Total | ~6 min | ~$0.17 + NV monthly |
Network Volume 50GB monthly fee is $3.50. Delete after use to stop billing.
Results
Output was a PSD (7.9MB) with 23 decomposed parts.
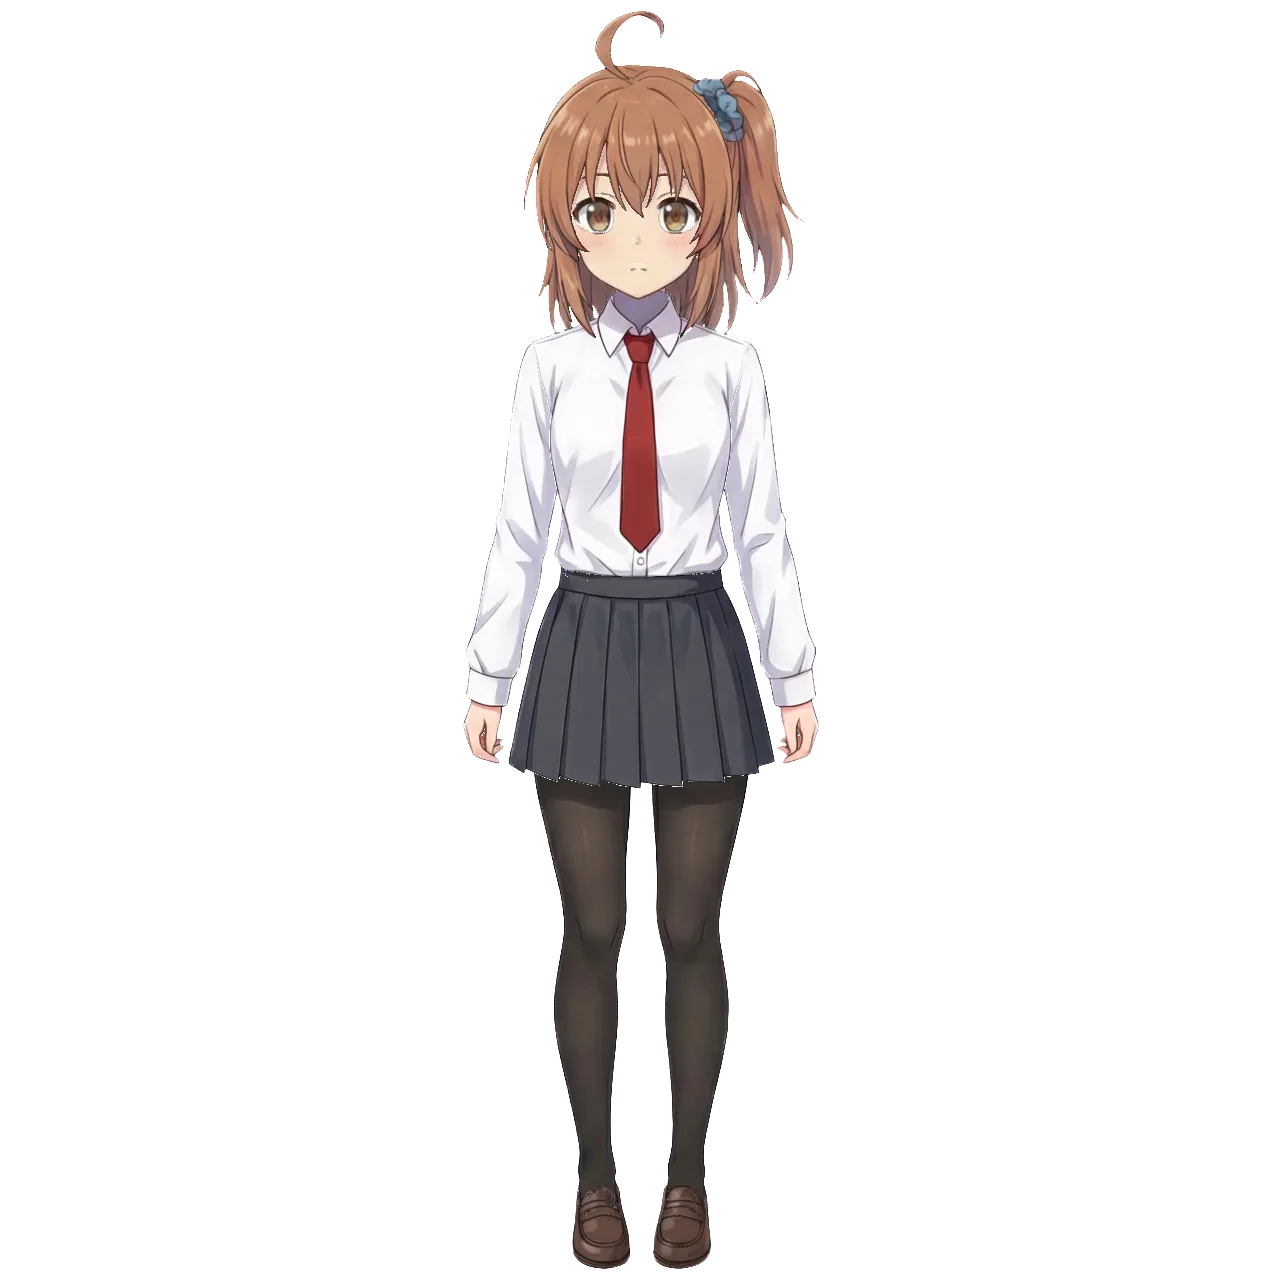
Reconstruction
Stacking all layers back together. Nearly identical to the original.
Decomposed Parts
| Part | Content | Evaluation |
|---|---|---|
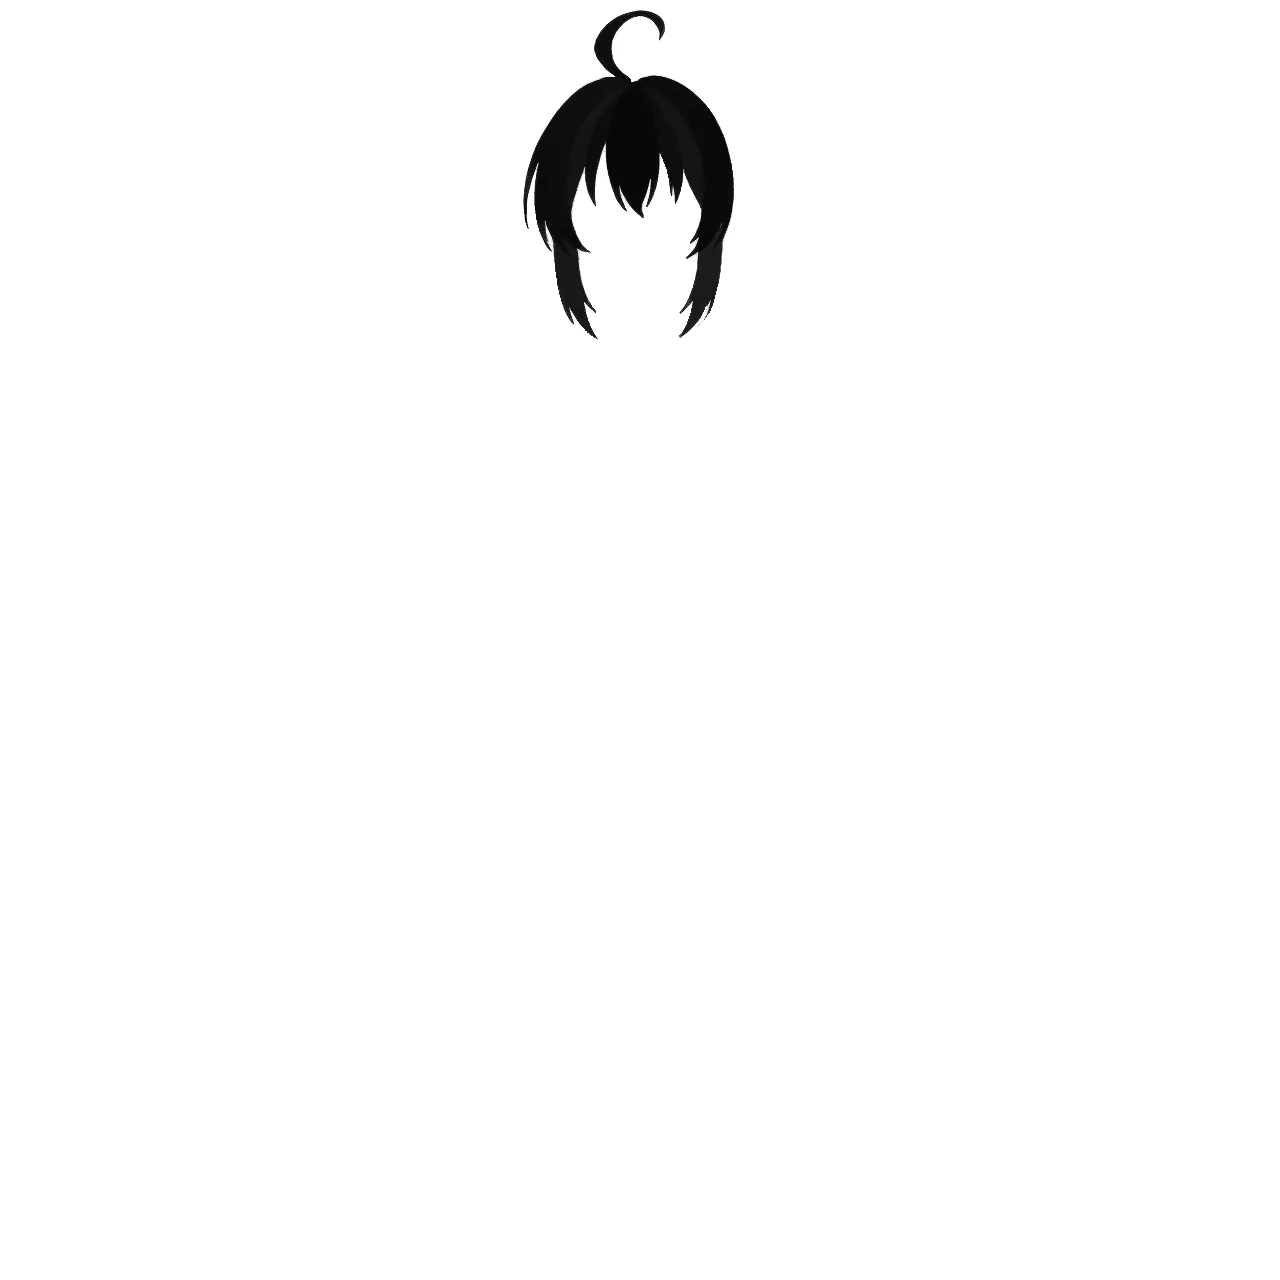
| front hair | Front hair + ahoge | Clean separation |
| back hair | Back hair | Side ponytail merged into back hair. No individual part separation |
| face | Skin of face | Good |
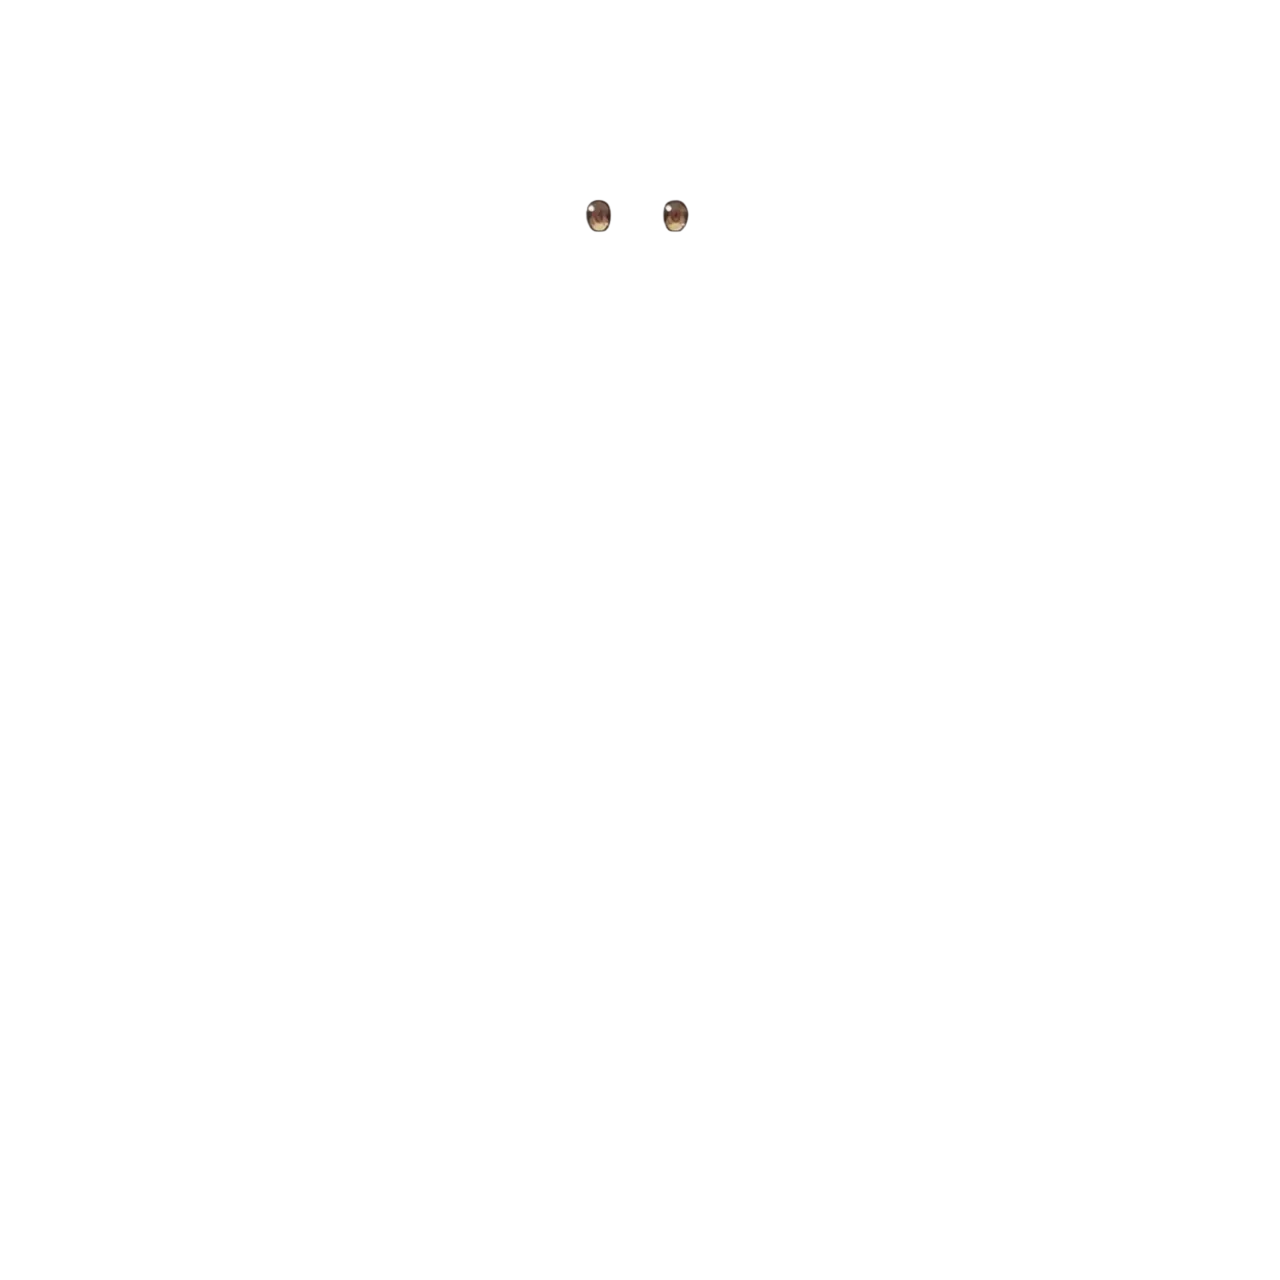
| eyebrow / eyelash / eyewhite / irides | 4 eye parts | Finely split |
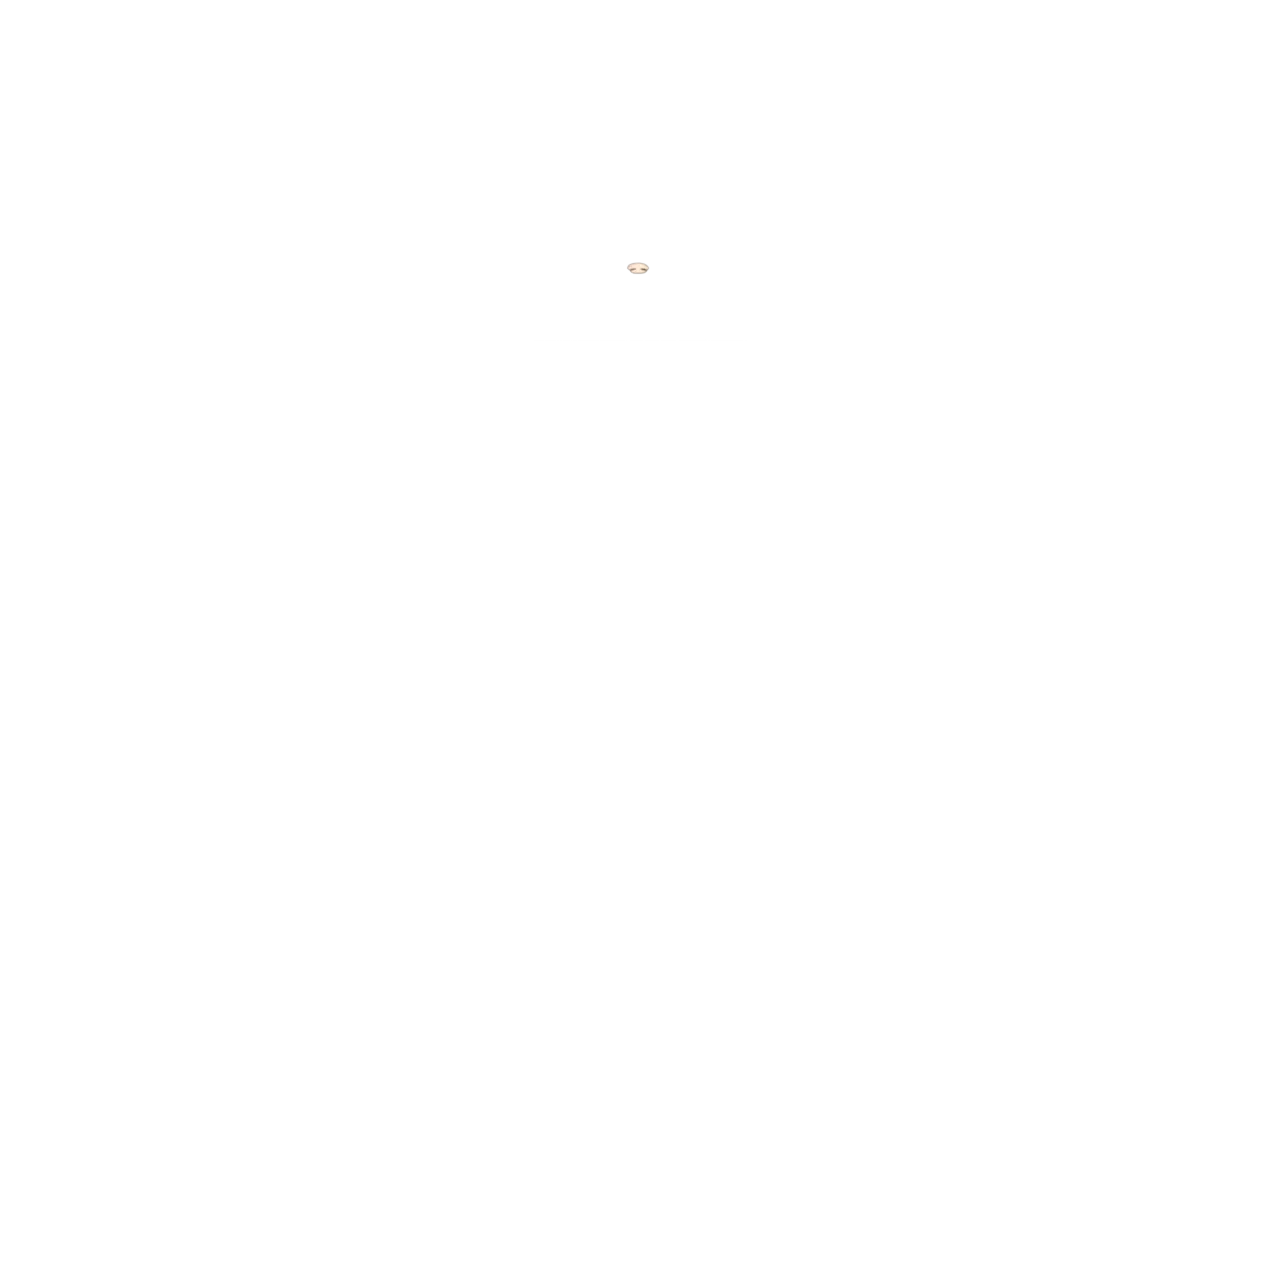
| mouth / nose | Mouth, nose | Good |
| ears / earwear | Ears, earrings | Good |
| headwear | Hair accessories (scrunchie) | Captured |
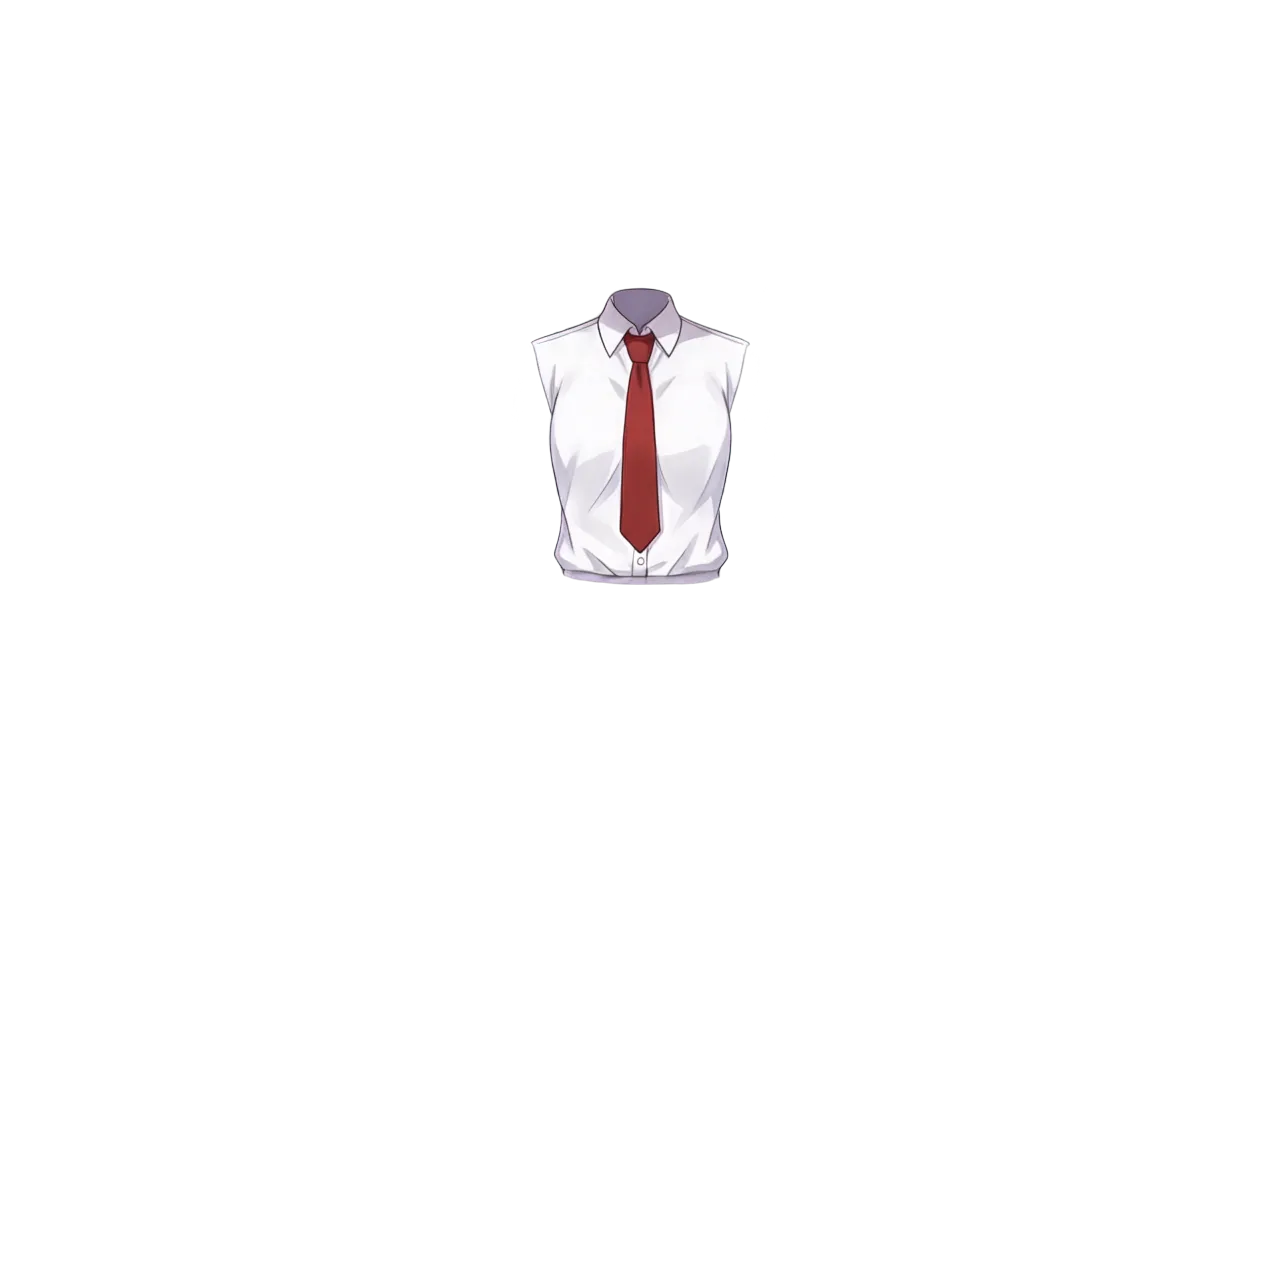
| neckwear | Necktie | Good |
| topwear | Shirt (torso area) | Sleeves separated into handwear |
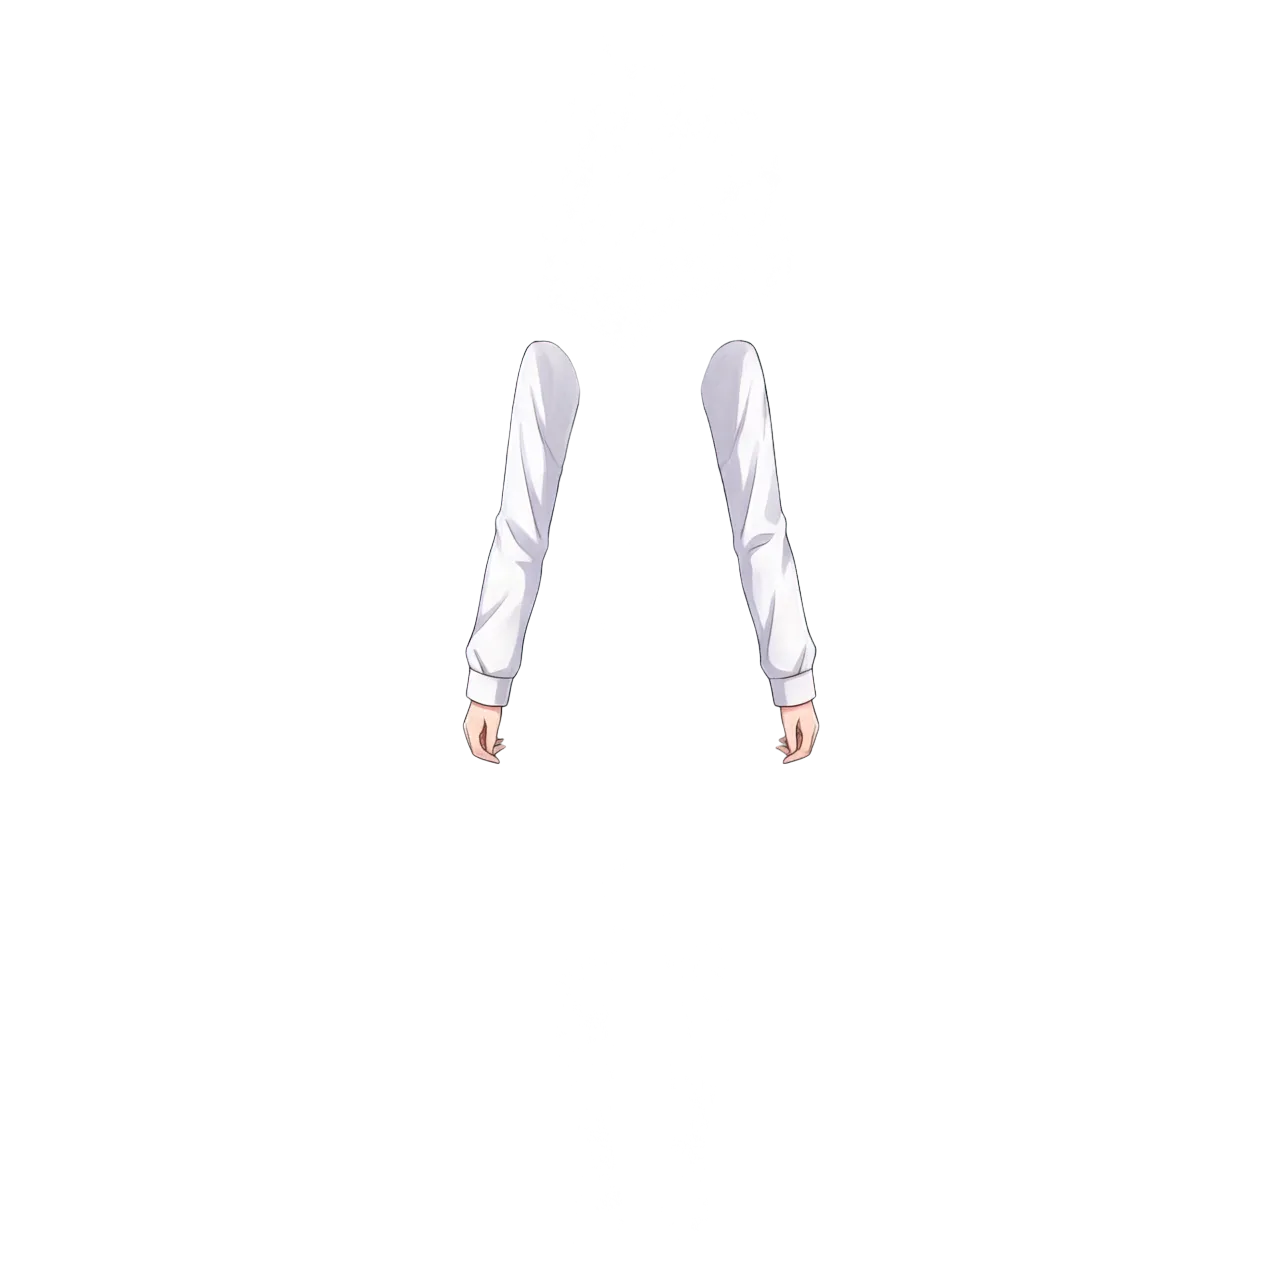
| handwear | Sleeves + hands | Clean separation |
| bottomwear | Skirt | Good |
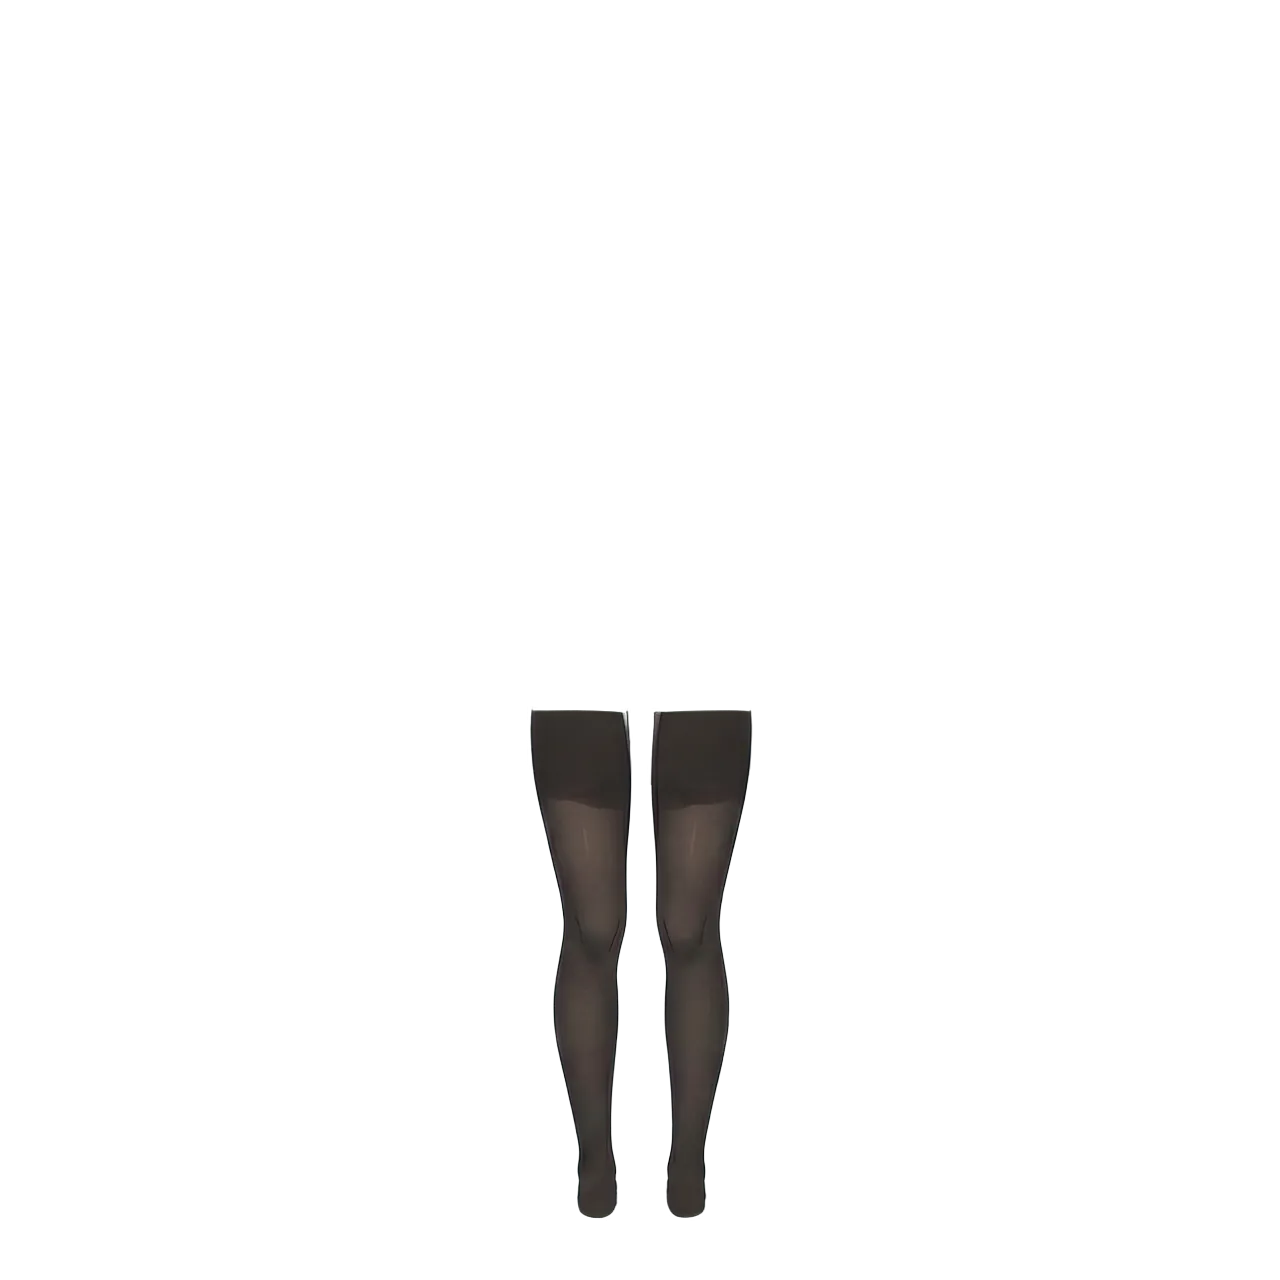
| legwear | Tights | Good (black tights are hard to see on transparent background, but they extend all the way down) |
| footwear | Shoes | Good |
| neck | Neck | Good |
| head | Full head (completion base) | Inpainted |
| tail | Tail (for kemono characters) | N/A (empty layer) |
| wings | Wings (for angel/demon characters) | N/A (empty layer) |
| objects | Props | N/A (empty layer) |
tail / wings / objects are parts for character types. This standing pose has no tail or wings, so they’re empty layers. Kemono characters or winged characters would have content here.
Sample Layer Outputs
Front hair (including ahoge, clean separation):
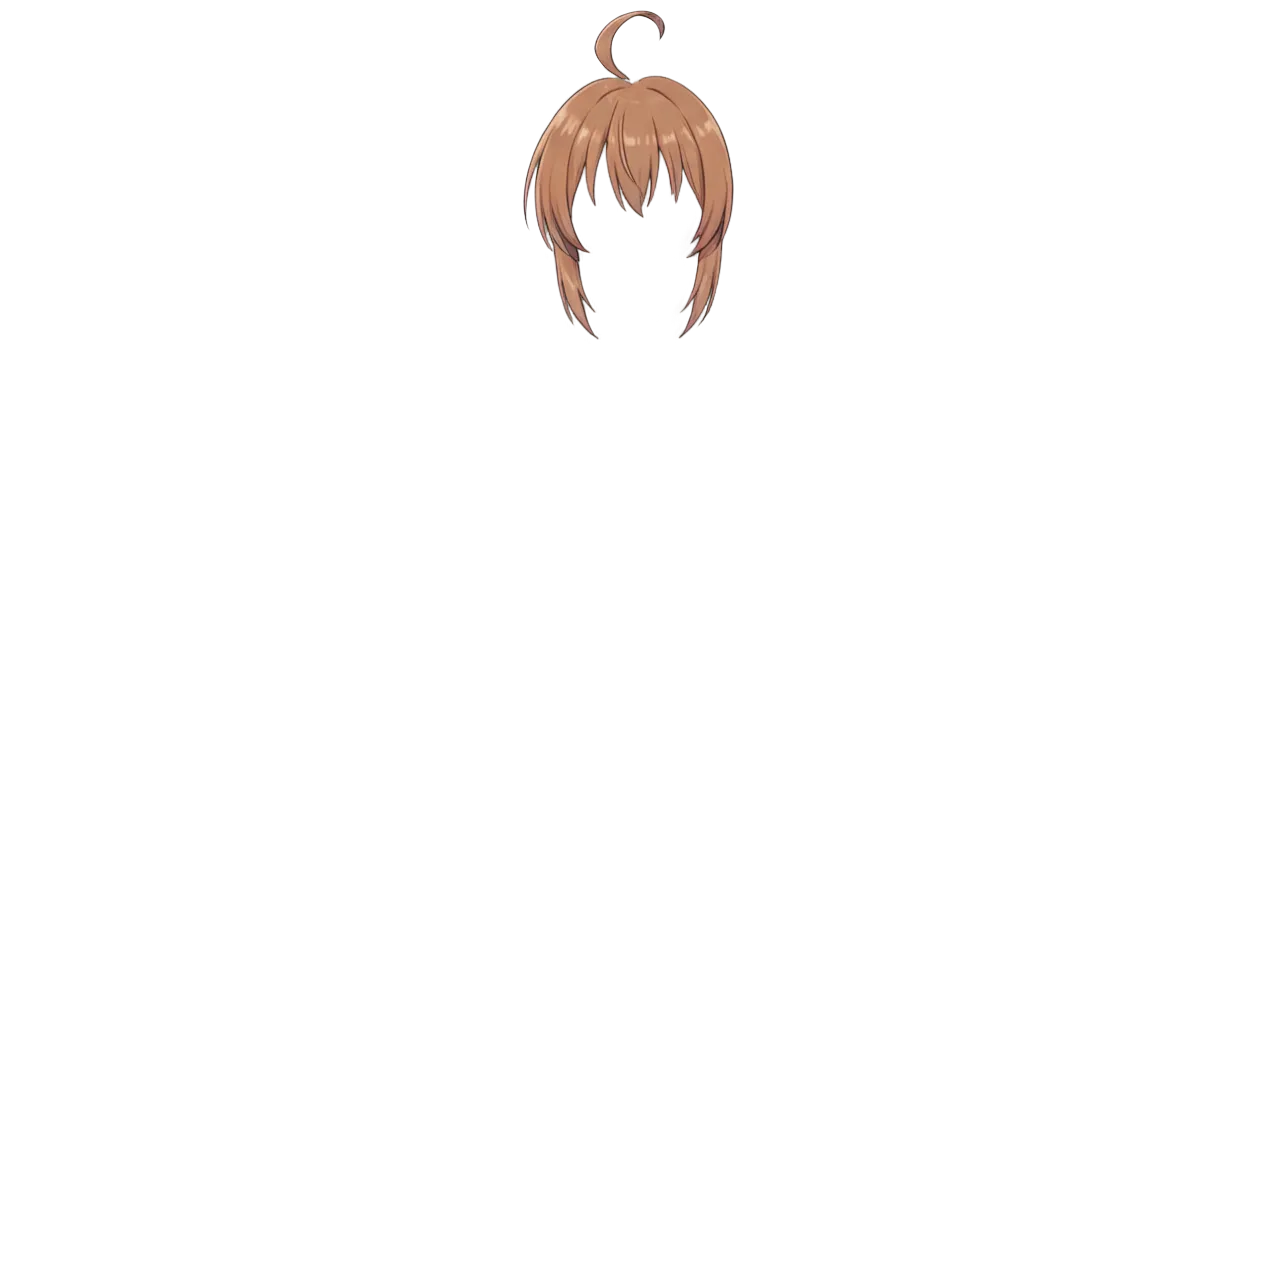
Back hair (side ponytail merged into back hair, no individual separation):

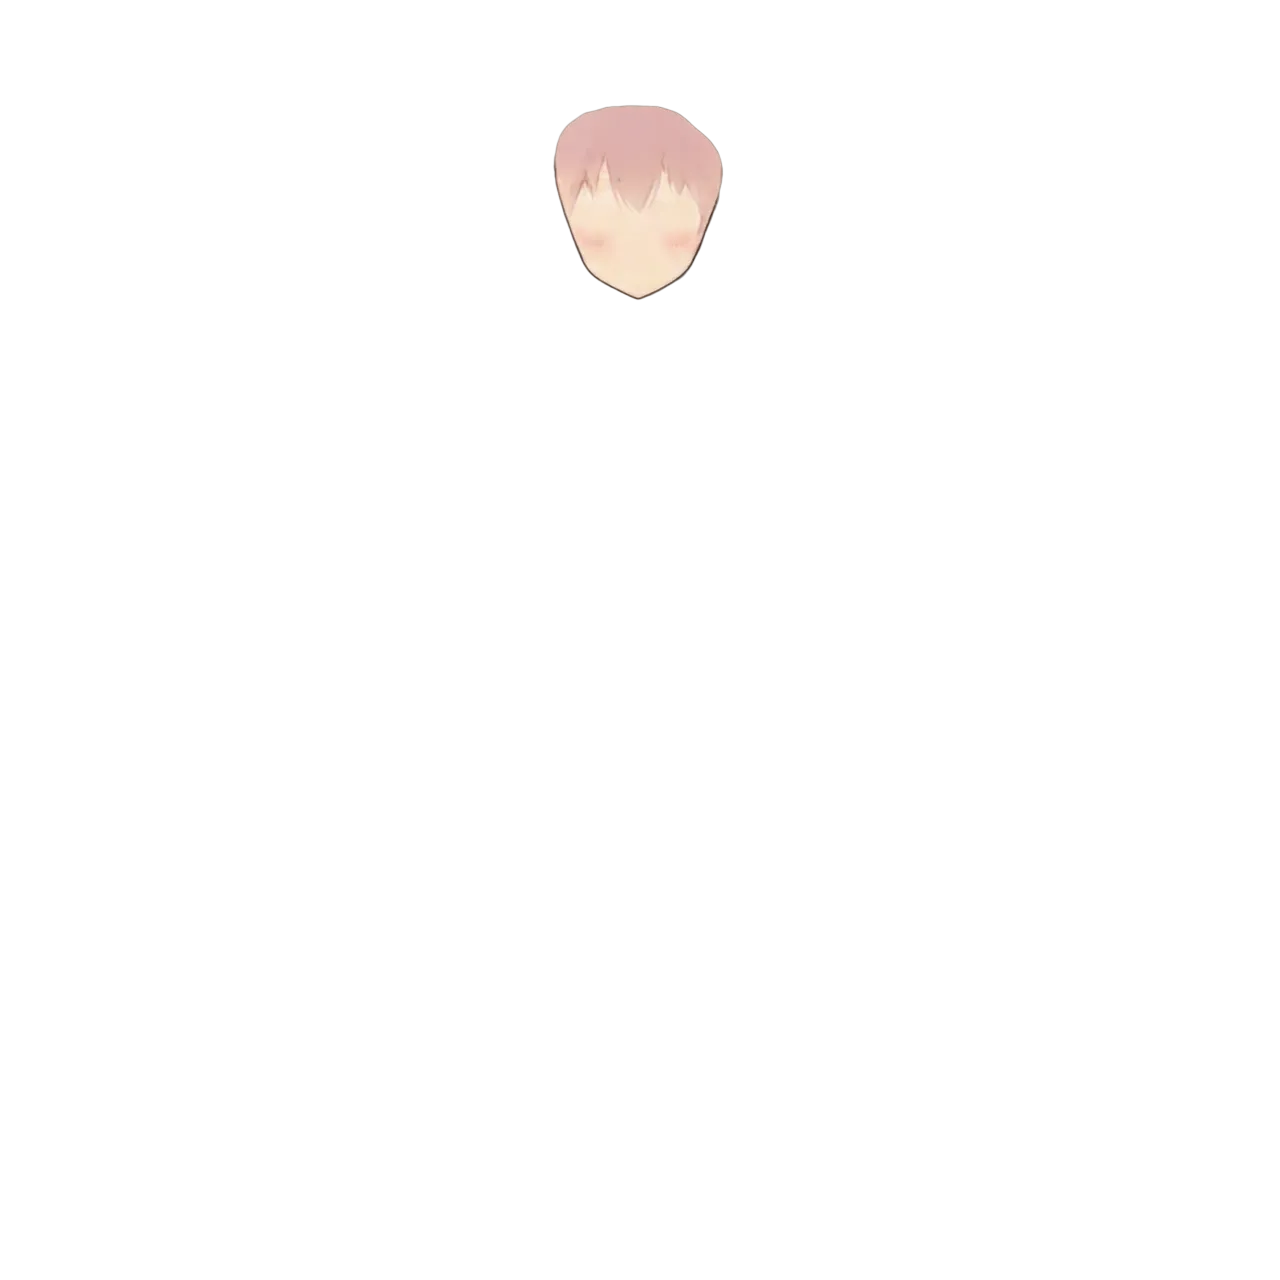
Face (skin only; eyes, eyebrows, mouth, nose are separate layers):
Eyebrow:

Iris:
Mouth:
Live2D facial expression control requires eyes, eyebrows, and mouth as independent layers. See-through splits the face into 7 parts (face / eyebrow / eyelash / eyewhite / irides / mouth / nose), far more detailed than Qwen-Image-Layered’s 3-way split (face parts / base / hair). With Qwen-Image-Layered, individually cutting out eyes, mouth, and eyebrows from face_parts was an additional step — See-through has them already separated.
Shirt (sleeves separated into handwear):
Sleeves + hands:
Tights (black tights blend with transparent background; white background shows they extend all the way down):
Shoes:

Depth Map
Each part also outputs a depth image simultaneously. A separate kanachan_1280_depth.psd is also generated.
Grayscale depth information where black is closer, white is farther. Generated internally by See-through using Marigold-based pseudo-depth estimation to determine layer ordering.
Directly unnecessary for Live2D alone, but has uses including:
- Parallax effect: 2.5D presentation moving front parts more and back parts less when moving the camera. Can use depth map as Displacement in After Effects or Blender
- Layer order reference: Basis for verifying PSD layer ordering is correct
- Depth-of-field effect: Stronger blur for more distant parts
Issues
Side ponytail not separated as an independent part: The side ponytail is included in the back hair layer, merged with the back hair. The 19-part body segmentation definition has no “ponytail” category — there’s no data structure to separate ponytails as independent elements. headwear only contains the scrunchie.
Also, src_head.png (head crop intermediate output) has the ponytail cut off:

The head region determination doesn’t treat the ponytail as part of the head, so the portion extending outside the crop bounds is lost. Back hair segmentation is performed, but the ponytail isn’t considered in the head-crop-based processing.
No footwear layer in PSD: The individual file (footwear.png) is output and footwear is in info.json. But opening the PSD reveals no footwear layer. Something in the PSD export conditions filters it out. If shoes are needed, manually add from the individual PNG to the PSD.
Feet appear cut off visually (they’re actually not): The legwear layer on a transparent background looks like feet disappeared because black tights merge with the background. Checked on white background — they’re completely separated all the way down. Watch your background color when reviewing in PSD.
Evaluation
Facial part breakdown (eyebrow / eyelash / eyewhite / iris as 4 parts) is more detailed than Qwen-Image-Layered. Front/back relationships for clothing and hair are natural, and inpainting of hidden areas works reasonably well.
However, cases like “want this separated as an independent part, but the data structure has no category for it” — like the ponytail — can’t be handled.
Can This Be Used for Live2D?
Far easier than creating a PSD from scratch. But “plug it directly into Live2D” is not possible.
Parts usable as-is:
- Face split into 7 parts (face / eyebrow / eyelash / eyewhite / irides / mouth / nose) → directly useful for Live2D expression control
- Hidden area inpaint completion → no holes when parts move
- Front/back ordering for clothing and hair → layer order can be used directly
Parts that need manual work:
- Manual ponytail separation (merged into back hair)
- Manual addition of footwear to PSD (individual PNG is output)
- Fine-tuning layer boundaries (bleed/blur handling)
- Live2D mesh setup and motion range design (this remains regardless of the method)
With Qwen-Image-Layered, the issue was “need to individually cut out eyes, mouth, eyebrows from the 3-way split.” See-through’s issue is “already finely split, but can’t handle non-defined parts.” The approaches are also different (Qwen-Image-Layered separates during generation; See-through decomposes an existing image after the fact), so there’s a natural division: See-through for making use of existing illustrations, Qwen-Image-Layered for separating generated images.
Ponytail Problem Analysis
This isn’t a SAM recognition accuracy issue — it’s a data structure issue. The 19-part body segmentation definition has front hair / back hair but no “ponytail” category. The side ponytail is recognized as back hair, but it outputs merged with the back hair. Manual separation is the only option.
Additionally, the ponytail is cut off at the head crop stage. The head region determination doesn’t treat the ponytail as part of the head, so the portion outside the crop bounds is lost. Two problems overlap: a segmentation issue and a head crop issue.
Combining Both Tools
A hybrid approach could work: use See-through to decompose the full body, then use Qwen-Image-Layered for facial expression variants only. Qwen-Image-Layered can generate the 3-way split (face parts / base / hair) with specific expressions via prompts, making it suited for expression variations like eye closing and mouth opening.
- See-through: One standing pose → 23-part full body decomposition → Live2D base structure
- Qwen-Image-Layered: Generate facial expression variants → blink, open mouth, etc.
However, Qwen-Image-Layered runs at ~40GB BF16, with inference taking 75 seconds/image (resolution=640) to 240 seconds/image (resolution=1024). Compared to See-through’s 2 minutes 5 seconds for the full 23 parts, it’s quite heavy — for just the face.
This speed difference comes from the approach. Qwen-Image-Layered uses a 40GB generative model to regenerate the entire image from scratch — full inference runs per image. See-through segments the existing image and only inpaints the hidden parts, no need to regenerate the whole thing. “Generate everything” vs “complete only what’s needed” maps directly to processing time.
Running both on a single Pod isn’t impossible, but even with RTX PRO 6000 (96GB), simultaneous loading would be tight. Sequential use is the realistic approach.
Today’s test was with a neutral-expression standing pose, but for serious Live2D use, an input image with a slight smile and slightly open mouth would probably work better. With a flat line for a mouth, getting mouth movement parts to work in Live2D is harder.