Controlling the "Mini Printer Sugar" Bluetooth Mini Printer from a PC
 Contents
Update 2026-05-12: Sequel post — added halftone preprocessing and identified a vendor-specific density command 1D 49 F0 nn to get the same sharp photo quality as the official app → Sugar YMP-01 thermal printer on M1 Mac: halftone + 1D 49 F0 nn density command
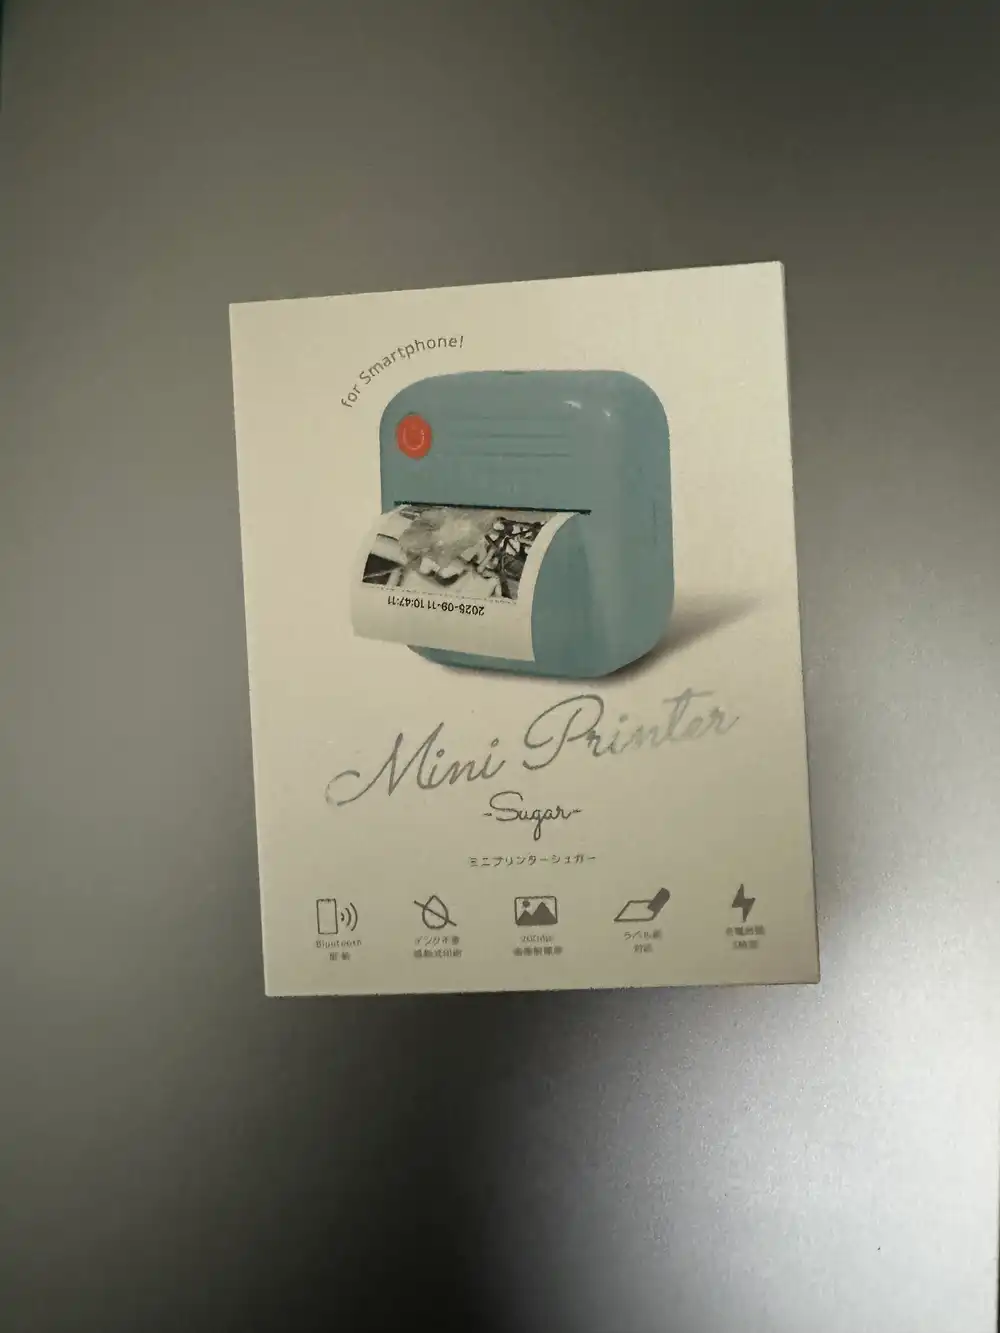
The “Mini Printer Sugar” Bluetooth thermal mini printer by Ale Co., Ltd. It’s 5,000-ish yen on BicCamera.com, but I found it at Akihabara Akibaoo for about 1,000 yen, so I picked one up to play with. It’s designed to only print from a dedicated smartphone app, but I want to control it directly from a PC.
Specs
| Item | Spec |
|---|---|
| Print method | Thermal (no ink required) |
| Resolution | 200dpi |
| Connectivity | Bluetooth (BLE) |
| Power | USB rechargeable |
| Size | W81 x D85 x H45mm / 146g |
BLE Scan and Service Discovery
Scanning with Python + bleak:
pip install bleakimport asyncio
from bleak import BleakScanner
async def scan():
devices = await BleakScanner.discover(timeout=5.0)
for d in sorted(devices, key=lambda x: x.rssi, reverse=True):
print(f"{d.rssi:4d} dBm | {d.name or '(unknown)':20s} | {d.address}")
asyncio.run(scan())Device detected as YMP-01.
Connecting and inspecting services revealed this structure:
| Item | UUID |
|---|---|
| Service | 49535343-fe7d-4ae5-8fa9-9fafd205e455 |
| TX (Write) | 49535343-8841-43f4-a8d4-ecbe34729bb3 |
| RX (Notify) | 49535343-1e4d-4bd9-ba61-23c647249616 |
This is ISSC (Microchip)‘s Transparent UART service, a generic profile for serial communication over BLE. It’s different from the “Cat Printer protocol” (Service UUID 0000AE30) commonly seen in cheap BLE thermal printers, so Cat Printer libraries won’t work directly.
Identifying the Protocol
Sending Cat Printer-style commands (magic bytes 0x51 0x78) got no response. Trying ESC/POS commands succeeded in advancing paper.
import asyncio
from bleak import BleakScanner, BleakClient

TX_UUID = "49535343-8841-43f4-a8d4-ecbe34729bb3"

async def feed():
    devices = await BleakScanner.discover(timeout=5.0)
    target = next((d for d in devices if d.name and "YMP" in d.name), None)
    if not target:
        print("YMP not found")
        return

    async with BleakClient(target.address) as client:
        # ESC @ = printer initialization
        await client.write_gatt_char(TX_UUID, bytes([0x1B, 0x40]))
        await asyncio.sleep(1)

        # ESC J n = advance paper n dots
        await client.write_gatt_char(TX_UUID, bytes([0x1B, 0x4A, 0x30]))
        await asyncio.sleep(1)

        # LF x3 = 3 line feeds
        await client.write_gatt_char(TX_UUID, bytes([0x0A, 0x0A, 0x0A]))

asyncio.run(feed())
This printer accepts ESC/POS commands over BLE. ESC/POS is the industry standard protocol for thermal receipt printers, with widely documented command sets.
Printing Images
Sending images using the ESC/POS bitmap print command GS v 0 (0x1D 0x76 0x30). The image is converted to grayscale → threshold binarized at 128 → converted to 1 bit/pixel bitmap and sent.
import asyncio
from bleak import BleakScanner, BleakClient
from PIL import Image

TX_UUID = "49535343-8841-43f4-a8d4-ecbe34729bb3"

def image_to_escpos(img_path, max_width=384):
    img = Image.open(img_path).convert("RGBA")
    # composite transparent area onto white background
    bg = Image.new("RGBA", img.size, (255, 255, 255, 255))
    bg.paste(img, mask=img.split()[3])
    img = bg.convert("L")

    # resize to fit printer width
    w, h = img.size
    if w > max_width:
        ratio = max_width / w
        img = img.resize((max_width, int(h * ratio)))
    w, h = img.size

    # pad width to multiple of 8
    pad_w = (w + 7) // 8 * 8
    if pad_w != w:
        padded = Image.new("L", (pad_w, h), 255)
        padded.paste(img, (0, 0))
        img = padded
        w = pad_w

    # threshold binarize
    img = img.point(lambda x: 0 if x < 128 else 255, "1")
    bytes_per_line = w // 8

    # GS v 0: 1D 76 30 m xL xH yL yH [data]
    header = bytes([
        0x1D, 0x76, 0x30, 0x00,
        bytes_per_line & 0xFF, (bytes_per_line >> 8) & 0xFF,
        h & 0xFF, (h >> 8) & 0xFF,
    ])

    # PIL 1-mode: 0=black, ESC/POS: 1=black, so invert
    raw = img.tobytes()
    inverted = bytes([~b & 0xFF for b in raw])
    return header + inverted

async def print_image():
    devices = await BleakScanner.discover(timeout=5.0)
    target = next((d for d in devices if d.name and "YMP" in d.name), None)
    if not target:
        print("YMP not found")
        return

    async with BleakClient(target.address) as client:
        await client.write_gatt_char(TX_UUID, bytes([0x1B, 0x40]))
        await asyncio.sleep(0.5)

        data = image_to_escpos("image.png")

        # BLE MTU limit, so send in chunks
        chunk_size = 100
        for i in range(0, len(data), chunk_size):
            await client.write_gatt_char(TX_UUID, data[i:i+chunk_size])
            await asyncio.sleep(0.05)

        await asyncio.sleep(1)
        await client.write_gatt_char(TX_UUID, bytes([0x0A, 0x0A, 0x0A]))

asyncio.run(print_image())
Tested several patterns. Note: this printer ejects paper from the bottom, so bitmaps sent top-first print upside down. Images need to be rotated 180 degrees before sending.
1. 256x256 as-is + threshold binarization
Sent the original 256px image without resizing. No rotation correction.
- Send size: 256x256
- Binarization: threshold 128
- Rotation: none (prints inverted)

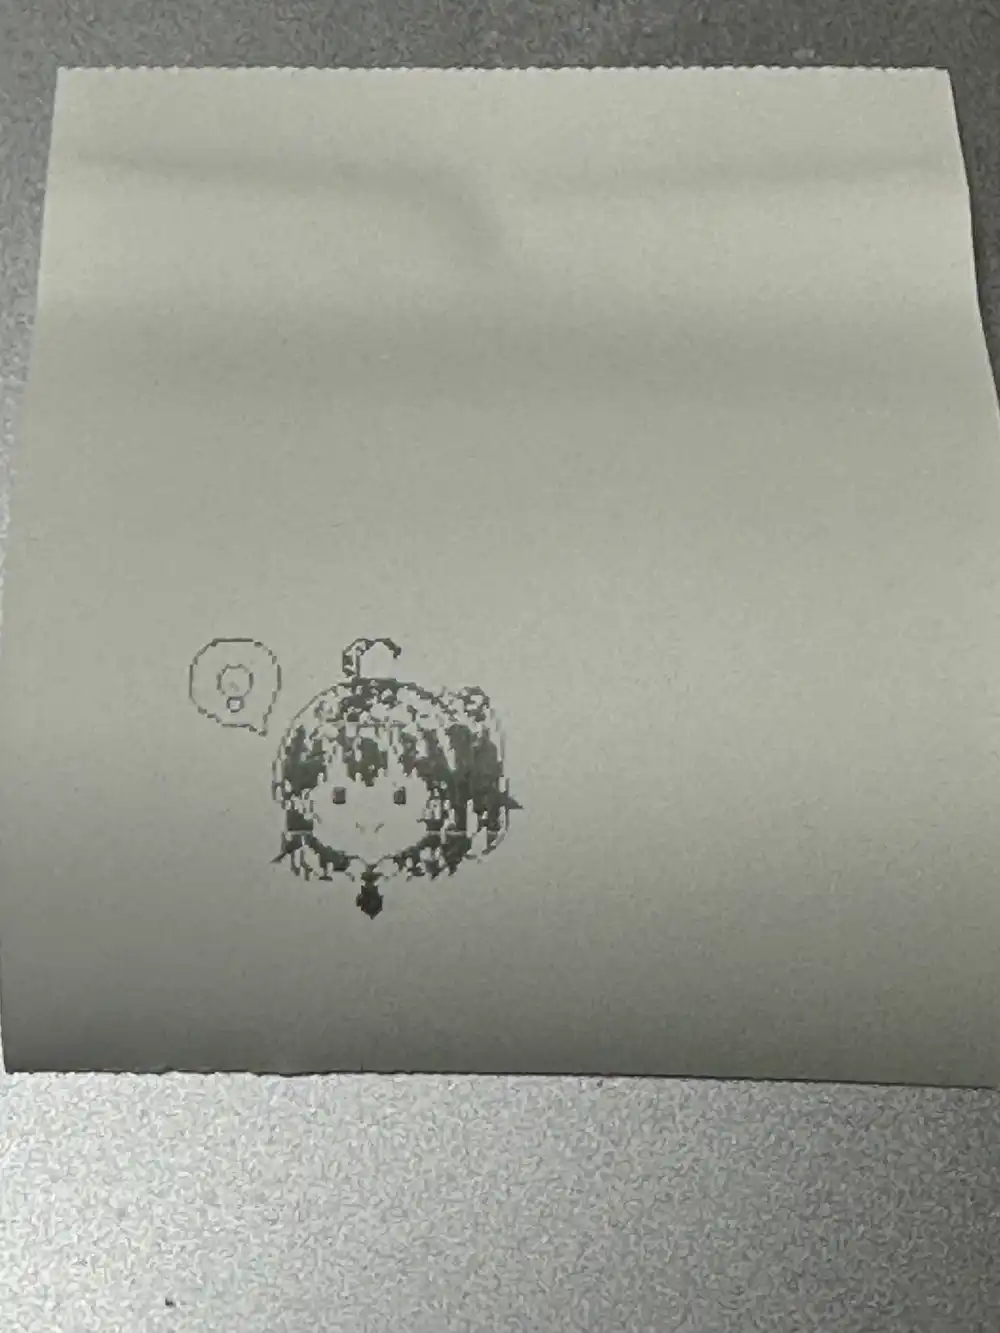
Small size, but best crispness for pixel art.
2. 384px enlarged + Floyd-Steinberg dithering
Expanded to full printer width with PIL’s Floyd-Steinberg dithering for binarization.
- Send size: 384x384 (NEAREST upscale)
- Binarization: Floyd-Steinberg dithering
- Rotation: none (prints inverted)
Dithering dot patterns interfered with pixel art dots and actually made it blurrier. Dithering isn’t suitable for pixel art.
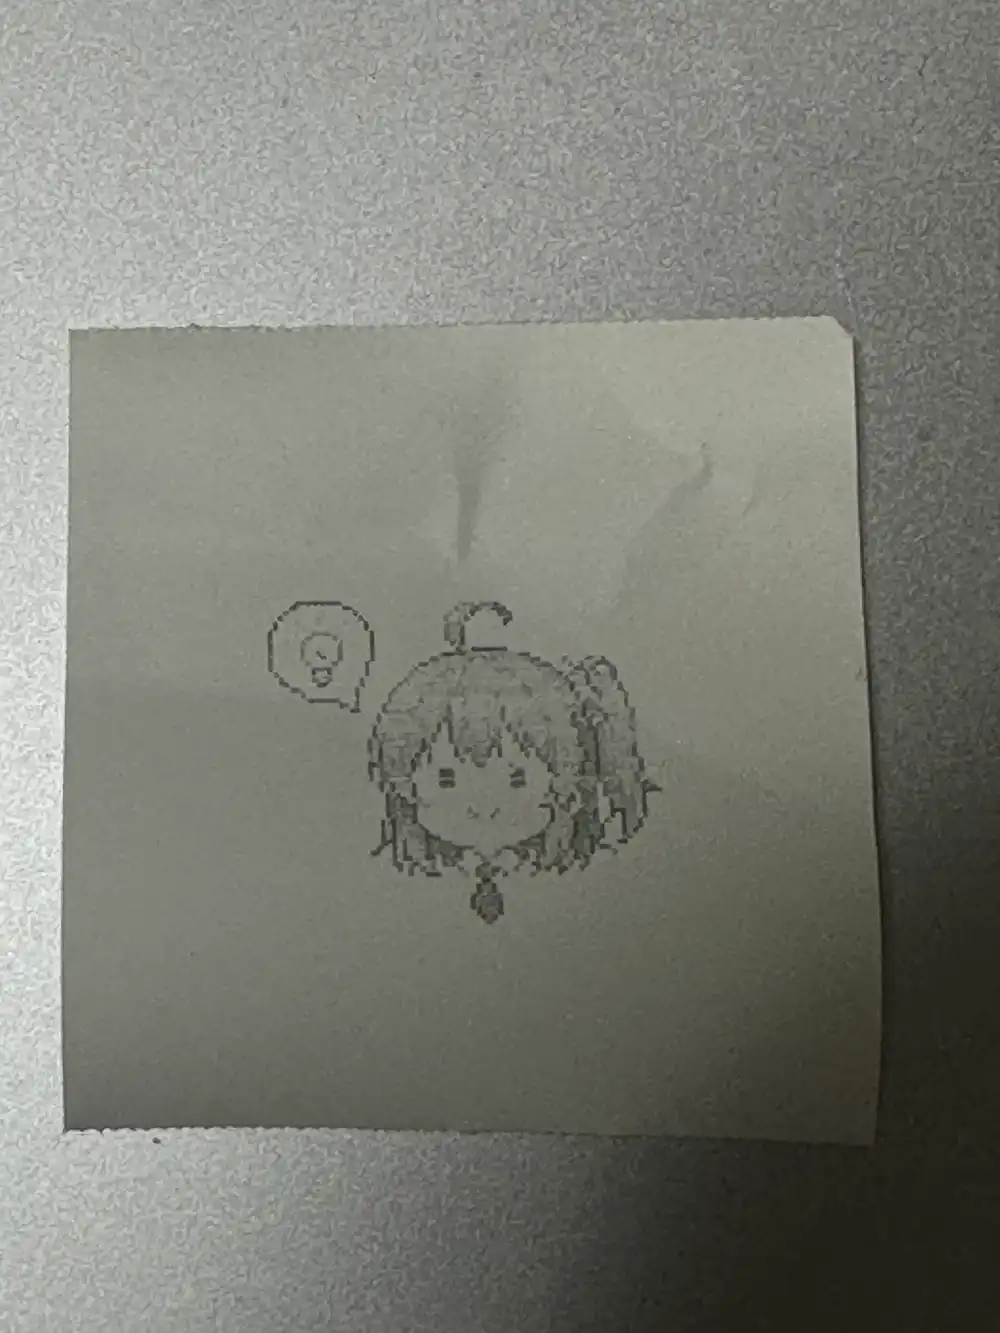
3. 384px enlarged + threshold binarization
Enlarged to 384px without dithering.
- Send size: 384x384 (NEAREST upscale)
- Binarization: threshold 128
- Rotation: none (prints inverted)
256→384 is a 1.5x scale factor, which doesn’t divide evenly, causing uneven pixel scaling and visible jaggies.
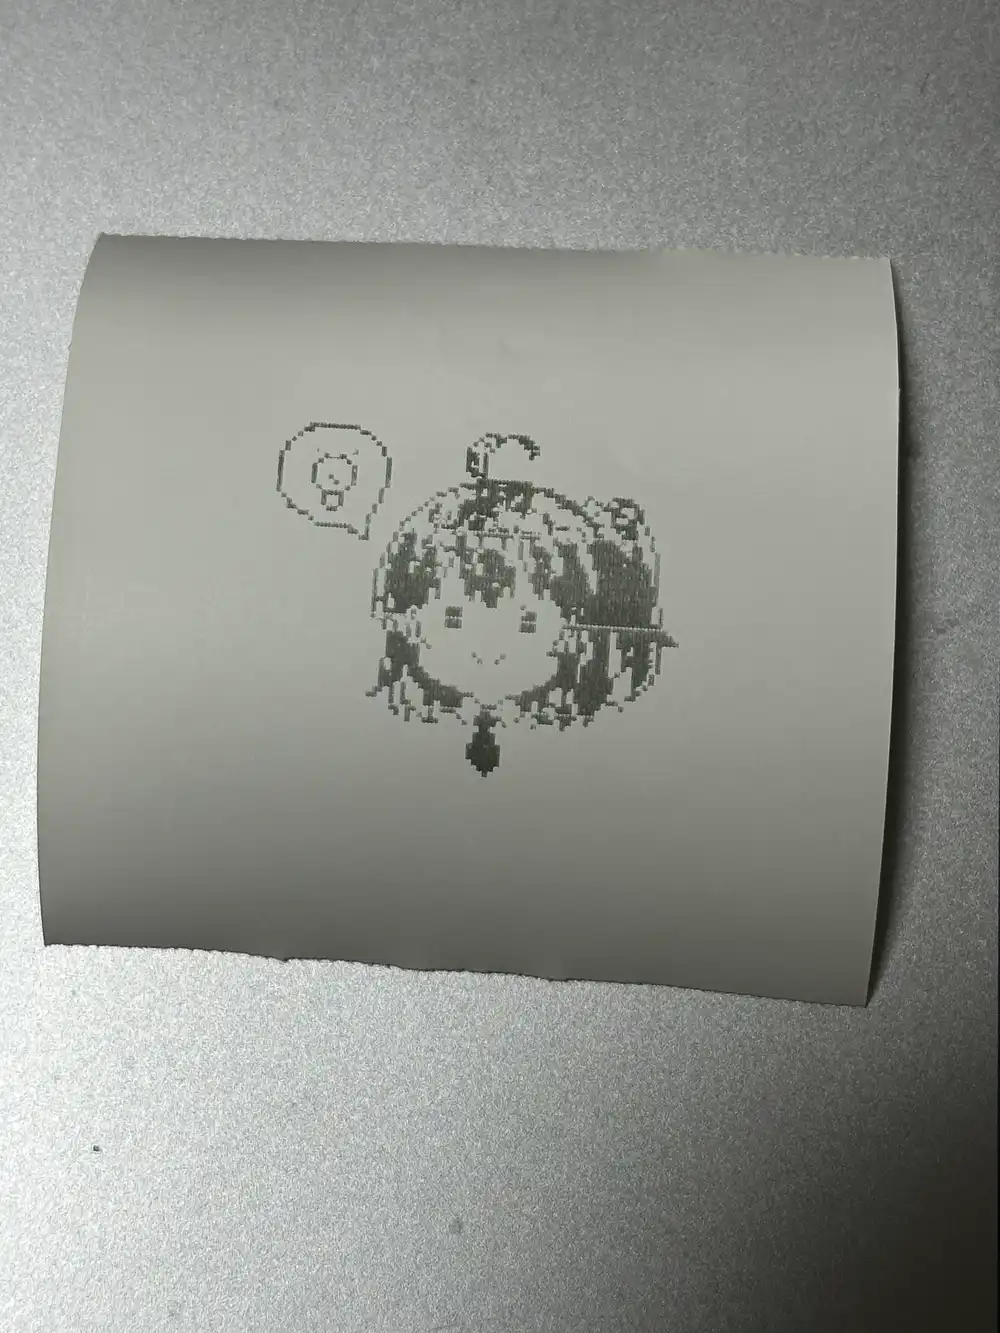
4. Full-body illustration + 180 degree rotation
Different pixel art (full body) with 180 degree rotation applied.
- Send size: 384x384 (NEAREST upscale)
- Binarization: threshold 128
- Rotation: 180 degrees (prints correctly oriented)

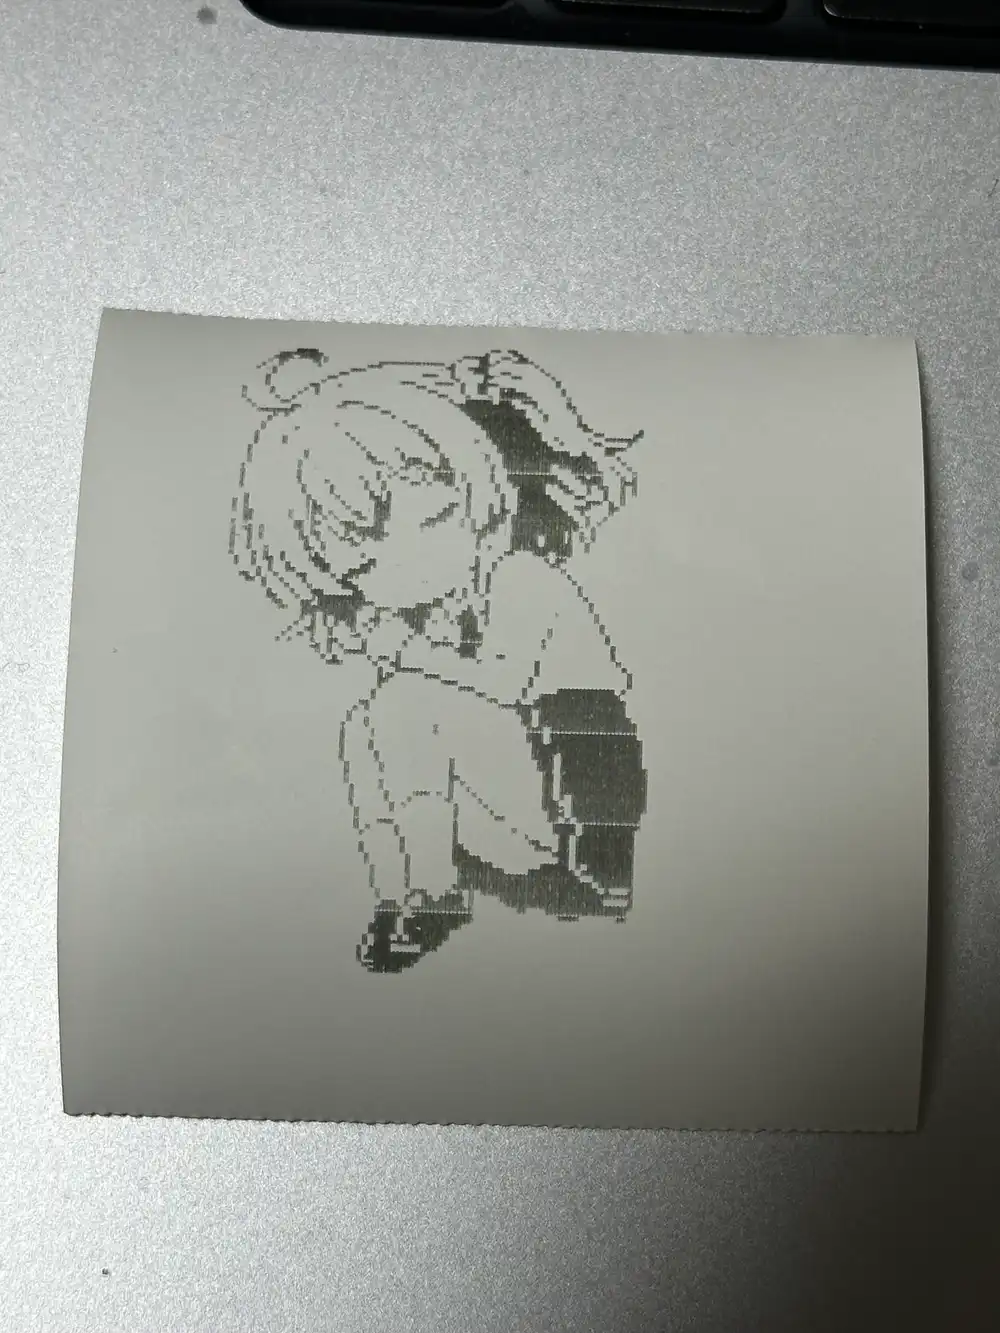
Orientation came out correct. Hair mid-tones blowing out is the limit of threshold binarization — this is about the best a 200dpi thermal printer can do.
5. Screentone line art + threshold 128
Tested with manga-style screentone line art.
- Send size: 384x530
- Binarization: threshold 128
- Rotation: 180 degrees
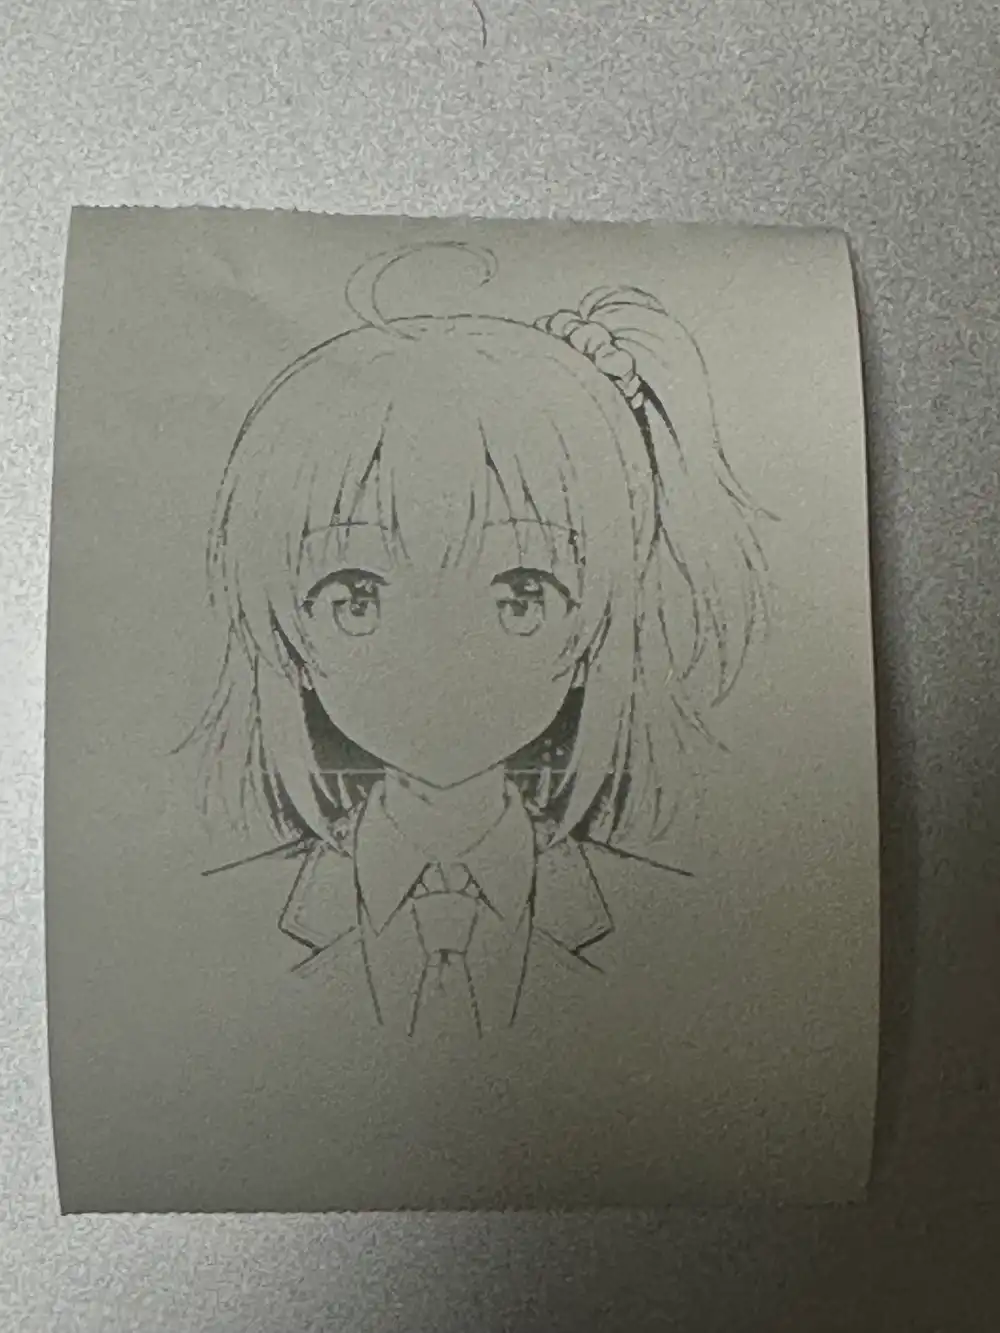
Lines are there, but hair and skin tones (light gray dot patterns) are blown out to white at threshold 128.
6. Screentone line art + threshold 200
Same line art, raised threshold to 200 and reprinted.
- Send size: 384x530
- Binarization: threshold 200
- Rotation: 180 degrees
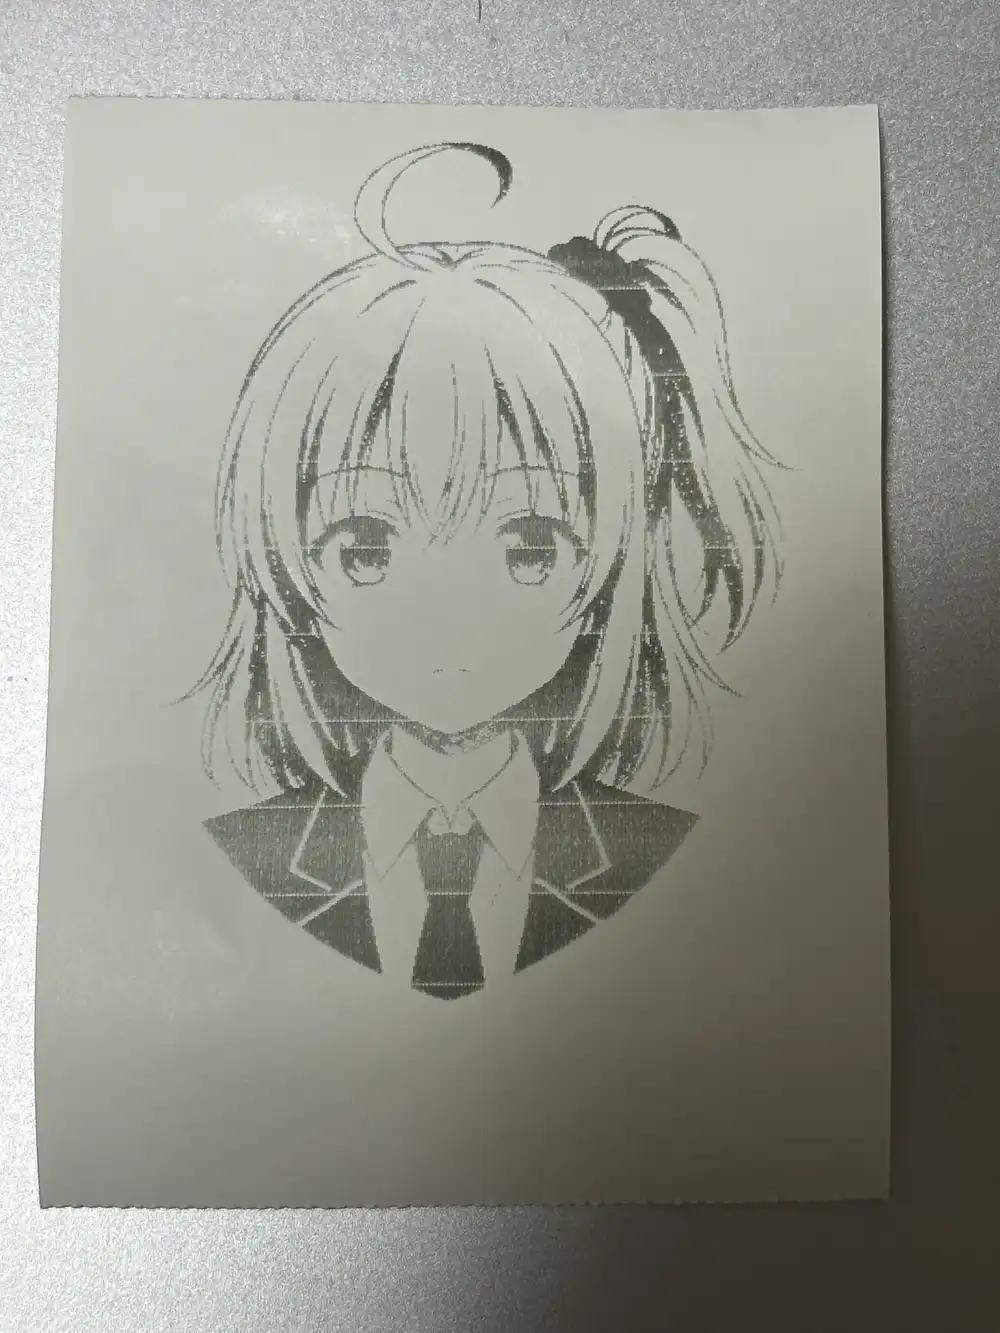
Uniform and eye-area tones are now captured. Hair tones are still too light and blow out even at 200. This is about the limit of a ¥1,000 200dpi thermal printer.
Printing Text (Receipt)
Tried sending ESC/POS text print commands directly (ESC a for centering, string + LF), but nothing printed. Apparently text commands aren’t supported.
The workaround is rendering a receipt image with PIL and sending it as a bitmap.
from PIL import Image, ImageDraw, ImageFont

def render_receipt(print_width=384):
    font = ImageFont.truetype("/System/Library/Fonts/Menlo.ttc", 20)
    font_large = ImageFont.truetype("/System/Library/Fonts/Menlo.ttc", 24)

    lines = [
        ("center", font_large, "Kanachan Shop"),
        ("center", font, "========================"),
        ("left", font, "2026/03/15 00:30"),
        ("left", font, "------------------------"),
        ("left", font, "Chibi Sticker    x1  500"),
        ("left", font, "Acrylic Key      x2 1200"),
        ("left", font, "Bunny Headband   x1  800"),
        ("left", font, "------------------------"),
        ("left", font, "Subtotal            2500"),
        ("left", font, "Tax(10%)             250"),
        ("center", font, "========================"),
        ("left", font_large, "Total               2750"),
        ("left", font, "Cash                3000"),
        ("left", font, "Change               250"),
        ("left", font, ""),
        ("center", font, "Thank you!"),
    ]

    # render each line and build image
    img = Image.new("L", (print_width, 600), 255)
    draw = ImageDraw.Draw(img)
    y = 20
    for align, f, text in lines:
        if align == "center":
            bbox = draw.textbbox((0, 0), text, font=f)
            x = (print_width - (bbox[2] - bbox[0])) // 2
        else:
            x = 10
        draw.text((x, y), text, fill=0, font=f)
        y += 30

    # rotate 180 degrees and convert to ESC/POS bitmap
    img = img.rotate(180)
    # ... same steps as image_to_escpos from here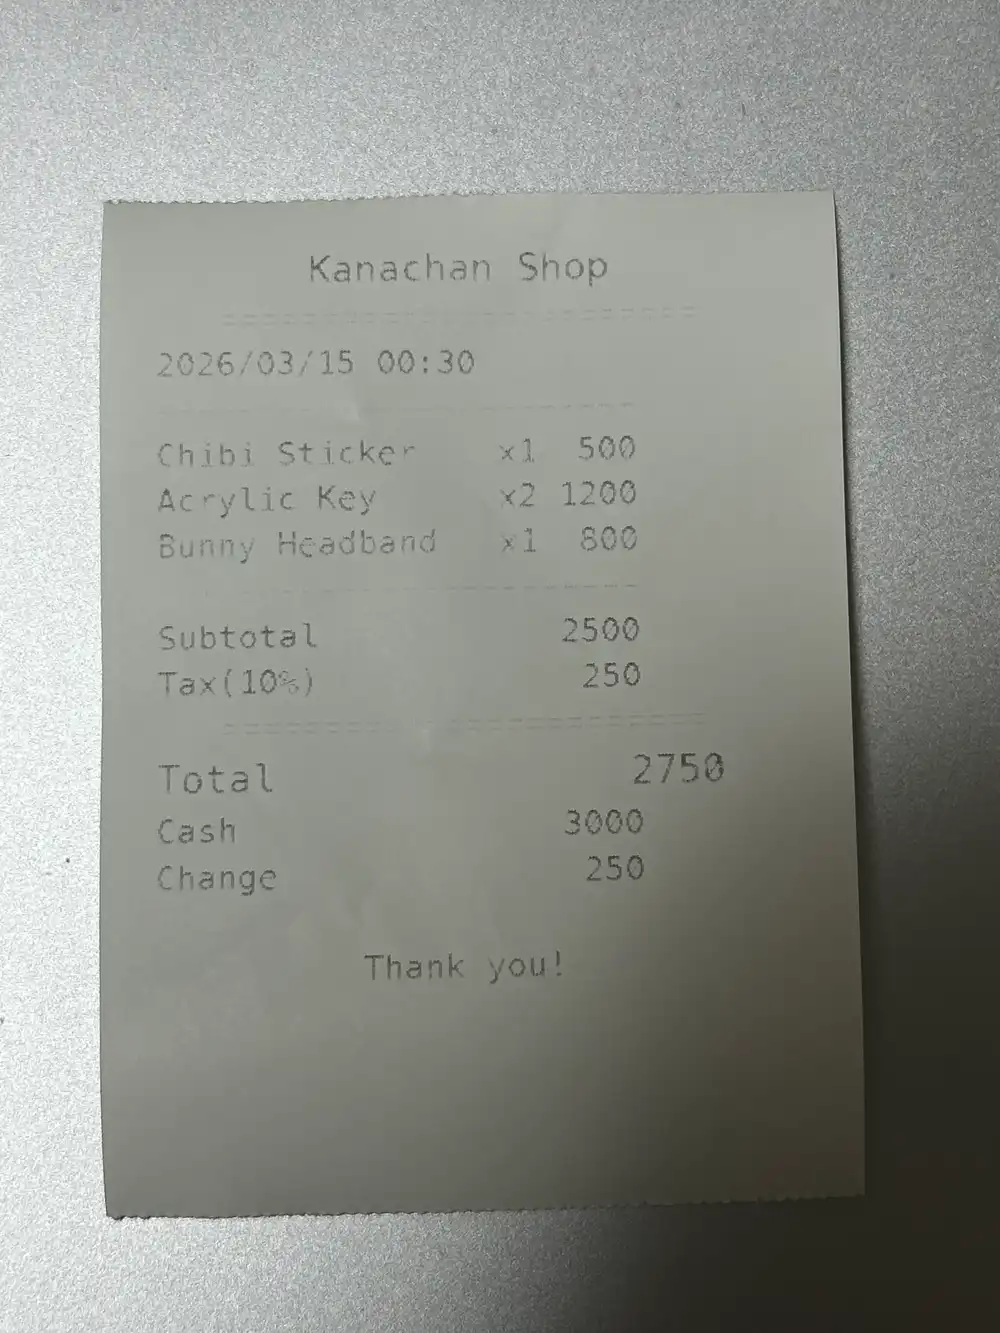
Text commands don’t work, but image rendering lets you produce receipt-style output. Specify a Japanese font to print Japanese receipts too.
Even a ~¥1,000 toy can print images and receipts via BLE → ESC/POS. I haven’t gotten my money’s worth yet, so next I want to see if I can build a makeshift register with this thing.