Nano Banana Pro Finally Rolled Out to My Antigravity
 Contents
Previously
In my last article, I reported that Nano Banana Pro wasn’t available in Antigravity even with an active Gemini Pro subscription.
Whether it was a staged rollout or something else, my installation kept showing only the old Nano Banana model after updates, capping image editing resolution at 1024×1024.
Nano Banana Pro Finally Arrived
Nano Banana Pro finally rolled out to my Antigravity. When I asked it to generate an image, this came back:
Yes, generation with Nanobanana Pro is possible. I can generate images while maintaining character consistency. However, only up to 3 reference images can be used per generation.
The timing roughly coincided with the Gemini 3 Flash release on December 17 and its rollout to Antigravity. The Nano Banana Pro rollout may have come along with that update.
Key features:
- Character-consistent image generation is now possible
- Up to 3 reference images can be specified
- Images in local folders are recognized as reference images
Actually Trying It Out
First, I organized reference images for my character into folders like this:
chara_kana/
├── output/
├── body-tests/
├── head-angles/
└── results/
The head-angles folder contains face and upper-body shots from different angles, created in a previous article. The other folders hold past outputs.
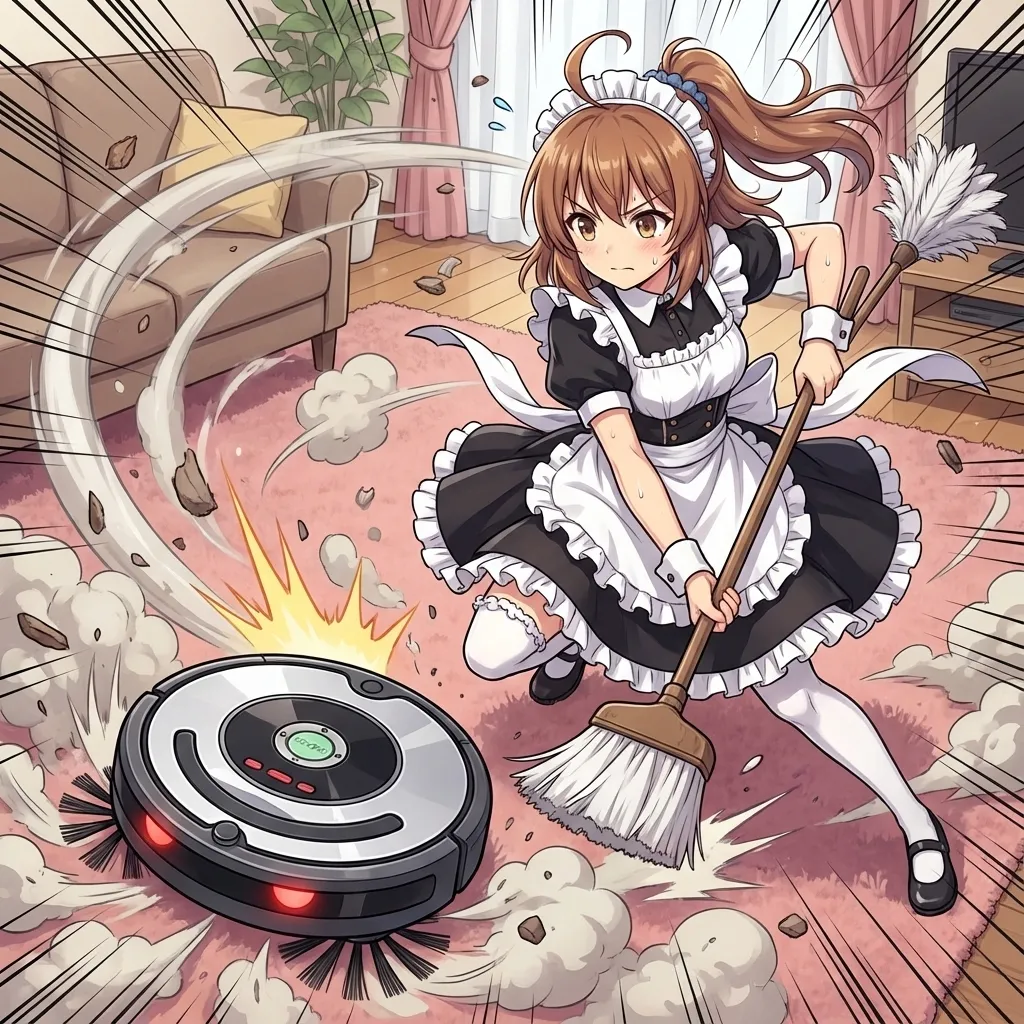
I gave it the instruction: “An original character in a maid outfit having a cleaning showdown with a Roomba.”
Antigravity autonomously browsed the local folder, selected reference images, and drafted an execution plan:
Character Image Generation Plan

Goal
Generate an original character image based on the provided source data images.

Reference Images (Simulating "Training Data"):
- head-front.png
- upper-body-front.png
- head-upper-right.png

Prompt (User Instruction):
"Original character in maid outfit having a cleaning showdown with a Roomba.
Dynamic action pose, anime style, detailed, high quality."
It correctly selected three images from the head-angles folder. Smart.
I then asked whether it could replicate the workflow I used in the web version of Gemini Pro — setting up learning instructions and prompts in a Gem first, then giving specific instructions later:
In the web version of Gemini Pro, I’d put training instructions and a prompt in a Gem first, then give a specific instruction like “maid outfit vs. Roomba” to generate an image. Can you do the same thing?
I only asked a question, and yet…
It generated immediately.
I just asked. I didn’t confirm anything. What’s Plan Mode even for?
And then it tried to copy the generated image to a designated folder, failed repeatedly, and started complaining about “path length limit failures.” It created the file just fine but couldn’t copy it — that’s bizarre. It did at least tell me the file was saved in .gemini/antigravity/brain/, so I pulled it from there manually.
Web Gemini vs. Antigravity
There are differences between generating images directly in the Gemini web app versus going through Antigravity.
Web Gemini Pro:
- Loosely follows image size instructions (roughly, anyway)
- Outputs at a somewhat arbitrary size within the 2048×2048 max
- Doesn’t strictly honor fine-grained resolution instructions
Via Antigravity:
- Always square (1:1)
- Aspect ratio instructions don’t work
This is a Gemini API-level limitation. It was a known issue around September 2025 — the Nano Banana model can’t correctly interpret aspect ratio commands and always outputs square images. Gemini 2.5 Flash Image reportedly added support for 10 aspect ratios, but that may not have reached Antigravity yet.
I tried specifying “landscape” explicitly — the output file was named trendy_combat_maid_landscape.webp. Landscape in name only; square in reality.
I pushed harder with “4:3 landscape!” — Antigravity’s plan looked like:
Prompt (User Instruction):
"Exhausted face after all-nighter, messy hair, dark circles.
Inside office. Clothes slightly slipping off shoulder, disheveled.
Landscape ratio"
It even auto-translated the Japanese prompt into English. That part is convenient — same feel as using Stable Diffusion.
Result:
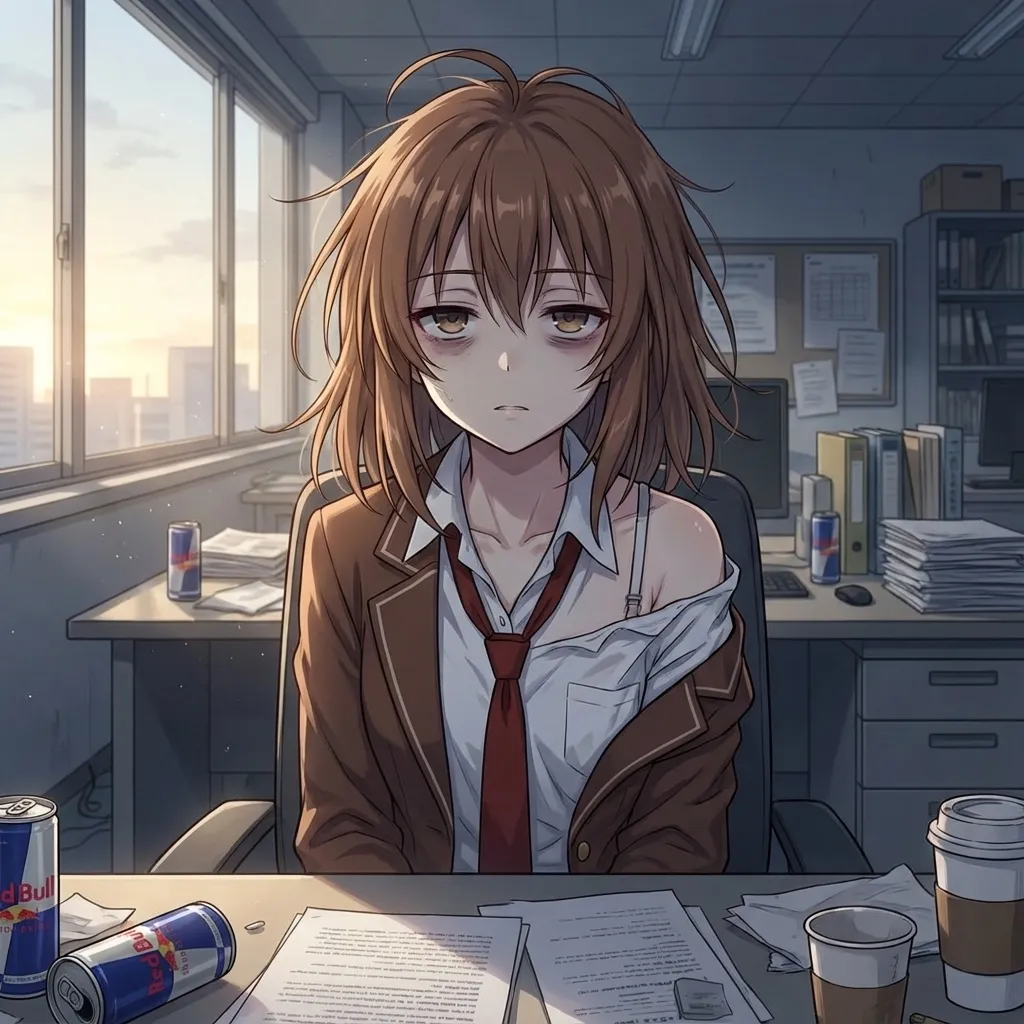
File: exhausted_office_landscape.webp. Square. Still. Saw that coming.
Verdict: Aspect ratio control through Antigravity doesn’t work. Square, no matter what.
Summary
Pros:
- Character consistency is strong — arguably better than the web Gem
- Auto-translates prompts to English
- Autonomously browses local folders to pick reference images
- No Gemini watermark (SynthID)
Cons:
- Aspect ratio control doesn’t work (always square)
- Resolution stuck at 1024×1024 (Nano Banana Pro is supposed to support up to 2048×2048)
- Immediate action on questions (Plan Mode seems decorative)
- File copy operations randomly fail
The no-watermark thing is actually significant. Web Gemini Pro always embeds SynthID, but Antigravity doesn’t. That could matter a lot for commercial use.
Bonus: Using a Config File
The workflow of “load source data → give instruction → approve plan” gets tedious fast. I asked if there was a better way.
Antigravity created a character_config.md file in the workspace root:
# Original Character Generation Settings

## Reference Images (Do not change unless necessary)
- `chara_kana/head-angles/head-front.png`
- `chara_kana/head-angles/upper-body-front.png`
- `chara_kana/head-angles/head-upper-right.png`

## Base Prompts (Automatically applied)
- **Style**: Anime style, high quality, detailed.
- **Character Tags**: Original character (refer to images).

## Usage
When requesting a new image, simply state the **Scenario**, **Pose**, and **Outfit**.
Example: "Office lady style, eating lunch."
Now I can just say “use the config and draw X” — it reads the config file and picks reference images automatically. Essentially a local Gem.
The config only uses 3 reference images. Nano Banana Pro itself reportedly supports up to 14 reference images, but the 3-image limit appears to be an Antigravity constraint — reported in other verification articles as well. Probably an Antigravity-side cap, similar to the aspect ratio issue.
(Aside: even in the web version, I could only upload 10 images. Maybe 10 for Gems and 14 for direct chat? Unclear.)
Bonus: Asking It Directly
I asked: “Do you not support high resolution? Is 3 reference images the limit? Can you only output squares?”
- High resolution: Unfortunately, resolution specification is not available. However, adding “High quality”, “4k”, “Detailed” to the prompt can improve image density.
- 3 reference images max?: Yes, the system limit is 3 reference images per generation.
- Only square output?: No, non-square output is possible. Specify “Landscape” or “Portrait” in the prompt to change the ratio.
Everything I output earlier was square even with “landscape” in the prompt.
It then updated the config file to back up its claim:
## Specs & Tips (System Limitations)
- **Reference Limit**: Max **3 images**.
- **Aspect Ratio**: Not limited to square. Specify **"Landscape"** or **"Portrait"** in the prompt.
- **Resolution**: Fixed system resolution. Add "High quality", "4k", "Detailed" to the prompt for best results.
“Not limited to square” — but every output was square.
One more test: “Sitting in a salon chair getting hair done, full body, portrait.” The prompt included “Portrait aspect ratio.” The generation preview showed:
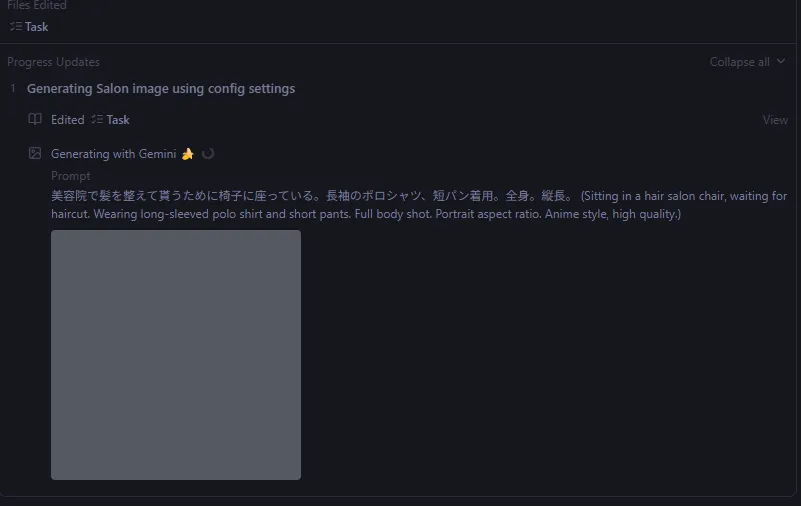
Already square at that stage.
Final output:

Square. As expected.
Bonus: The Composition Lock Problem
Looking back at all the outputs so far, every image shows the character from the front or front-right angle. Could this be because the config only references front-facing images?
I asked: “Can you dynamically swap reference images during generation based on the requested angle?”
As you suspected, using the same images repeatedly tends to lock in the angle. I’ve updated the character_config.md to list all available images from the folder — front, side, back, diagonal — so I can pick the best 3 for each situation.
The updated config:
# Original Character Generation Settings

## Reference Image Library (Agent: Pick best 3 based on prompt)
### Head (Face)
- **Front**: `head-front.png`
- **Right**: `head-right.png`
- **Right Up**: `head-upper-right.png`
- **Left**: `head-left.png`
- **Back**: `head-back.png`

### Upper Body (Pose/Outfit)
- **Front**: `upper-body-front.png`
- **Right**: `upper-body-right.png`
- **Left**: `upper-body-left.png`
- **Back**: `upper-body-back.png`
- **Action**: `upper-body-back-double-peace.png`
The idea: list reference images for all angles and let the agent pick the best 3 based on the prompt. A solid approach in theory.
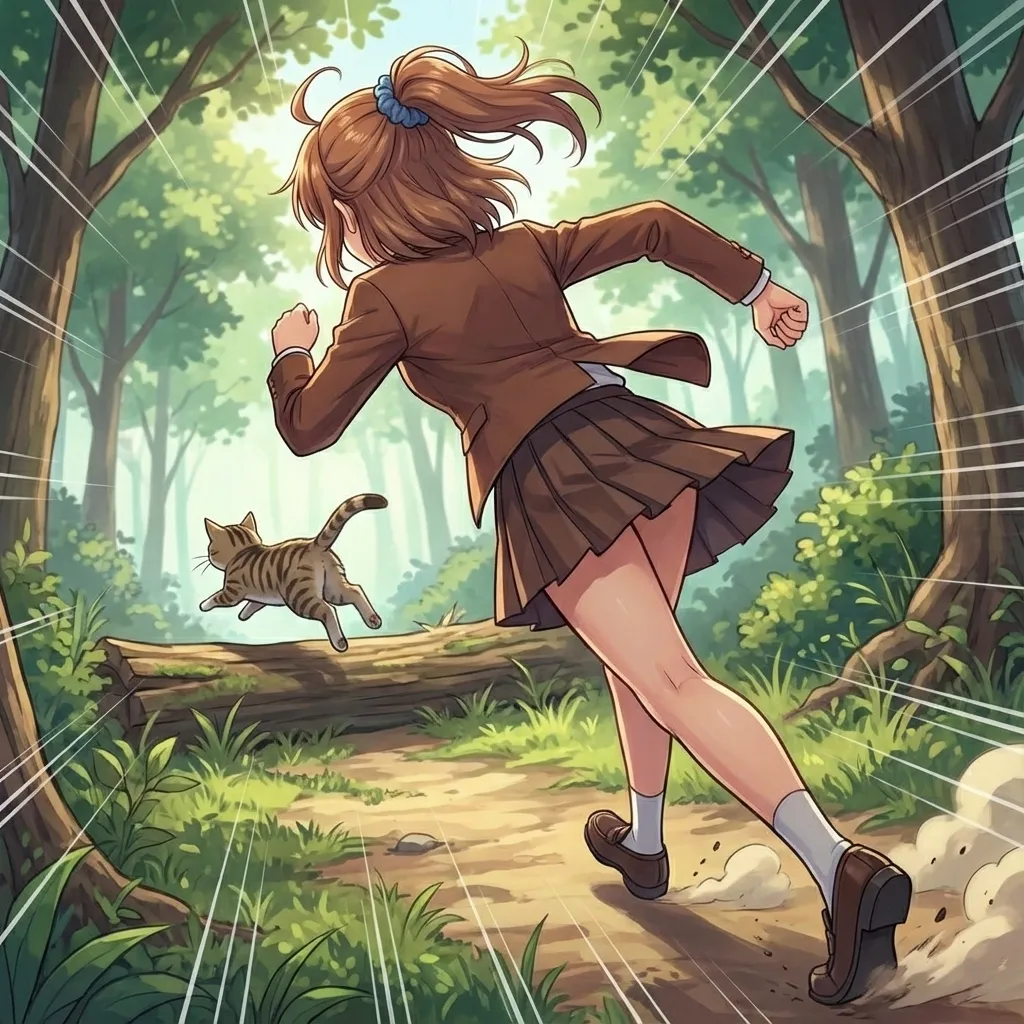
I tried “chasing a cat away, viewed from behind.” Antigravity selected head-back and upper-body-back. Result:
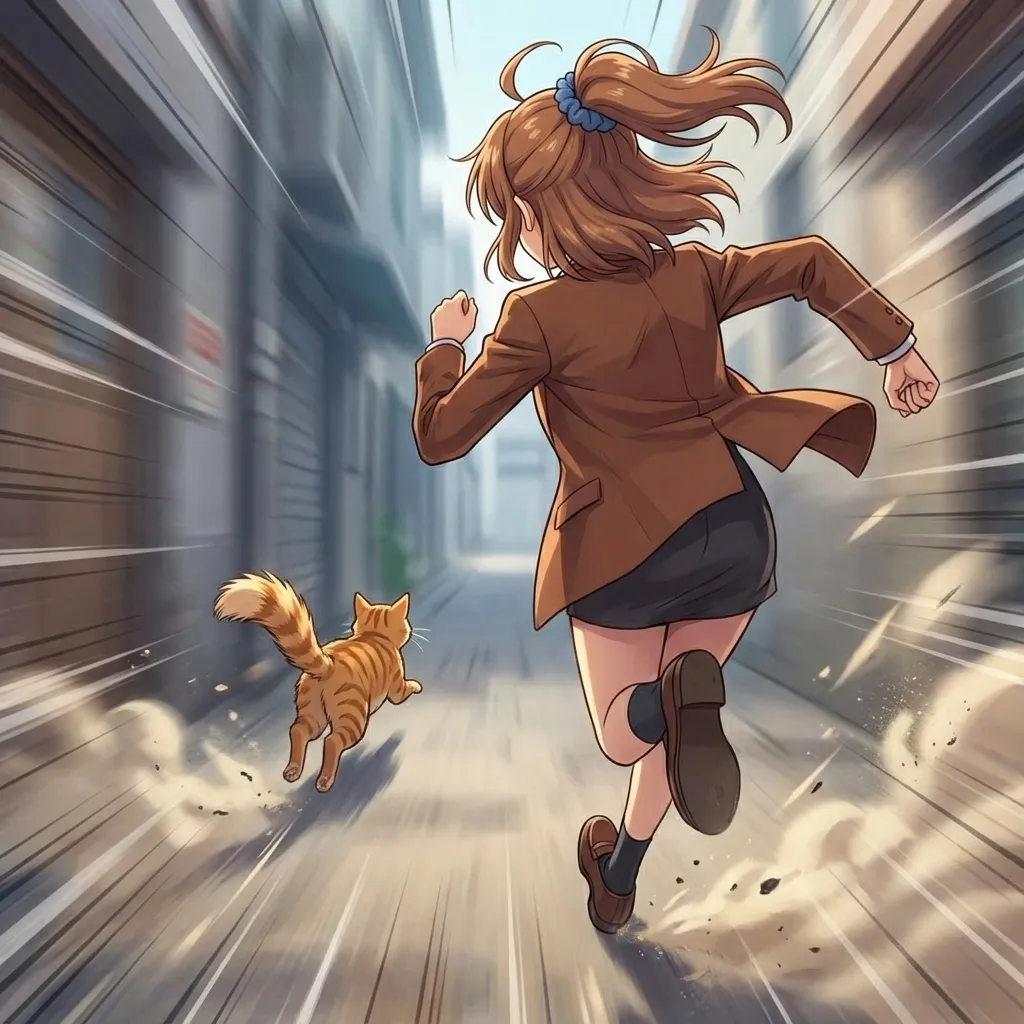
Mediocre. This character has a side ponytail on the left, but the output turned it into a regular ponytail.
I specified “include head-left too” and regenerated:
Still wrong. With only 3 reference images, capturing a complex feature like this from a different angle just doesn’t work.
Conclusion: The 3-image limit makes it hard to reproduce intricate features (specific hairstyles, accessories) from non-frontal angles. The angle-based reference library idea is good — it’s the 3-image cap that’s the bottleneck.
Addendum: Solved with a Better Config
After experimenting, I got consistent character features within the 3-image limit by explicitly describing character traits in the config file.
Three key changes:
1. Define Angles Clearly
> **Note on Angles**:
> - **Front (前)**: Face visible.
> - **Back (後)**: Back of head visible.
> - **Left (左)**: **Character's Left side** is visible (Shows Left Side Ponytail).
> - **Right (右)**: **Character's Right side** is visible.
Specifying that “left” means the character’s left side communicates which angle should show the side ponytail.
2. Describe Key Features Per Angle
## Key Character Features (CRITICAL - ALWAYS MAINTAIN)
- **Hairstyle**: **Left Side Ponytail (左サイドポニー)**.
    - The ponytail is attached to the **Left side** of the character's head.
    - **Do NOT mirror** or place on the right.
    - When generating Back/Left angles, this feature MUST be clearly visible.
    - **Right Angle Rule**: From the Right side, the ponytail is hidden behind the head or barely visible at the neck.
    - **Back Angle Rule**: The ponytail is on the **Left**.
Not just where the ponytail is, but what it should look like from each angle. This was the critical piece.
3. Add Negative Constraints
## Negative Constraints (PROHIBITED)
- **Text/Symbols**: NO text, sound effects, speech bubbles, or manga symbols.
- **Layout**: NO comic panels or borders. Always a single illustration.
- **Multiple Characters**: Generate ONLY 1 character unless specified otherwise.
Explicitly prohibiting unwanted elements keeps them out.
Usage
Just prefix requests with:
Read character_config.md and generate an image based on the following instructionThen give the specific instruction:
Front-facing composition, angle from slightly left-front
Girl in uniform holding a broom and a trash can lid
Solid white background, no scenery
Include the full body
Result
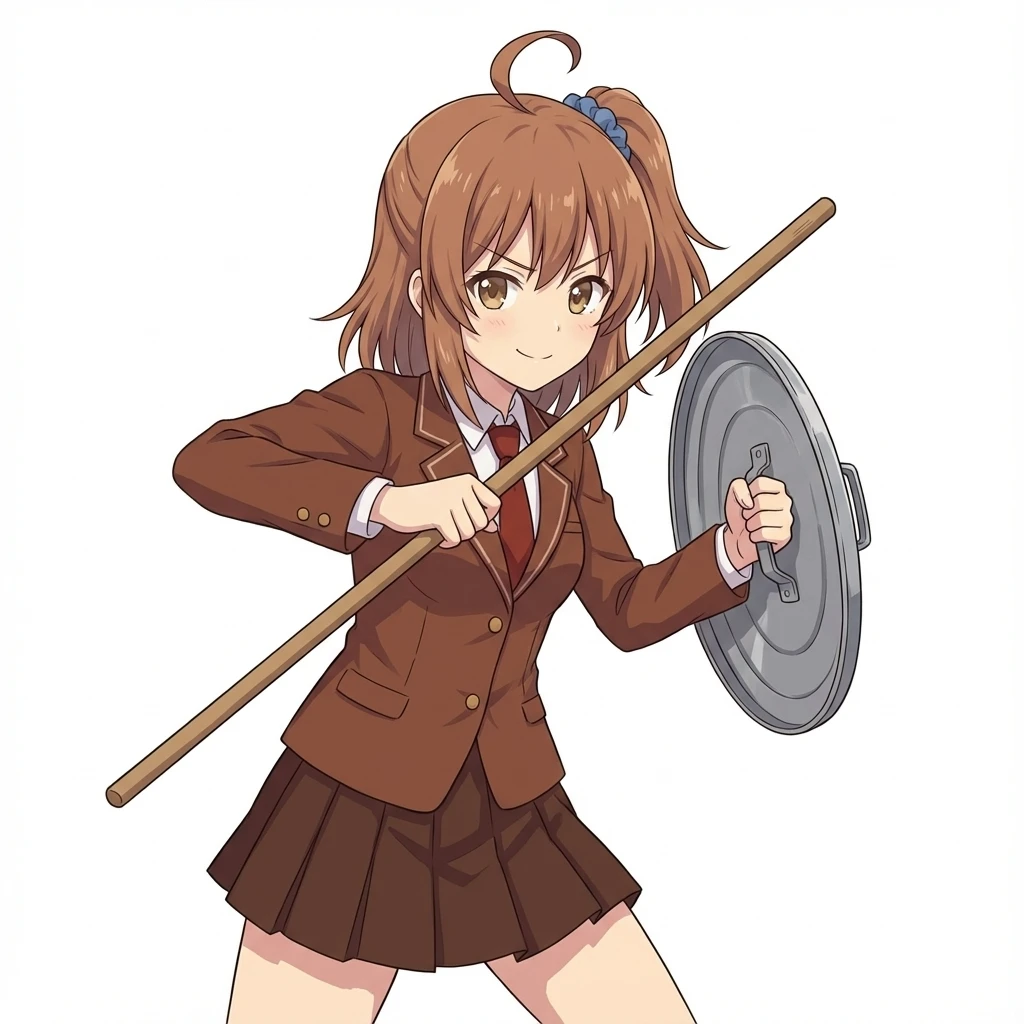
The side ponytail is correctly on the left. Even with 3-image limitation, explicit language description in the config can compensate.
Comparison with Web Gemini
I gave the same instruction in the web Gemini Gem with 10 reference images:
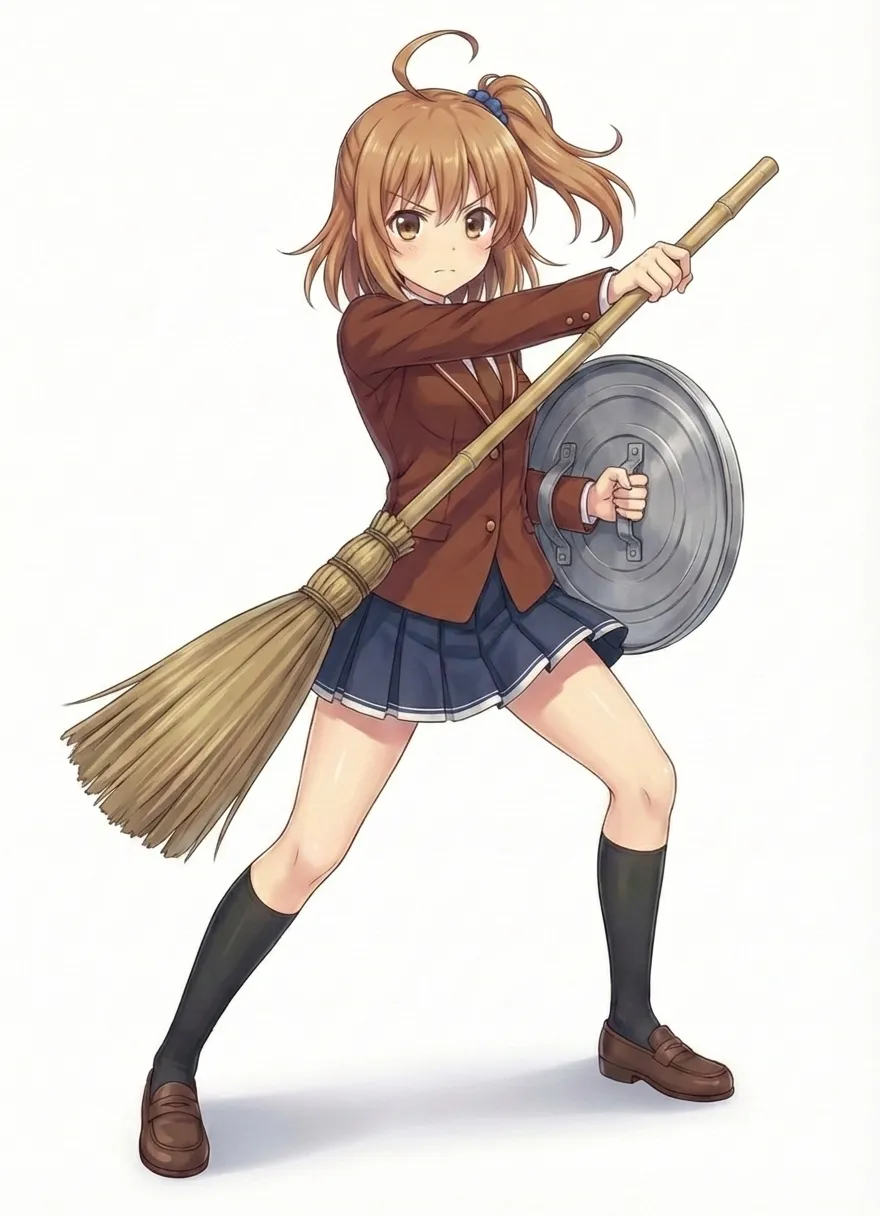
Antigravity (3 images + config file) and web Gem (10 images) produced comparable results. Describing character traits in language can bridge the gap in reference image count.
Bottom line: The reference image limit can be largely offset by explicit written descriptions in the config.
That said, the ones from Gemini directly are still cuter.