Mageia 9 on a junk Dell Latitude 5310: BIOSConnect trap, RAID→AHCI, keyfile fix
 Contents
I installed Mageia Linux on a junk Dell Latitude 5310 I picked up at an Akihabara shop. Mageia is a community-run distro from the Mandriva lineage, and I wanted to see how it actually behaves on real hardware as a non-Ubuntu, non-Fedora choice.
This post is a step-by-step log from gear inventory through USB writing, live boot, the SATA AHCI switch, the install proper, first boot, and the Wi-Fi auto-connect trouble at the end.
The gear
Dell Latitude 5310 (the laptop)
The unit was sitting in a back-corner box at a junk shop in Akihabara. Because it looked badly worn, I got it for less than the tagged price, in the 10,000-yen range (roughly USD $70).
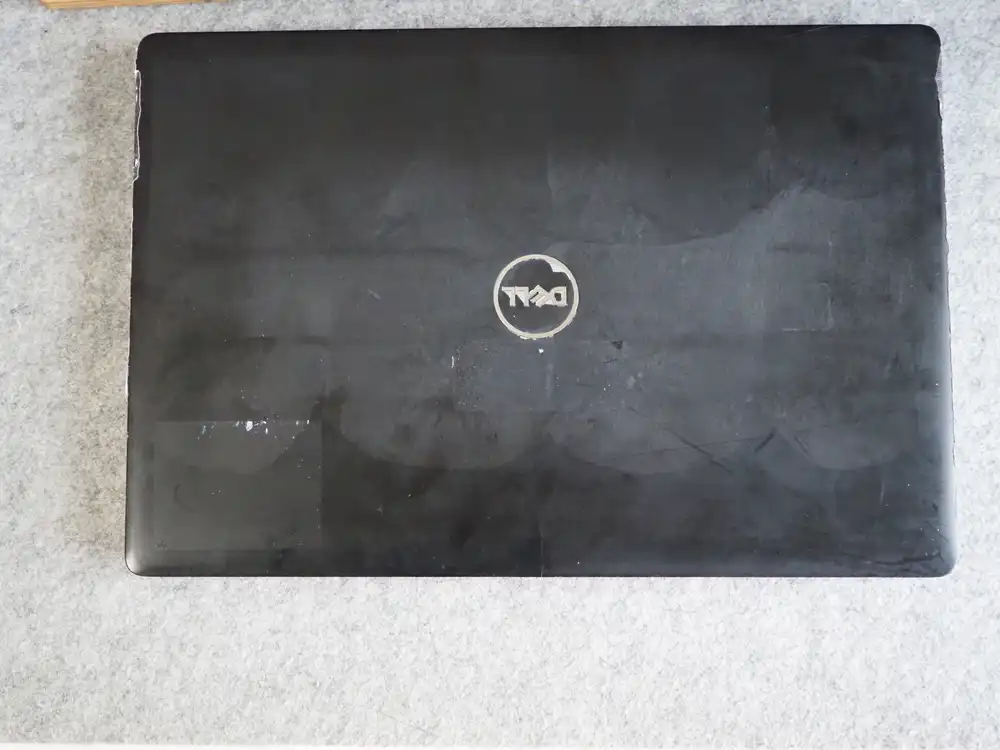
The lid is cloudy with handprints and rubbing marks around the DELL logo. Wiping doesn’t take the stains off. There are minor dents at the corners, but no warping, and the hinge opens and closes without play.
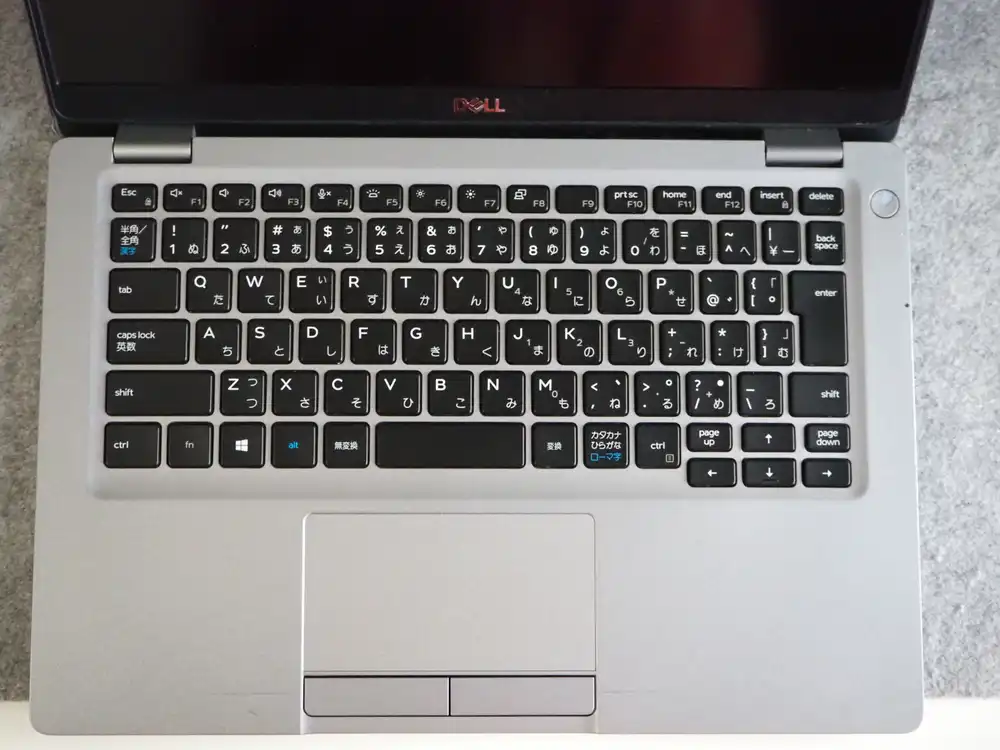
JIS-layout keyboard inside. Keycap prints are still legible. The trackpad is the old-school style with separate physical click buttons. Classic plain-and-sturdy Latitude look.
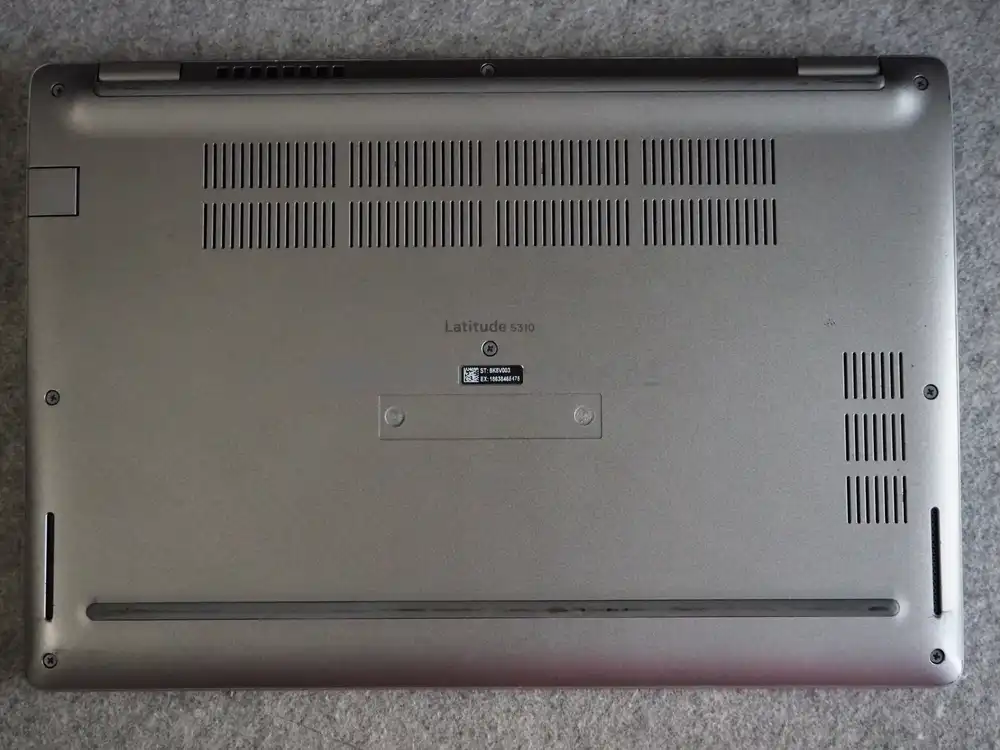
“Latitude 5310” is clearly stamped on the bottom. The service tag is still readable. Big vent slits, the typical 13-inch business laptop layout.
What I confirmed at the shop:
- Boots to BIOS, memory and SSD are recognized
- No screen cracks (the smudges are baked in)
- Some dents, but usable
Counting as functional in that state, taking it home.
Power adapter
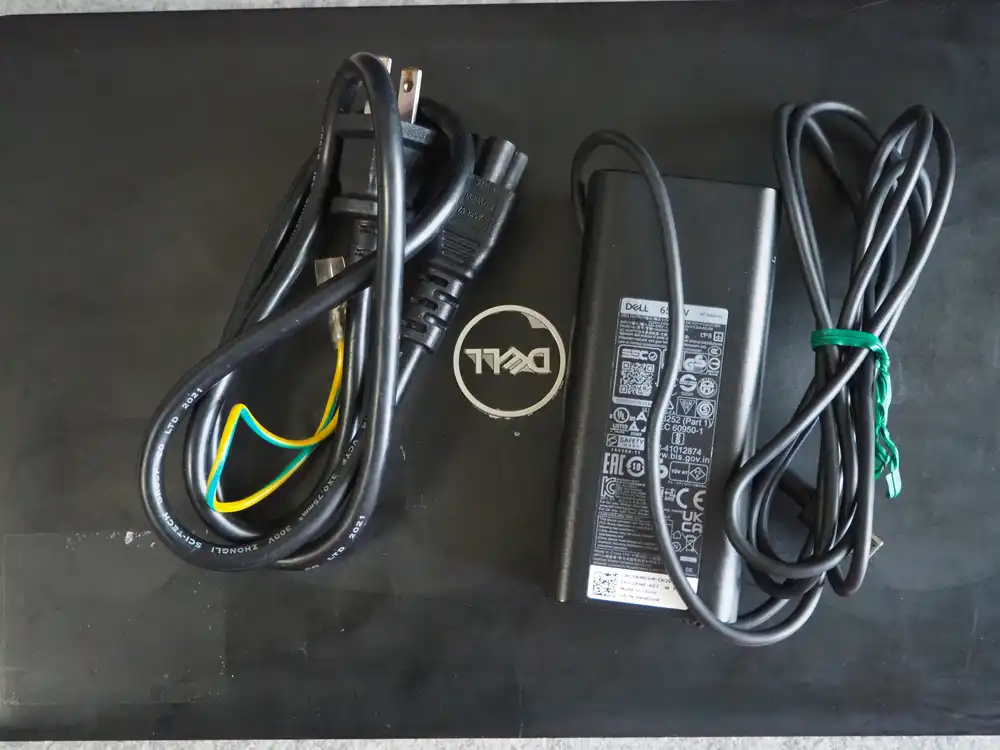
The junk listing came with a genuine Dell 65W adapter. Having or not having this completely changes the deal, so this matters. Output is USB-C (PD). It occupies the Type-C port, so any data USB has to be Type-A on a separate port (more on this below).
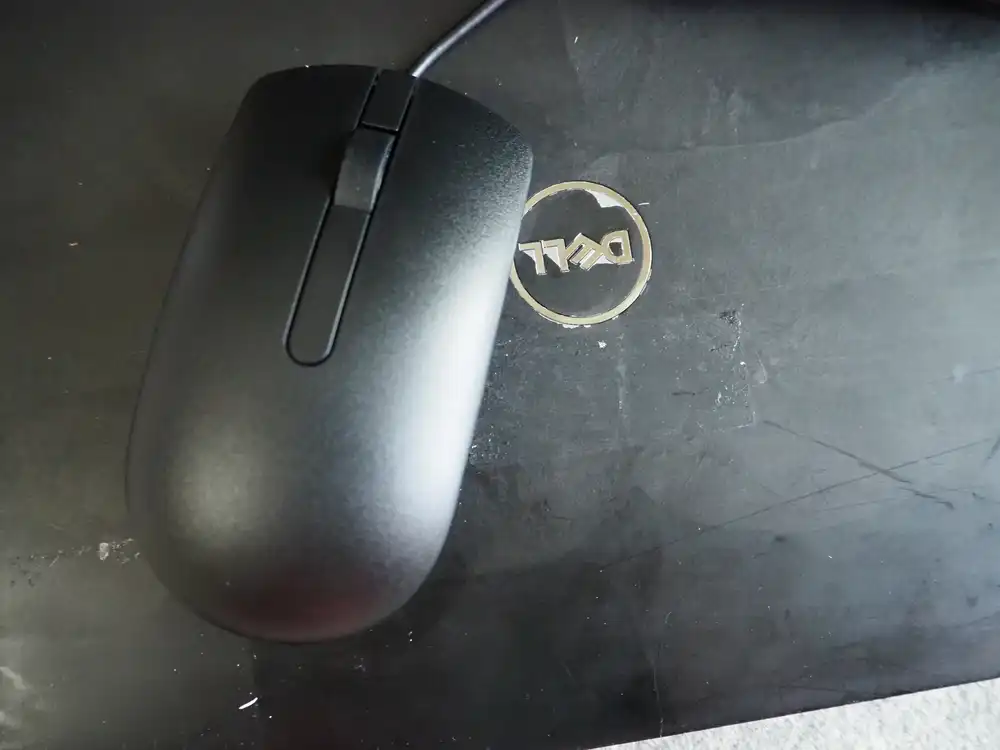
Dell Wired Mouse MS116 (newly bought)
The trackpad alone wasn’t going to cut it for sustained work, so I picked up a wired mouse separately. Bluetooth mice break pairing and lag, so I went wired from the start. I also needed a wired mouse and keyboard for an unrelated thing, so I made the trip out anyway.

No brand preference, but the Dell MS116 happened to be the cheapest one. USB-A, three buttons plus wheel.
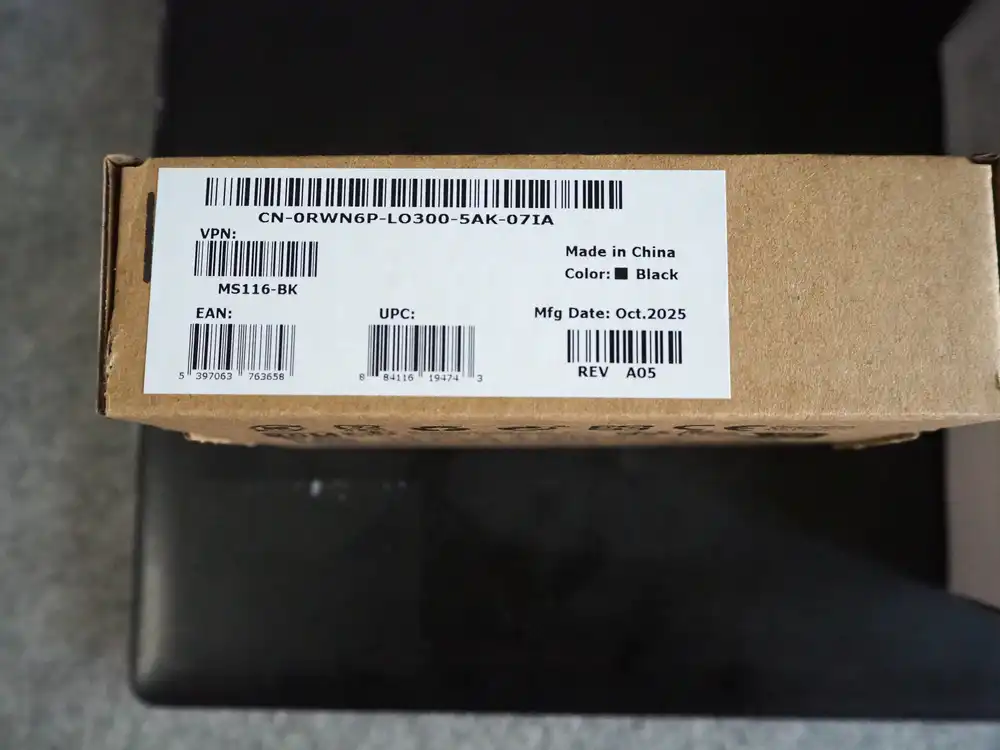
The label reads Mfg Date Oct. 2025, fairly recent lot.

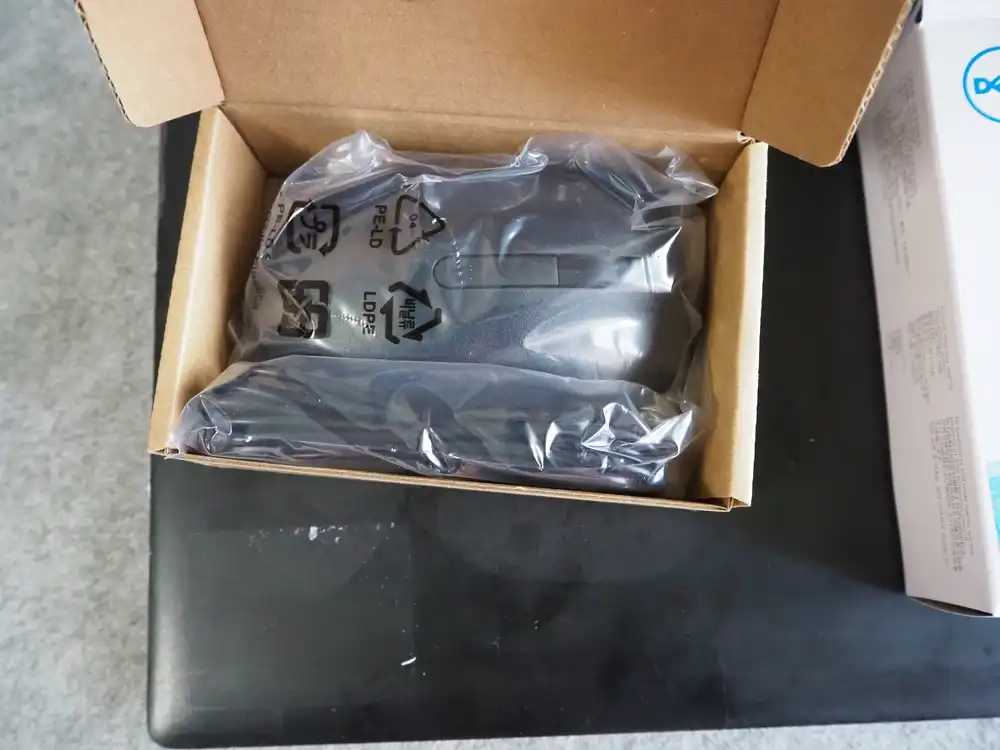
Inside is just the mouse and a single warranty card underneath. Plug it in, it works.
SanDisk Ultra Dual Drive m3.0 32GB (USB writing target)
Once I checked the ports, the Latitude 5310 has the Type-C port occupied while PD charging, so a USB-C stick has nowhere to go. So I went to the store for a plain USB-A stick and grabbed the cheapest one. Only noticed after buying that one end is microUSB-B — it’s a “Dual Drive” model meant for shuttling files with Android phones.
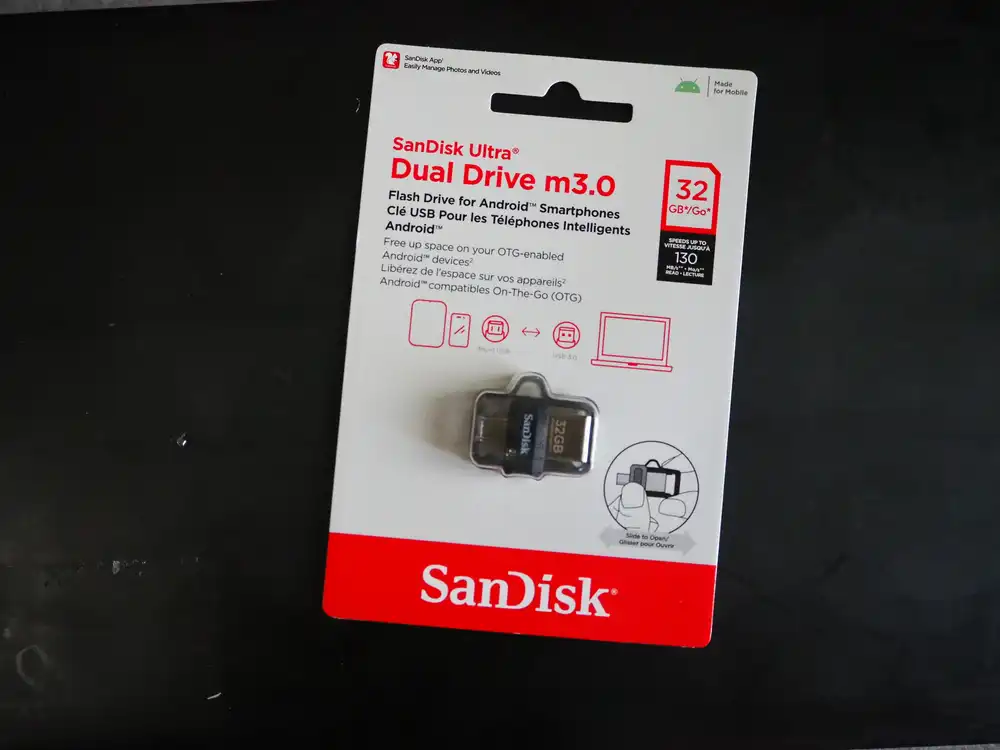
The writing stick is a SanDisk Dual Drive 32GB. USB-A and microUSB heads on each side.
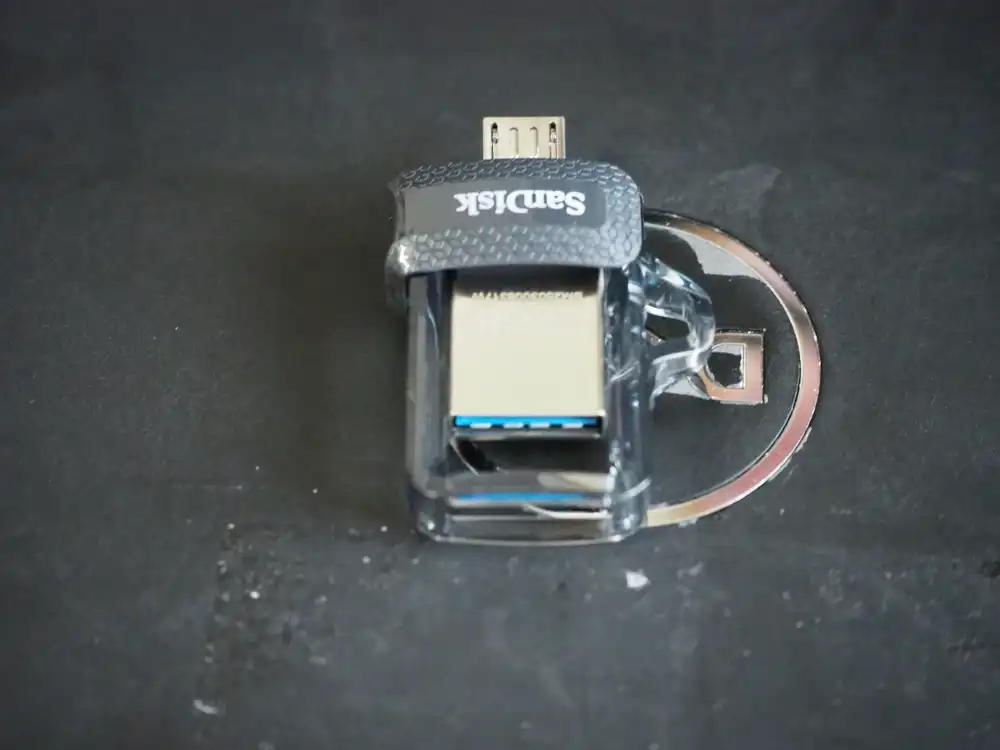
A sliding cap switches between USB-A and microUSB-OTG. The microUSB side stays unused — I just plug the USB-A end into the PC and write the Mageia ISO with it.
Spec table
| Item | Value |
|---|---|
| Model | Dell Latitude 5310 |
| CPU | Intel Core i5-10310U (Comet Lake, 4C/8T, 1.7-4.4GHz) |
| Memory | ~16GB |
| Storage | Internal SSD present (model to be confirmed during install) |
| Display | 13.3 inch |
| Wi-Fi | Qualcomm Atheros QCA6174 802.11ac (Wi-Fi 5, WPA2 only) |
| Ethernet | Intel I219-LM |
| Bluetooth | Qualcomm Atheros |
| How I got it | Akihabara junk shop, 10,000-yen range |
| Included | Genuine Dell 65W AC adapter |
| Bought separately | Dell MS116 mouse, SanDisk Ultra Dual Drive 32GB |
What Mageia Linux is
Mageia is a community-run distribution forked from France’s Mandriva Linux. In 2010, when the future of commercial Mandriva became uncertain, former developers and volunteers set up the non-profit “Mageia.Org” and took it over.
Main characteristics.
| Item | Detail |
|---|---|
| Mandriva lineage | RPM-based, distinct package manager urpmi, and the Mageia Control Center (formerly drakconf) unified management GUI is still around |
| Community-run | No commercial sponsor dependency. Release cycle is leisurely |
| Desktop choice | Plasma, GNOME, Xfce and more; Live ISOs are split by desktop |
| Current is Mageia 9 | Released August 2023. Long-term support isn’t formally stated, but maintenance updates for the 9.x line are still flowing |
It exists as the choice when you want an RPM distro that isn’t Ubuntu or Fedora.
Why add another Linux box
There are several reasons.
The first is to clean up my local dev environment. I want the container parts I split off in development to run on a pure Linux host, not Docker Desktop on Mac/Windows. To kill the behavior and performance discrepancies, having the host itself be Linux is better.
The second is to pull back the test environment I run on a VPS. I’ve been keeping a VPS rented just for verification, and I want to move that to a local machine to trim monthly costs. For workloads that don’t need to be always-on, a secondhand local laptop is enough.
The third is to be able to reproduce Linux-side security incidents at hand. Since the start of 2026, there’s been a chain of Linux kernel bugs that rewrite page cache to gain root. Copy Fail (CVE-2026-31431) → Dirty Frag → Fragnesia (CVE-2026-46300) — variants that bypass the interim mitigations keep landing, and the impact on container and CI runner side is significant. On top of that, Claude Code uncovered a 23-year-old NFS heap overflow, showing that AI-driven excavation of old kernel code is also ongoing. I want a dedicated Linux box to try things that I can’t really chase on Mac/WSL without worry.
The last is wanting to see whether Windows games actually run on Linux. I previously wrote about NTSYNC speeding up Linux gaming by handling Windows-style waits in the kernel, but I never actually tried it on real hardware. I want to lightly verify how cleanly my Windows games run with Linux 6.14 + Wine 11.0 + Proton 11 beta.
In short, I want not a “daily driver” but a “verification host I can break”. For that, a slightly junk laptop that boots fine and has reliable power is plenty.
Why I picked Mageia
It’s been a while since I installed Linux directly on local hardware (a clean install, not a Docker container), so I had to think about which distro to use from scratch.
CentOS has been effectively dead for years, and there’s no real reason to install RHEL for verification. Ubuntu is the obvious safe pick, or I could build something clean on Debian — that’s the reasonable starting point. But I couldn’t decide there, so I took the opportunity to look at the current distro landscape, and Mageia caught my eye.
I also considered ZorinOS, which looks more desktop-leaning, but for this use case it felt like either would work. What finally pushed me toward Mageia was the light-hearted thought “Mageia, kind of like Madoka Magica I guess”, with no real reason behind it. If it doesn’t work out, I’ll just switch to Ubuntu.
Downloading the ISO and burning it to USB
Getting the ISO
Download the ISO from the official Mageia downloads page.
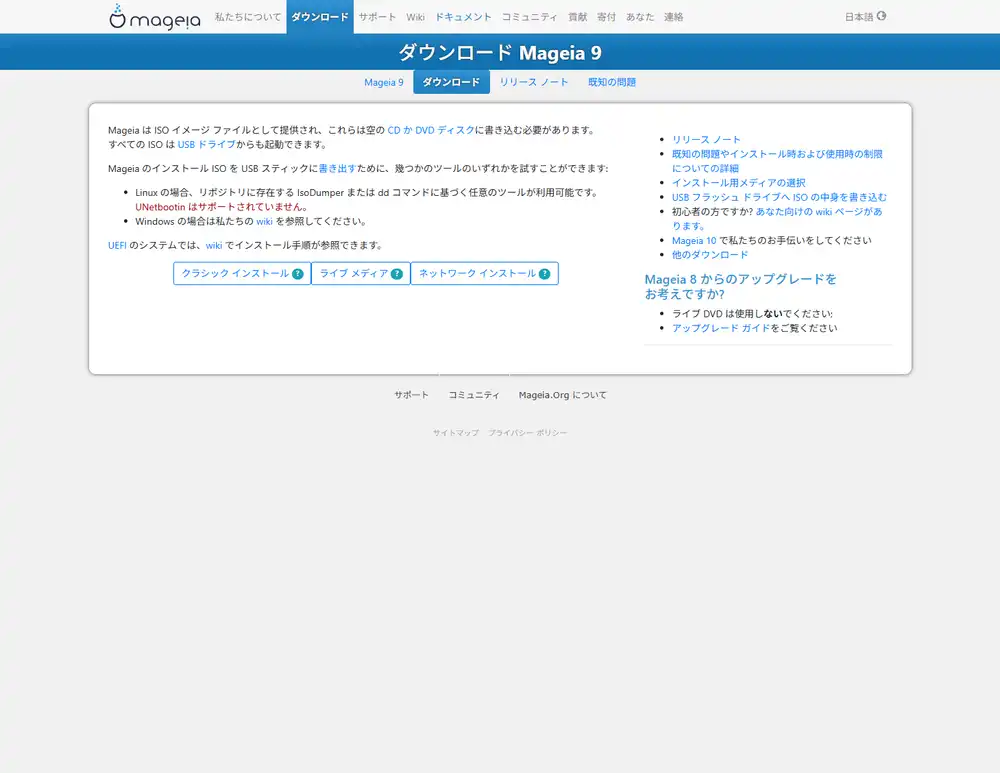
There are three flavors:
- Classical install (DVD): Full text/graphical installer. The traditional Mageia approach. You partition first, then install
- Live media: Boots first so you can confirm hardware behavior, then launches the installer from within. Split by desktop environment (GNOME / Plasma / Xfce)
- Network install: Boots from a minimal ISO and pulls the rest over the network. Bad fit for a junk laptop because if the Wi-Fi driver isn’t included by default, you’re stuck
I went with live media here. The big upside is that if something doesn’t work (Wi-Fi, trackpad, display), I can back out before touching partitions.
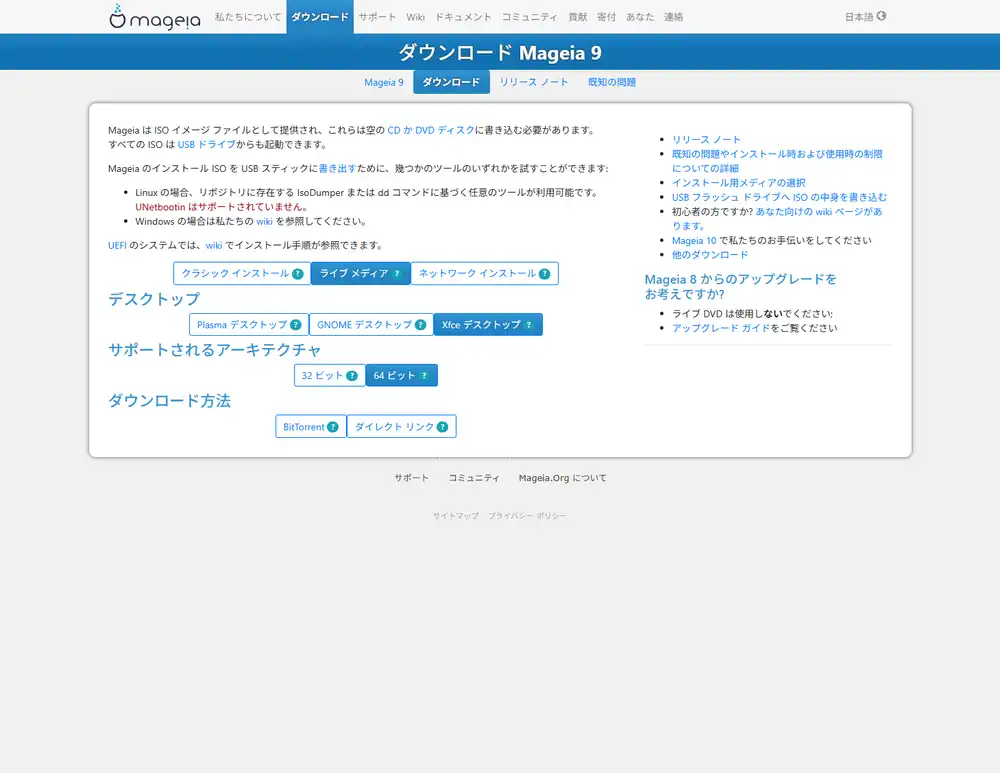
Desktop environment: Xfce
When you pick Live media, the same page expands with Desktop / Architecture / Download method options stacked vertically.
I excluded GNOME from the start since its extension-heavy customization and resource usage are both heavy. That leaves Plasma and Xfce.
I picked Xfce because the use case is “verification host plus VPS pull-back plus container execution” — mostly console work. The desktop just needs to be there to confirm things. Plasma is flashy and is the Mandriva-tradition headliner, but that comes with more resources and more processes. I don’t want my view of what’s running underneath to get cluttered during verification. Since the laptop is junk with an unknown state, picking the lighter option also lowers the risk that something just doesn’t run.
Plasma is the proper way to enjoy the Mageia experience, but this time I’m going with practicality. Architecture is 64-bit. BitTorrent is faster if seeders are around, but plain direct link works fine.
ISO download page
Click “Direct link” and you get the mirror direct link plus the SHA512 checksum verification steps.
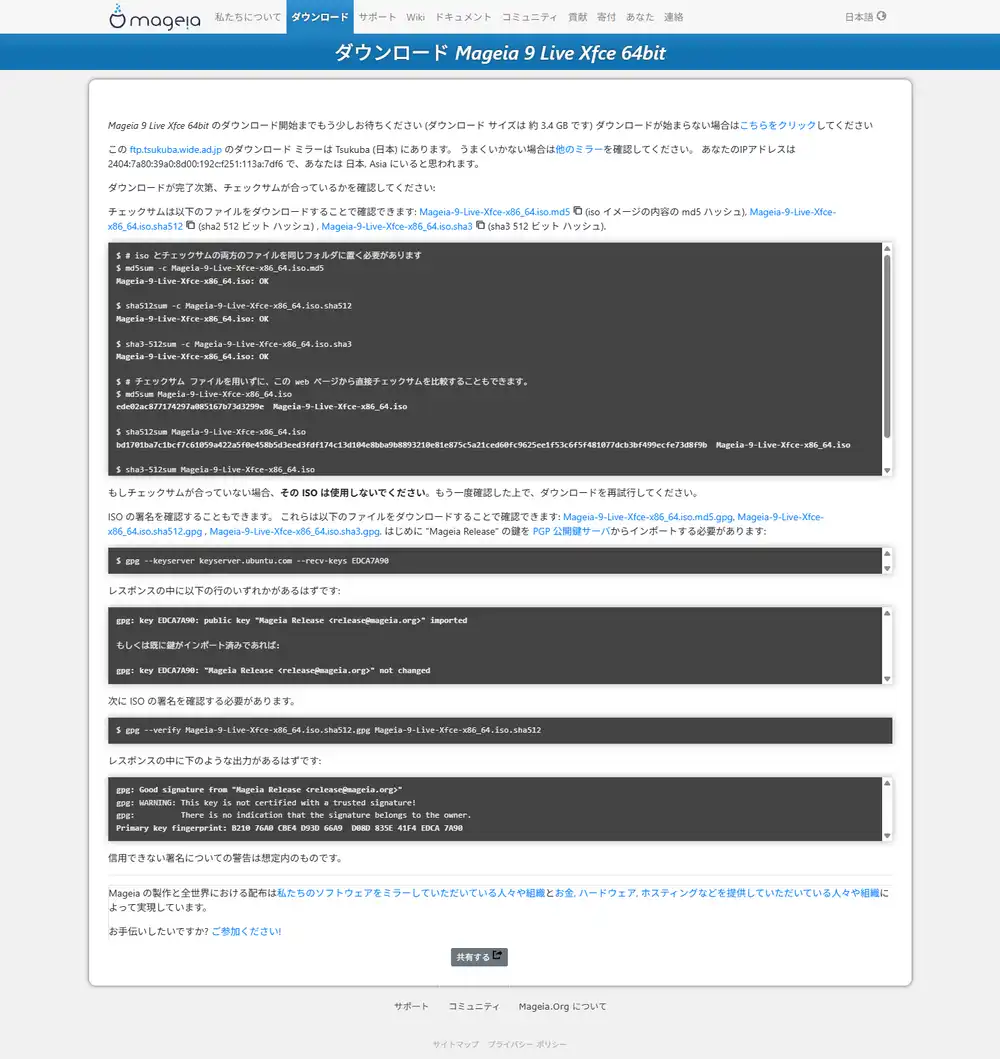
Do the hash check. On Linux/macOS, sha512sum -c Mageia-9-LiveDVD-Xfce-x86_64.iso.sha512. On Windows, run PowerShell Get-FileHash -Algorithm SHA512 and compare with the contents of the .sha512 file.
It catches mirror-side corruption or substitution, so it’s worth the extra step.
Writing to USB
I’m writing from Windows with Rufus. balenaEtcher or dd would also work.
When you open the ISO in Rufus, this is what you get.
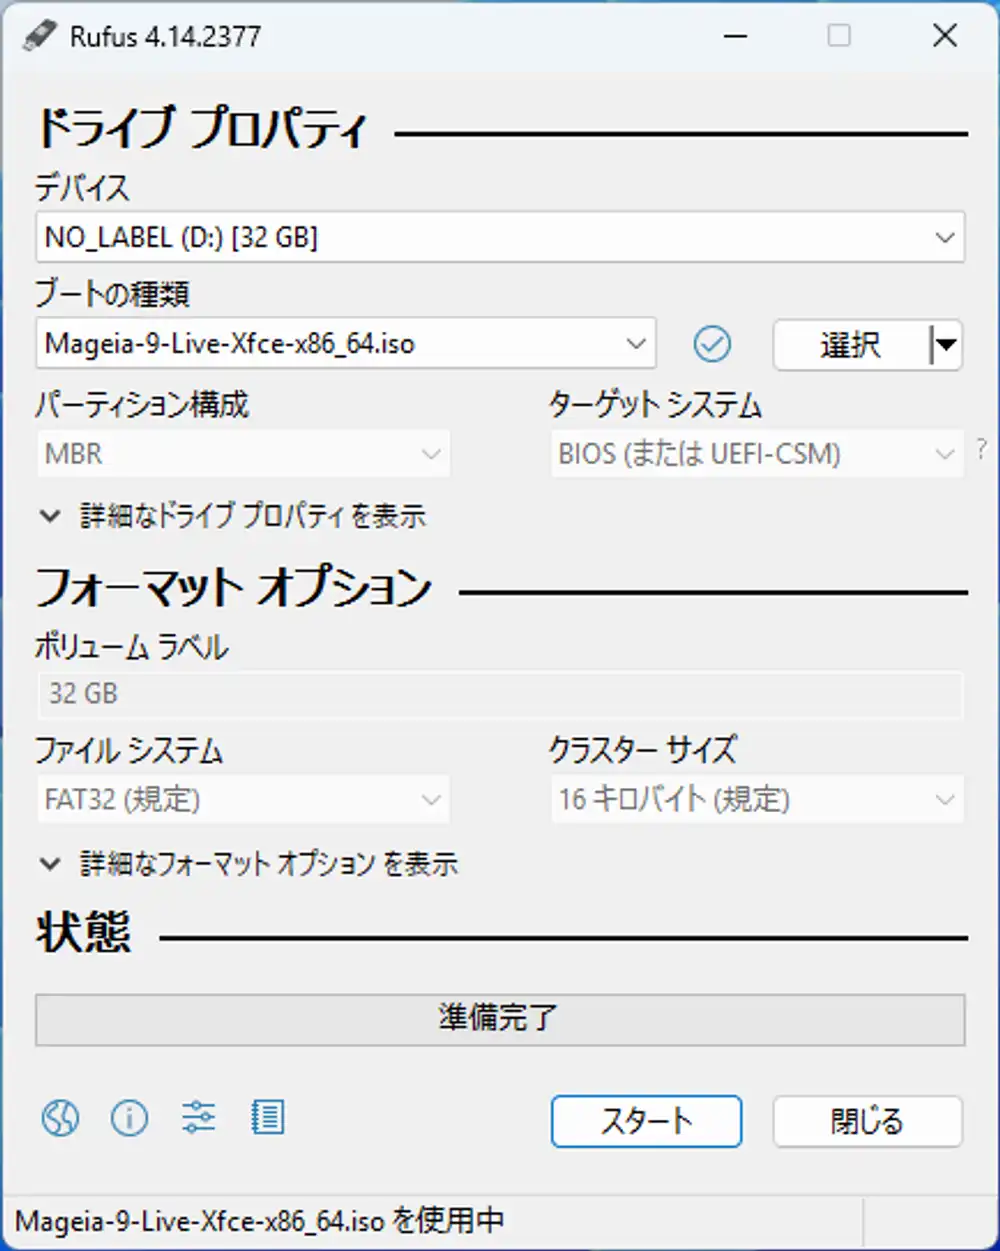
Partition scheme, target system, file system, and cluster size are all greyed out and untouchable. This is because Rufus decided “this ISO is not ISOHybrid; it’s a pure DD image”. Mageia’s Live ISO is written raw, so Rufus’s detailed settings are ignored and it goes into fixed DD mode. In practice you only do three things: pick device → pick ISO → click Start.
Click Start and you get a warning that all existing data on the USB will be wiped — agree and proceed.
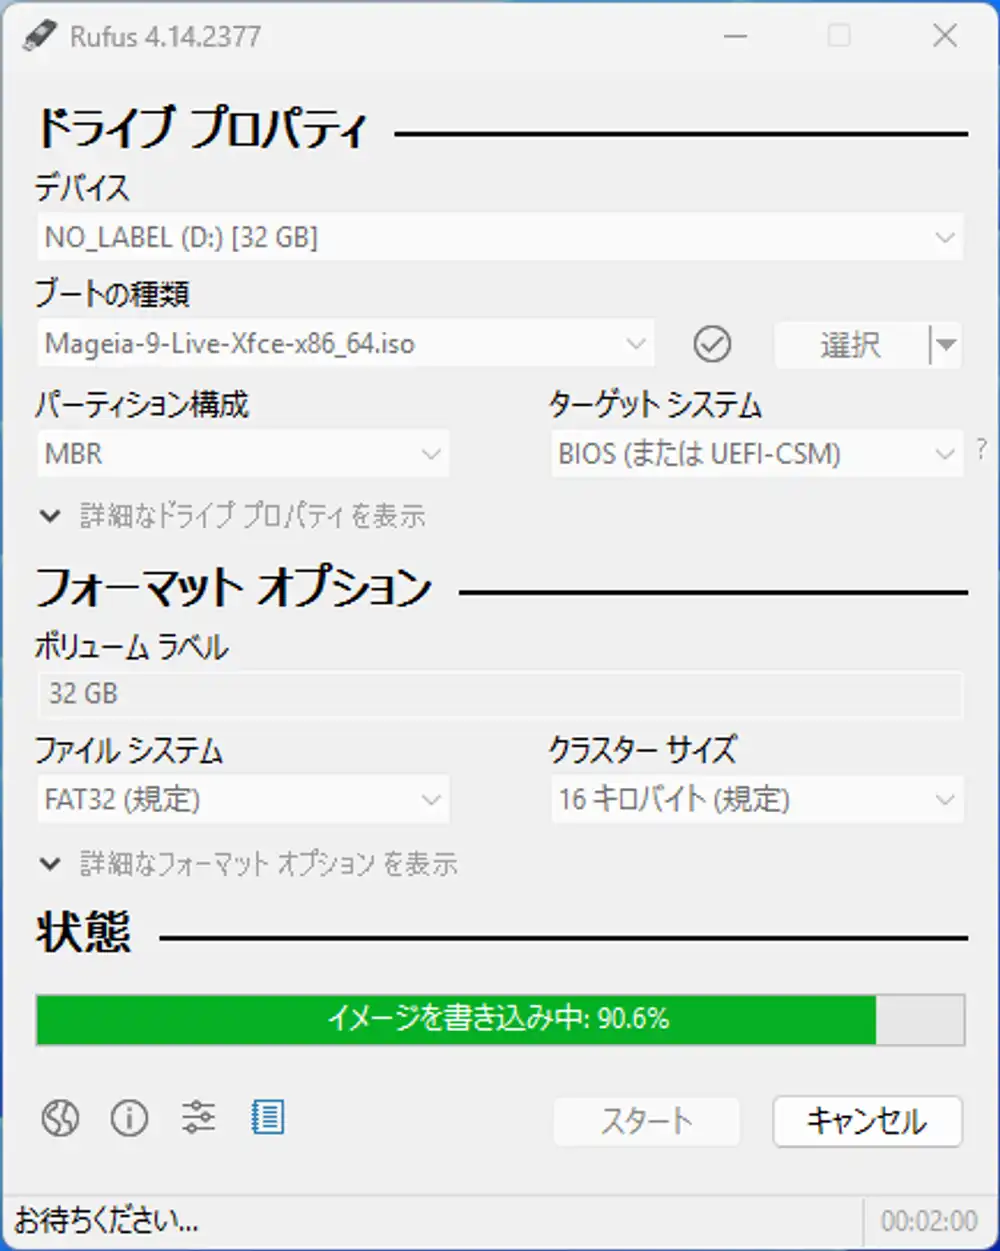
Leave it alone and the write finishes. For this Live Xfce ISO it was past 90% at around the 2-minute mark. With an ISO this size, Mageia’s Live ISO finishes in under 10 minutes.
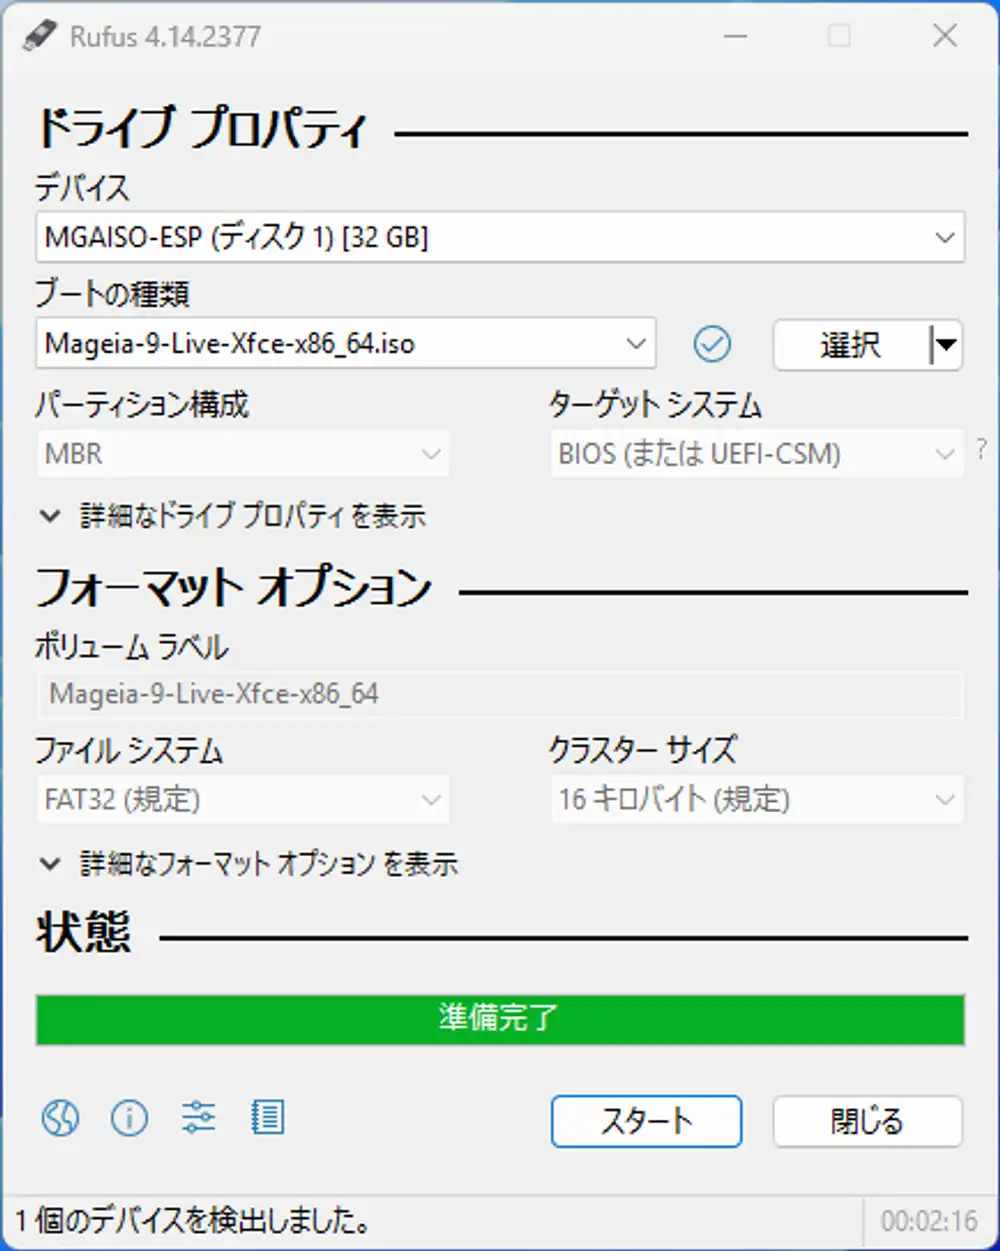
When it’s done, the status bar returns to “ready” and the device name changes from NO_LABEL (D:) to MGAISO-ESP (Disk 1), with the volume label also changed to Mageia-9-Live-Xfce-x86_64. That means the USB is set up as a Mageia boot medium.
After writing, Windows may pop up a “USB needs to be formatted” dialog — it didn’t this time, but if it does, Windows simply can’t read the Linux partition. Nothing is broken, so always hit Cancel. Format it and the ISO you just wrote is gone.
Preparing the laptop side
Plug the freshly written USB into the Latitude 5310, connect the power adapter and mouse, and power it on. While the Dell logo is showing, mash F2 to enter BIOS, or F12 to get the one-time boot menu.
BIOS layout
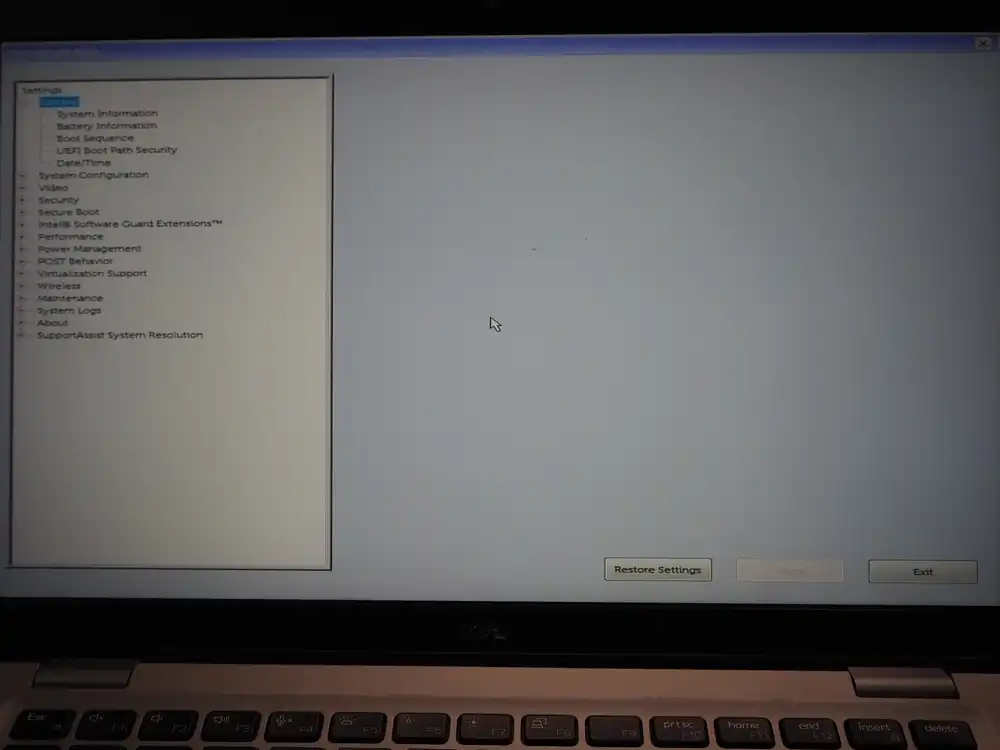
The familiar Latitude tree-structured BIOS. Boot Sequence lives under General, and Secure Boot is a separate top-level item nearby.
Boot Sequence
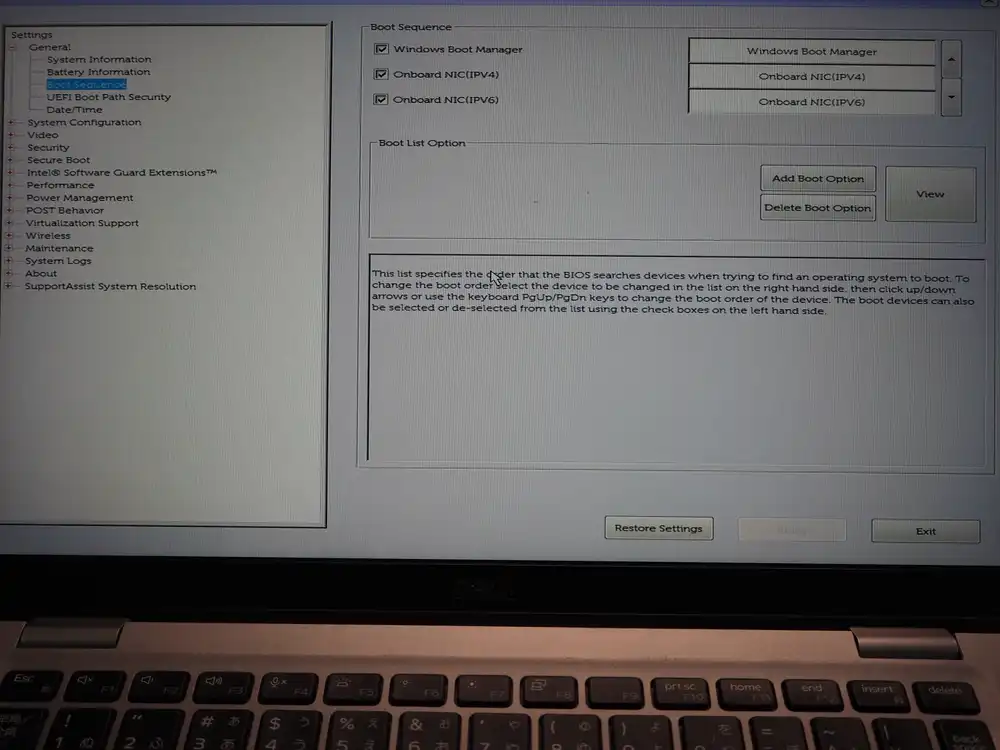
The first time I looked, I didn’t notice that the USB wasn’t in the list, mashed F12 and panicked when nothing showed up. The cause was simple — I hadn’t plugged the USB in yet.
After plugging it in and re-entering BIOS, two new entries appeared in Boot Sequence.
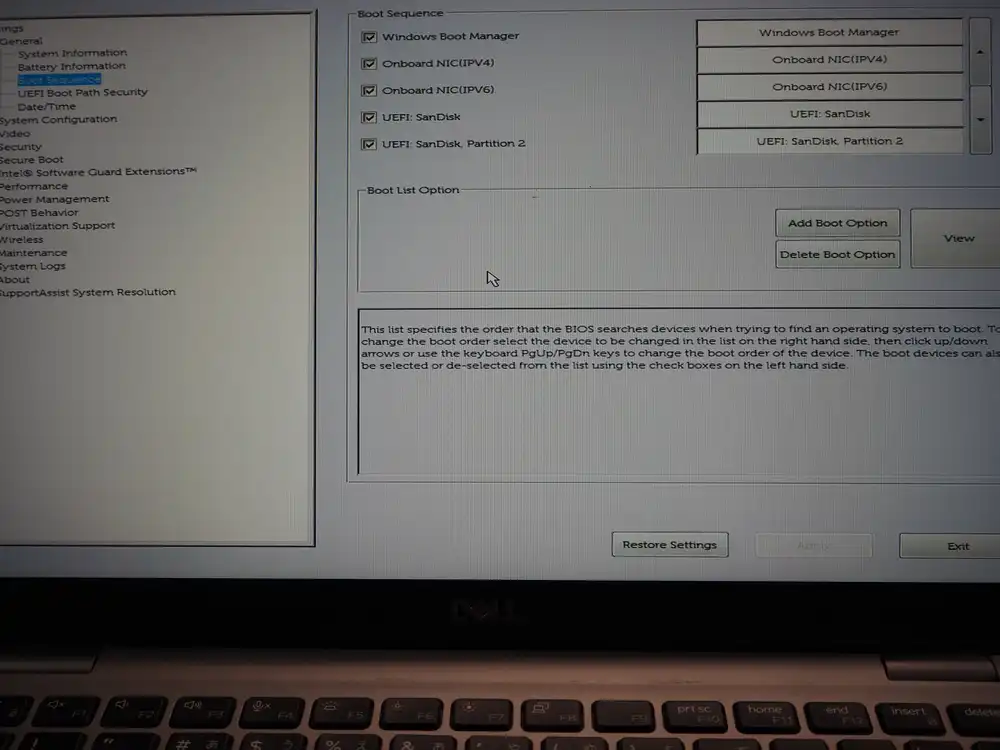
UEFI: SanDisk— entry that scans the whole USB diskUEFI: SanDisk, Partition 2— entry that points directly at the EFI system partition inside the Mageia ISO
By UEFI convention, putting Partition 2 (the EFI system partition) first is the normal choice. That said, most firmware will scan the EFI region behind either entry, so picking whichever boots is fine to start.
Move USB to the top of the right-side list and Apply.
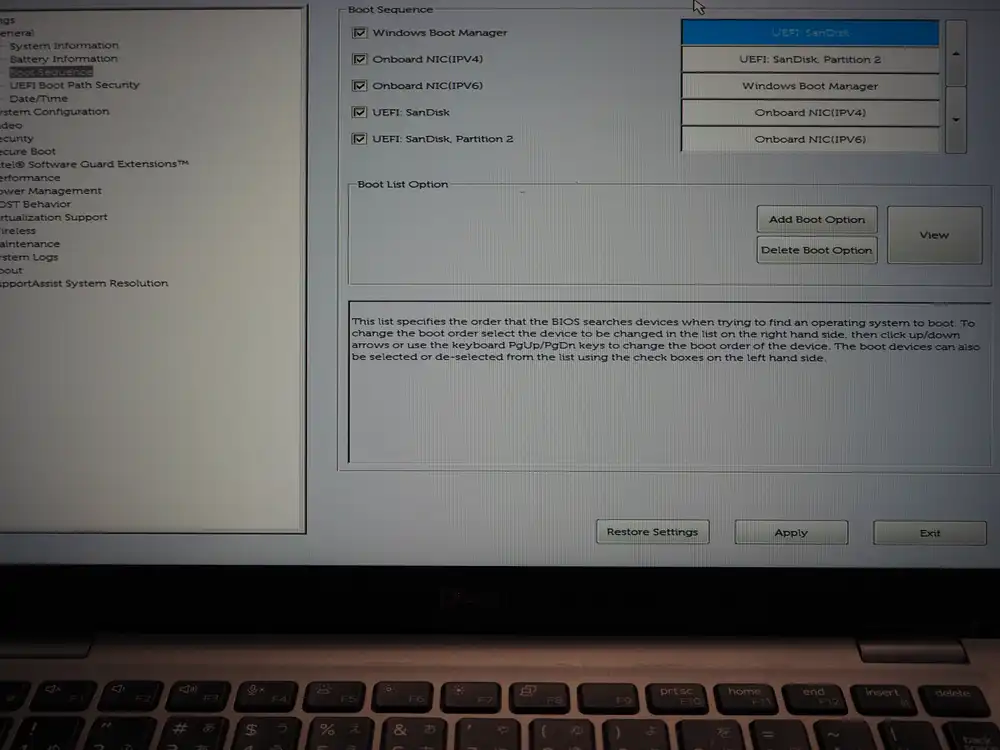
Exit and the system will boot from USB automatically on next start. If you don’t want to boot from USB every time, leave the order alone and pick USB from the F12 one-time menu instead.
Secure Boot
Mageia uses shim and is signed under Microsoft’s UEFI signing, so Secure Boot can stay ON. I’m leaving it untouched here.
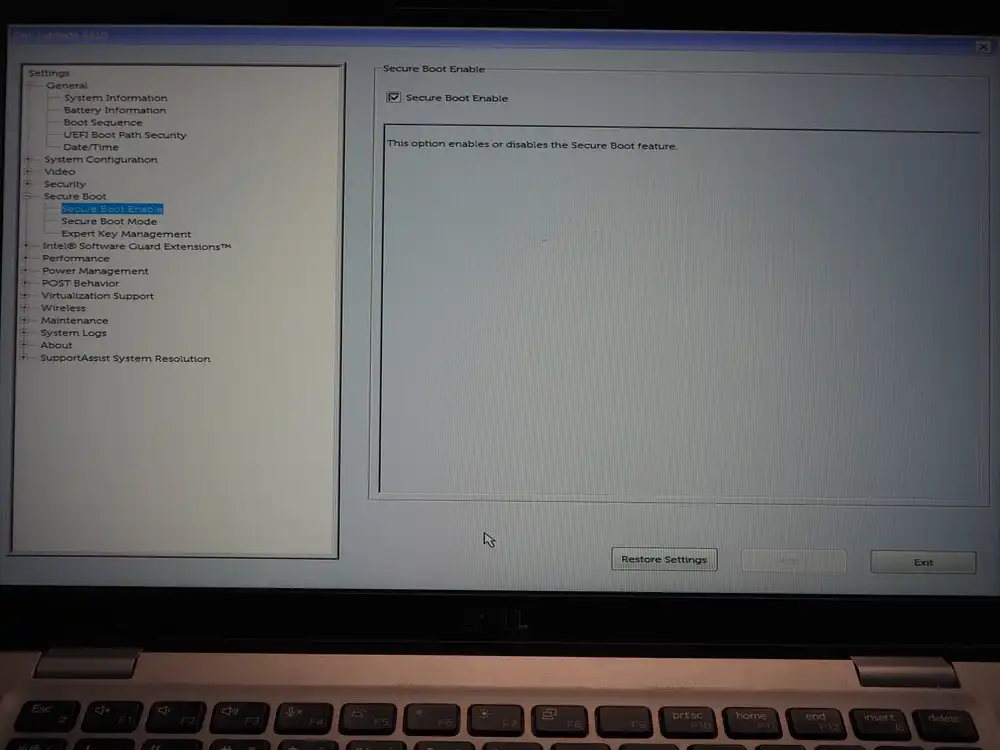
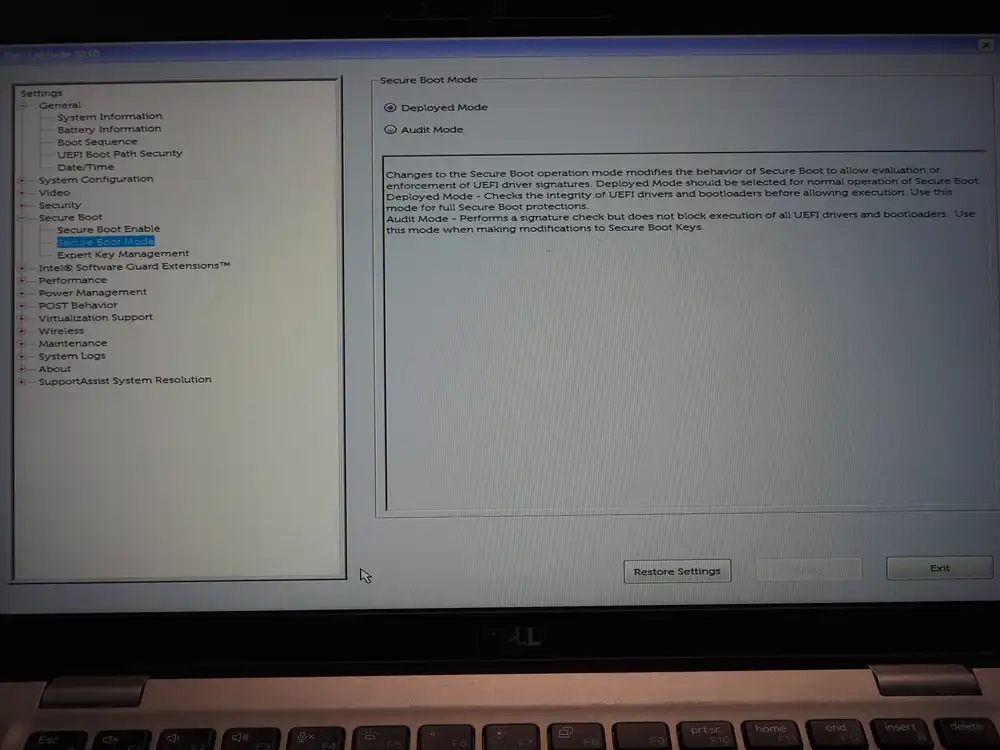
If the USB doesn’t boot or a signature error appears mid-boot, come back here and uncheck Secure Boot Enable to try again.
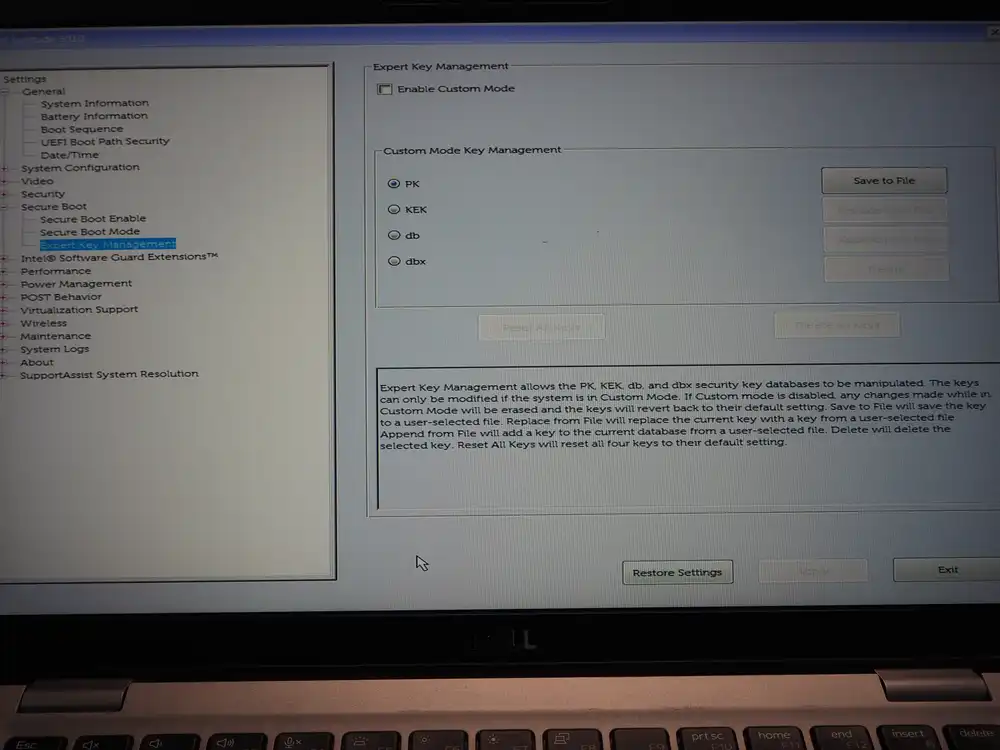
Expert Key Management is for replacing PK/KEK/db/dbx yourself. No need to touch it here.
Boot and install
First attempt: USB boot fails and Dell’s recovery flow takes over
I picked UEFI: SanDisk, Partition 2 from the F12 boot devices list and hit Enter.
No error appeared right after — instead the Dell SupportAssist logo came up.
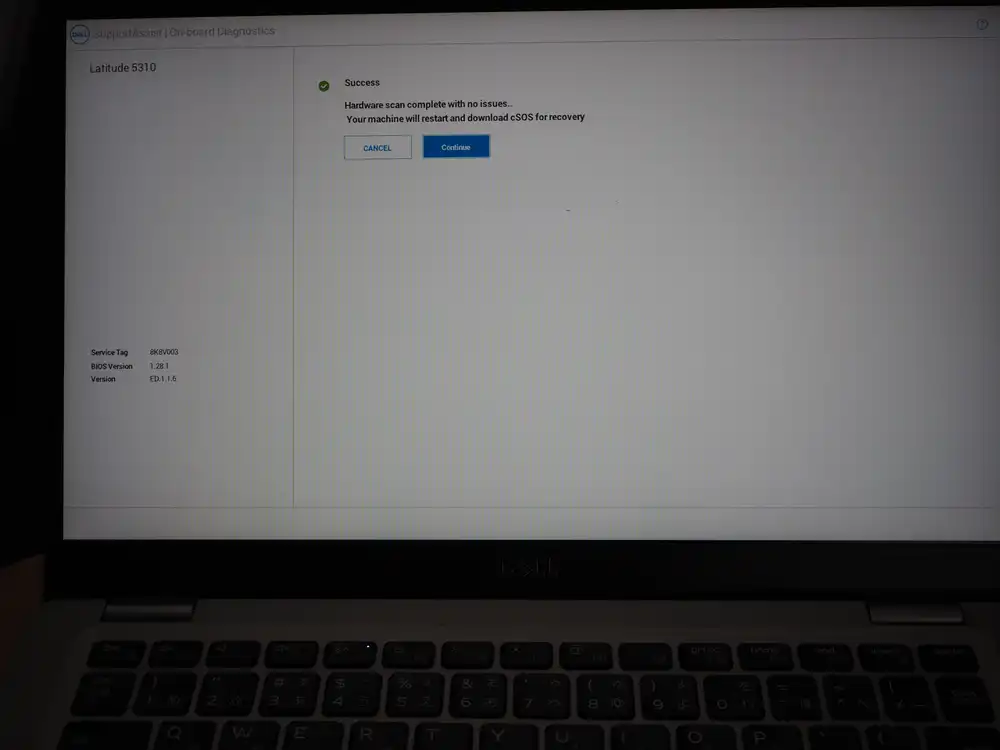
The scan result was Success, but then it said “machine will restart and download cSOS for recovery” and automatically transitioned into a recovery flow.
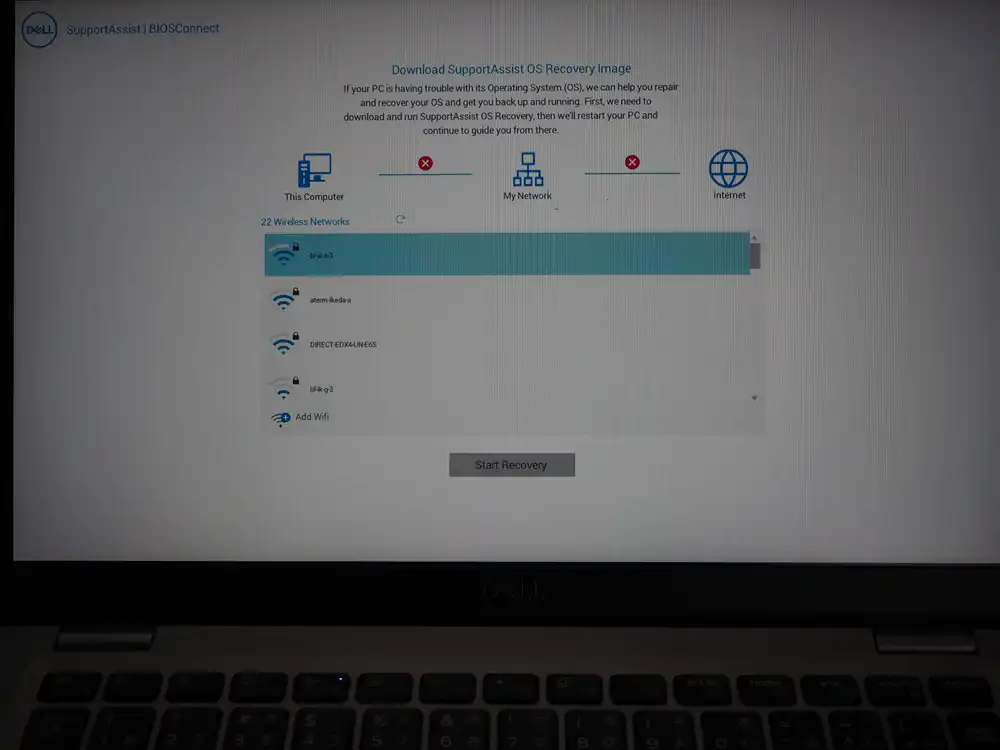
It wants to connect to Wi-Fi and download the “SupportAssist OS Recovery Image” from Dell’s servers.
This is Dell BIOS’s BIOSConnect / SupportAssist OS Recovery feature, which kicks in automatically when it judges that the selected boot device couldn’t boot an OS, and walks you into “Your OS is broken, let’s recover it over the network”. At a glance it looks like “the USB booted successfully and then ran some diagnostics”, but the reality is the USB boot failed and the system silently fell into a different recovery feature. It progresses on its own, so it’s easy to mistake for a selection error.
Worth logging on the failure side because anyone with the same model can hit this.
To get out, Ctrl+Alt+Del for a restart is the easiest. The Cancel button or a long power press also work, but there’s no need to power-cycle.
Disable Secure Boot, retry, and it just boots
The actual cause of the silent USB boot failure was Secure Boot rejecting Mageia’s shim. Mageia 9 is supposed to be Secure Boot compatible, but depending on the Dell key DB and the shim’s signature verification path, it can still get rejected.
Fix:
- F2 → Secure Boot → uncheck Secure Boot Enable
- Apply → Exit
That’s it. No need to re-pick anything with F12 — the UEFI: SanDisk, Partition 2 I’d already put at the top of Boot Sequence worked normally, and Mageia booted straight away after the restart.
Walking through Mageia’s initial setup
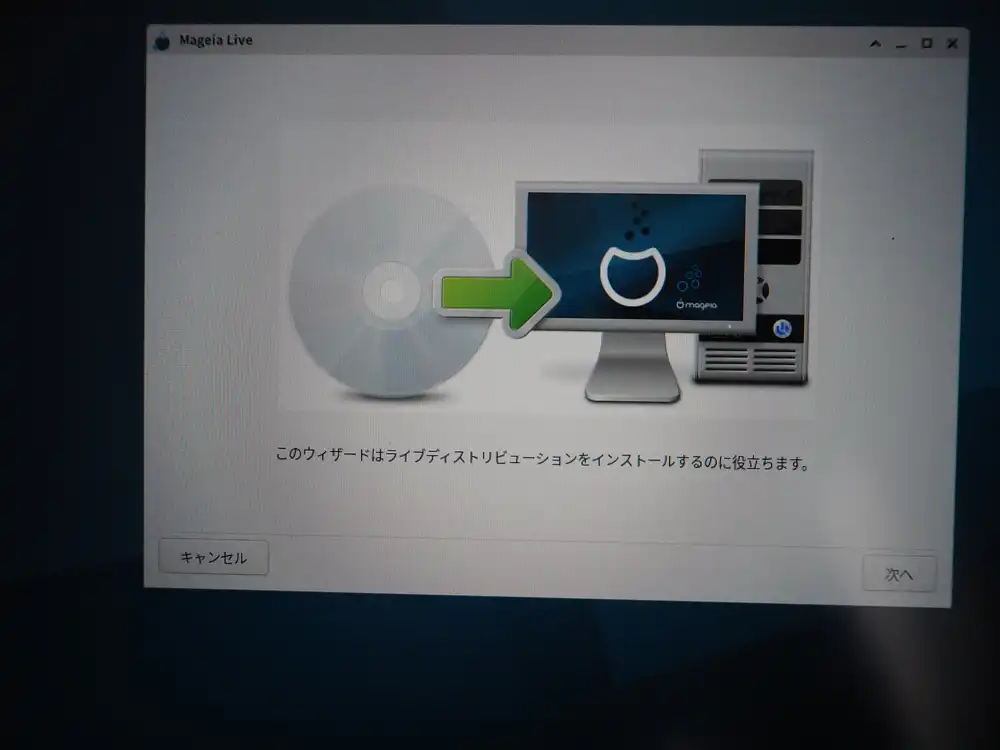
Once boot succeeds, the Live environment setup wizard pops up in sequence.
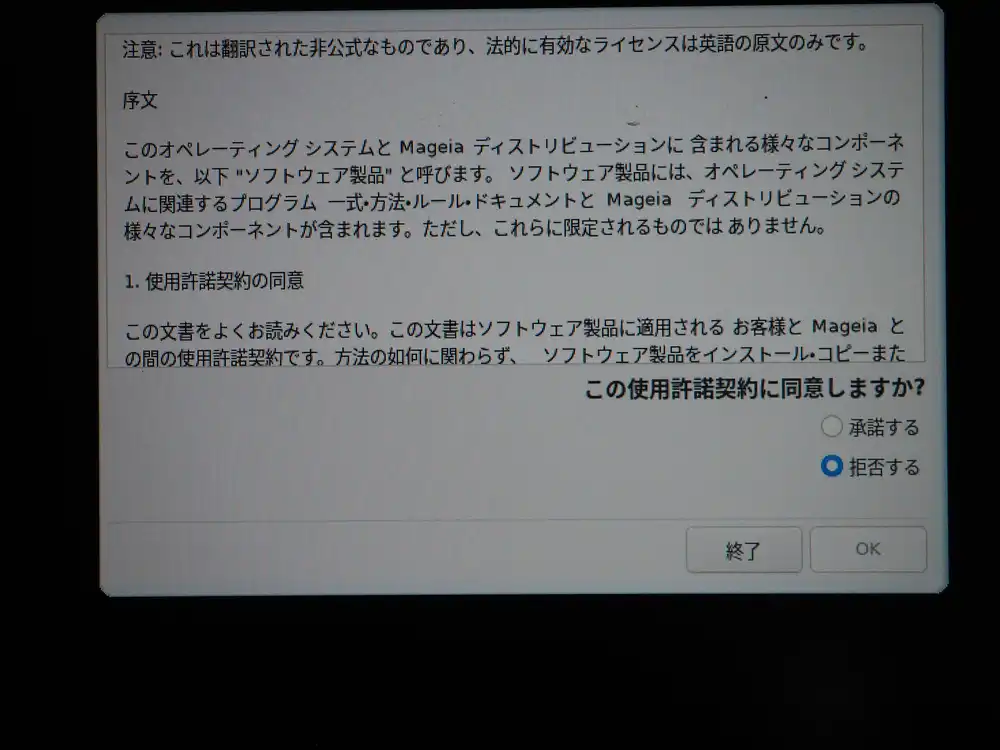
Accepting the license agreement. The Japanese translation shown is just for reference; the legally valid version is the English original. Accept and OK.
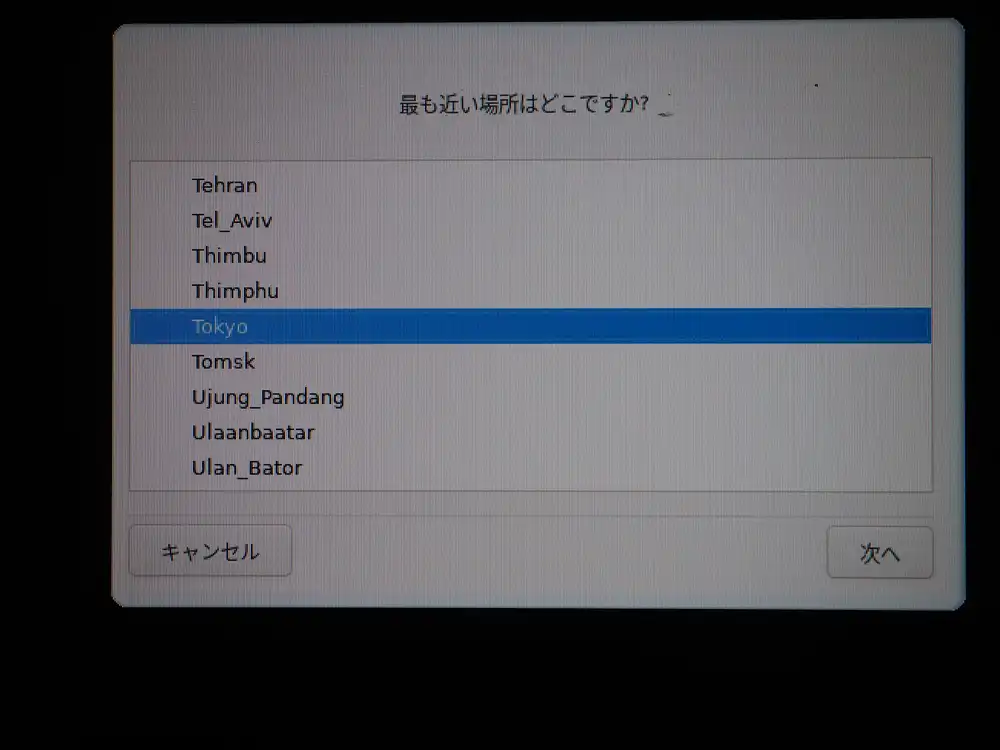
Timezone is Tokyo.
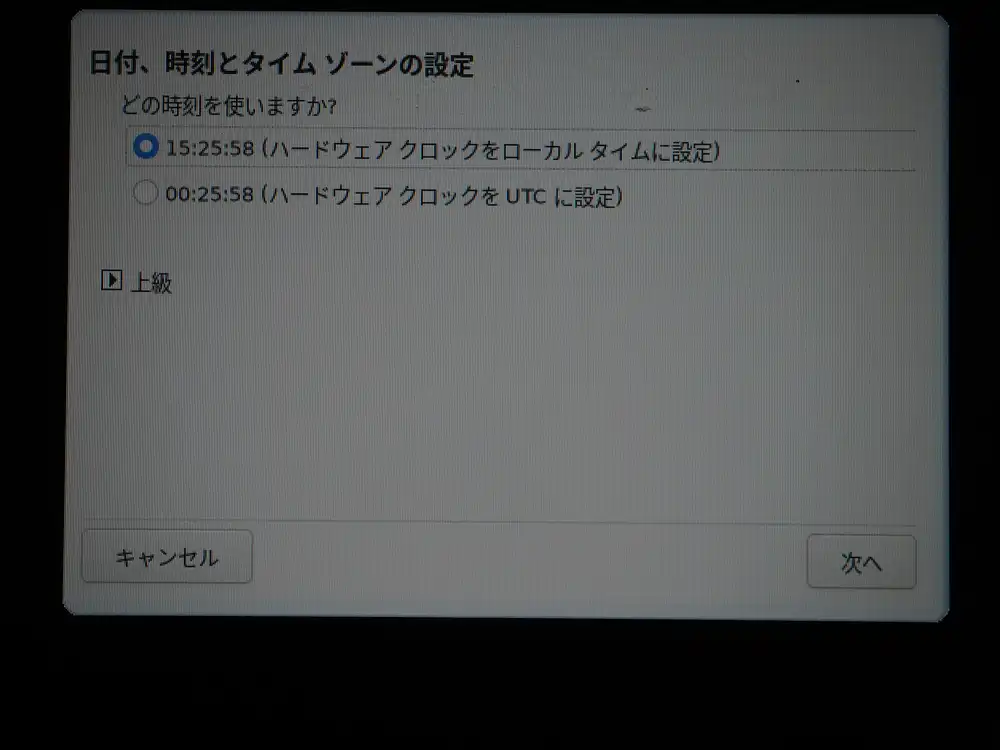
Choose how the hardware clock should be handled. For Linux-only setups, UTC is the proper choice (matches Linux kernel default behavior). If you plan to dual-boot with Windows, local time keeps Windows from going haywire over time mismatches. This time, to avoid clock accidents with Windows, I went with local time. If I commit to Mageia-only, I’ll switch to UTC later.
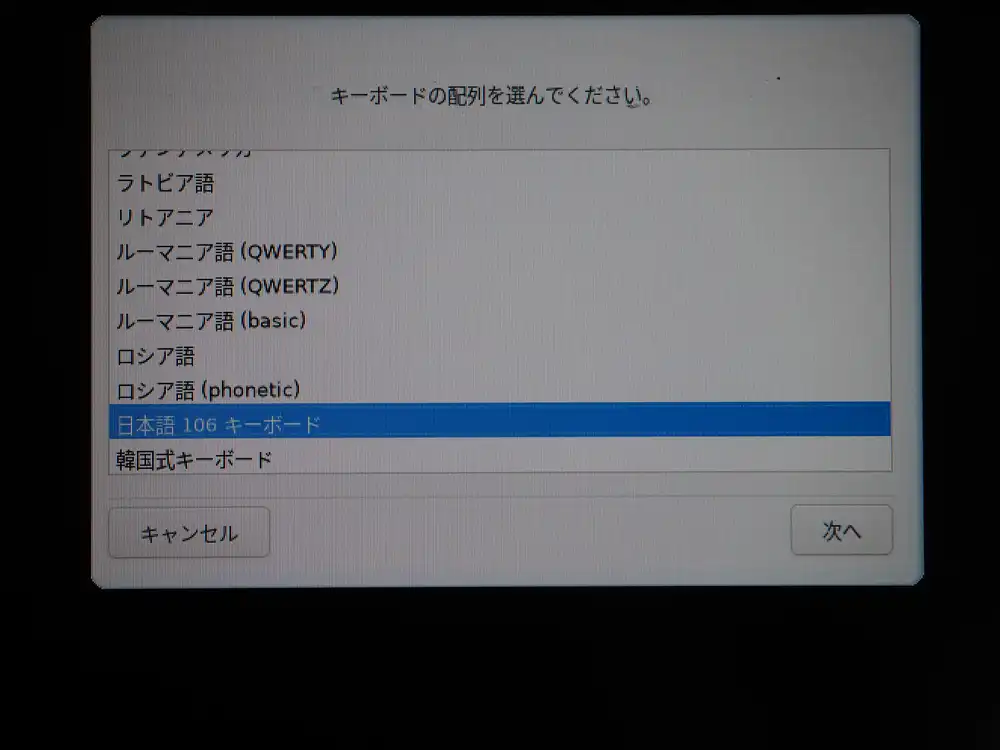
Keyboard is Japanese 106. Matches the hardware so just pick that.
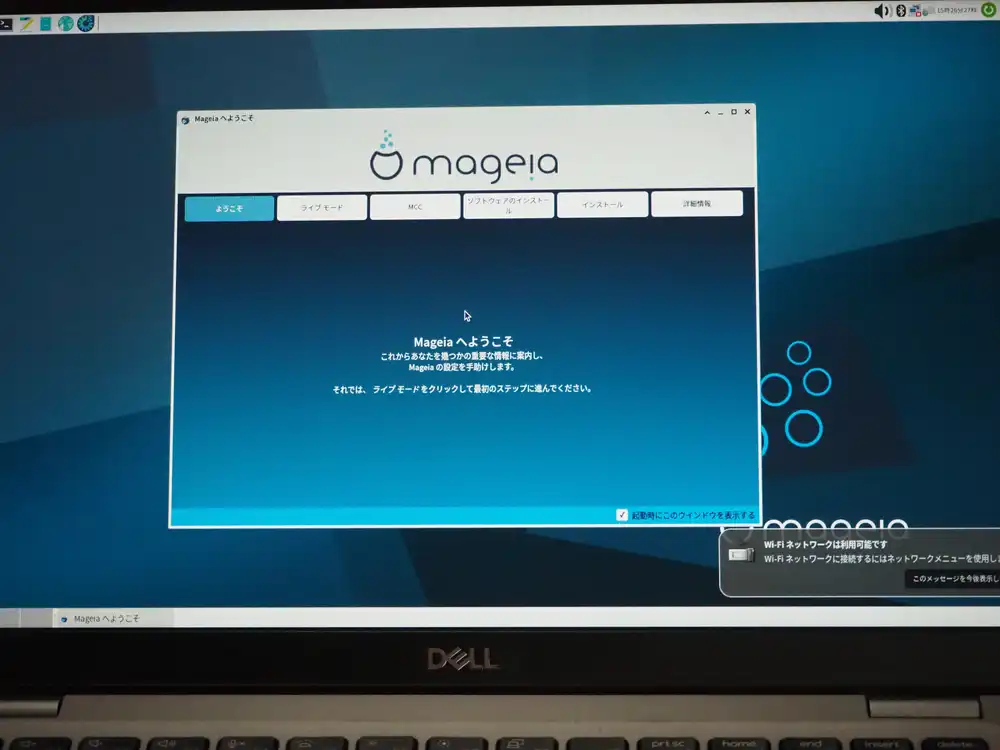
Made it to the Xfce desktop. The “Welcome to Mageia” dialog shows up with tabs (Welcome / Live Mode / MCC / Software install / Install / About). The “Wi-Fi network available” notification at the bottom right confirms Wi-Fi is alive too.
At this point:
- Display works
- Wi-Fi detected (but connecting to a WPA3 SSID errors out; WPA2 works)
- Trackpad and mouse both responsive
- Keyboard layout correct
The minimum hardware the laptop needed is all working.
I first suspected the WPA3 error came from the older wpa_supplicant baked into the Live ISO, but the fact that the Dell BIOSConnect (pre-boot environment) earlier also couldn’t connect to the WPA3 SSID points to a hardware/firmware-side WPA3 SAE limitation, not a Linux-side issue.
The Latitude 5310 shipped with either Wi-Fi 6 AX201 (WPA3-capable) or an older Wi-Fi 5 card (WPA2 only), depending on configuration. This unit has the Qualcomm Atheros QCA6174 (802.11ac, WPA2-era), which I confirmed in the Live environment with inxi -F (see below).
Workaround: switch the home router to WPA2/WPA3 mixed mode, or have a separate SSID running WPA2 only and use that.
Swapping the internal Wi-Fi card on a Latitude 5310 isn’t straightforward around the M.2 slot, so if you absolutely need WPA3, adding a USB Wi-Fi dongle is the realistic option.
Pulling hardware details in Live mode
I closed the Welcome dialog, opened the Xfce terminal, and ran inxi -F and lscpu to confirm the implementation.
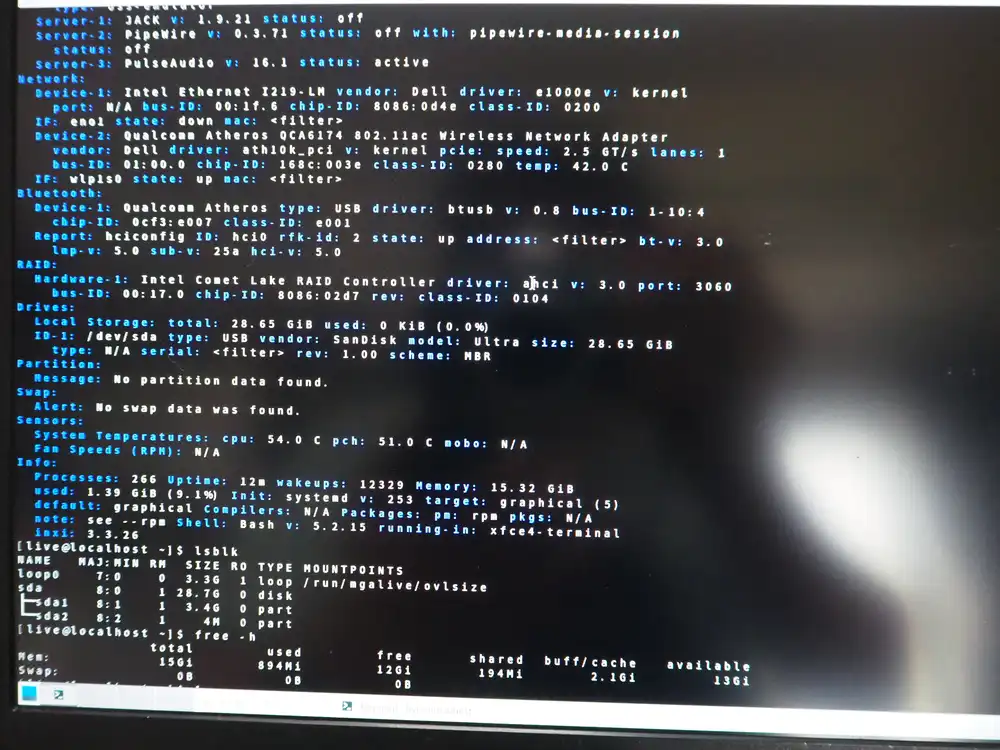
From inxi -F:
- Audio: PipeWire 0.3.71, PulseAudio 16.1 active
- Ethernet: Intel Ethernet I219-LM (Gigabit)
- Wi-Fi: Qualcomm Atheros QCA6174 802.11ac (driver: ath10k_pci) — pre-WPA3 generation
- Bluetooth: Qualcomm Atheros (USB-connected, driver: btusb)
- CPU temp: 54.0°C / PCH 51.0°C (just after Live boot, light load)
- Memory: 15.32 GiB (16GB installed)
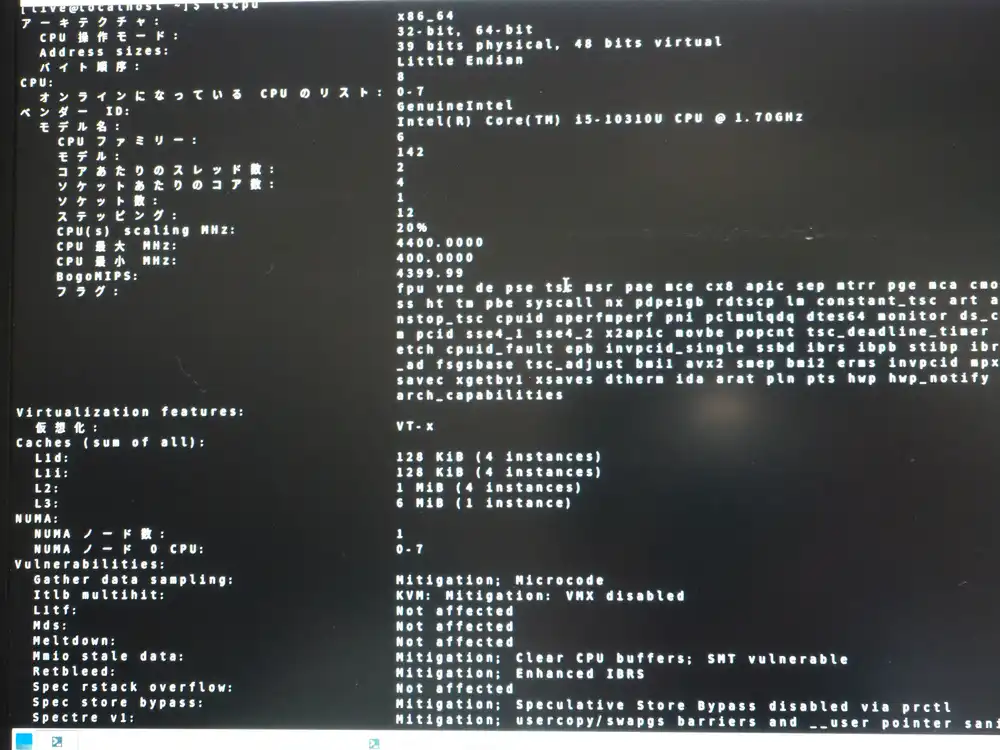
From lscpu:
- CPU: Intel Core i5-10310U (Comet Lake)
- 4 cores / 8 threads
- 1.7GHz base / 4.4GHz turbo
- L1d 128KiB / L1i 128KiB / L2 4MiB / L3 6MiB
- Virtualization: VT-x enabled
- Various CPU vulnerability mitigations applied (Mitigation indicators)
10th-gen vPro i5, 4C8T, 16GB RAM. Even as junk, plenty of headroom for a verification host.
IME deferred
I tried to type Japanese in the terminal and immediately noticed that the Live environment doesn’t have a Japanese IME.
What I set earlier was just the keyboard layout (the physical key mapping); the IME (ibus-mozc / fcitx5-mozc and similar Japanese input engines) is a separate thing.
That’s why pressing the 半角/全角 key does nothing. I’ll just use English input during Live and install urpmi ibus-mozc or urpmi fcitx5-mozc after the install.
Wipe Windows, all Mageia
This junk box is for verification, with no need to keep the existing Windows, so I’m going all-Mageia. Dual-boot just multiplies accidents, and if I ever need Windows again I can run it in a VM.
How to launch the installer
The Welcome dialog’s “Install” tab wasn’t obvious, so I typed install in the Whisker Menu search box to find it.
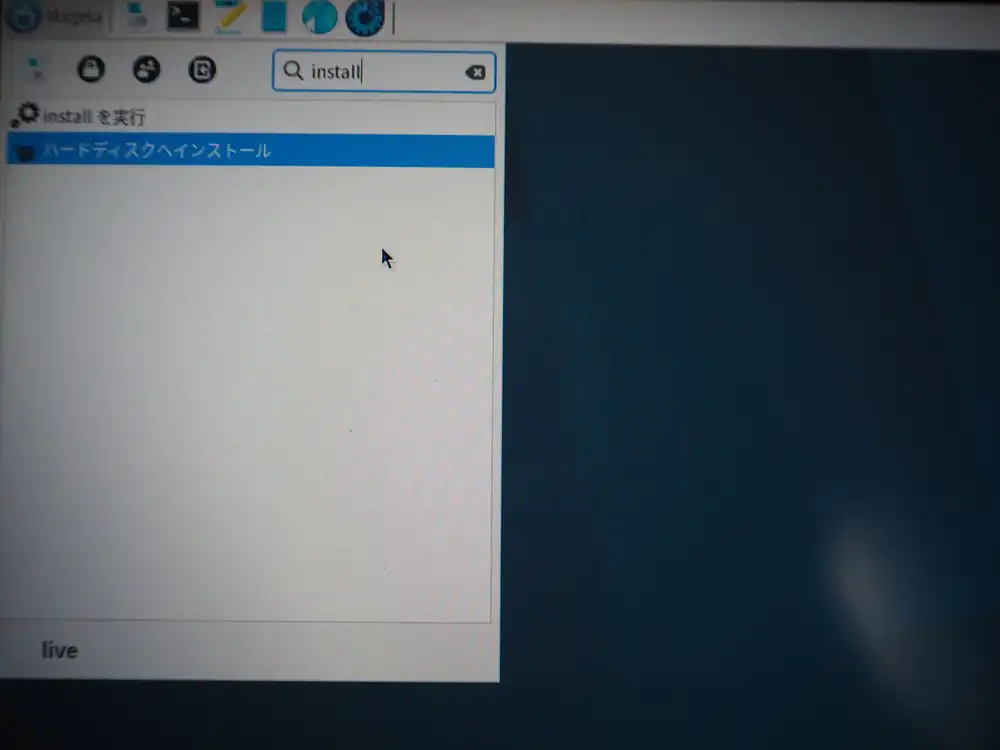
Clicking “Install on Hard Disk” launches the installer.
First attempt: installer stops on an error
Right after clicking Next, it stops on a Perl-origin error.
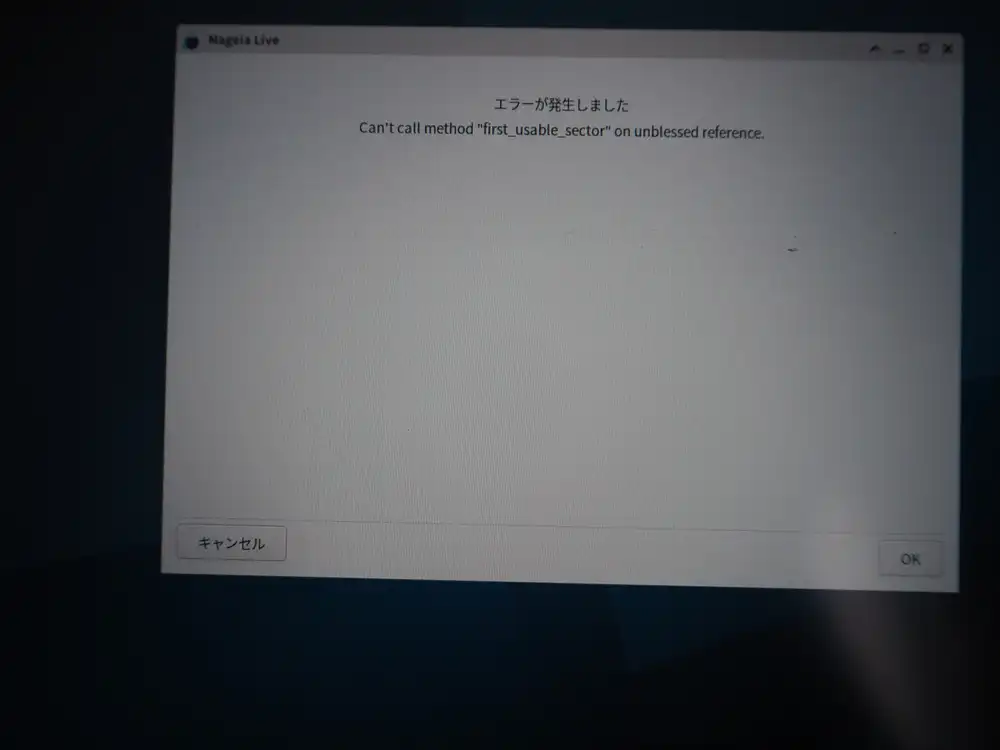
Can't call method "first_usable_sector" on unblessed reference.
This is what the Mageia installer (Perl-based) prints when it fails to get partition info from a disk. “unblessed reference” is a Perl-specific message meaning “I expected an object but got something undefined”.
So the installer can’t find a destination disk.
Investigation: the internal SSD isn’t visible
Open a terminal and check actual state with lsblk — turns out the internal SSD isn’t recognized at all.
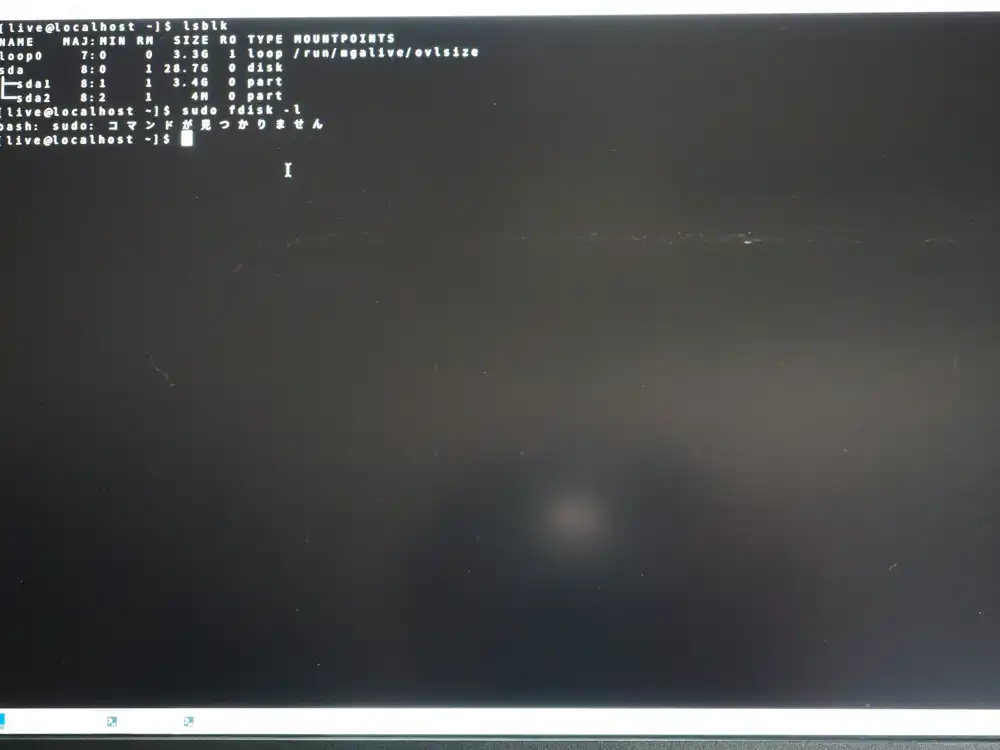
NAME    MAJ:MIN RM   SIZE RO TYPE MOUNTPOINTS
loop0     7:0    0   3.3G  1 loop /run/mgalive/ovlsize
sda       8:0    1  28.7G  0 disk
├─sda1    8:1    1   3.4G  0 part
└─sda2    8:2    1     4M  0 part
Only the USB (sda) shows up. The internal SSD should appear as nvme0n1 or sdb, but it’s missing. BIOS recognized it just fine, so the hardware isn’t broken — the Linux side just can’t get to it.
While at it, sudo fdisk -l came back with “sudo: command not found”. Mageia Live ISO doesn’t include sudo by default — for root operations, get a root shell with su - first. The root password in the Live environment is empty (just press Enter).
Cause: SATA was in RAID mode
A classic trap on junk Dell machines: when the BIOS’s SATA Operation is set to Intel RST (RAID) mode, Linux can’t see the internal SSD. Windows reads it through the Intel RST driver, but Linux needs AHCI mode to handle it normally.
In hindsight, the early inxi -F output already mentioned Intel Comet Lake RAID Controller, which was the foreshadowing.
BIOS: switch SATA Operation to AHCI
F2 to enter BIOS → System Configuration → SATA Operation → change to AHCI.
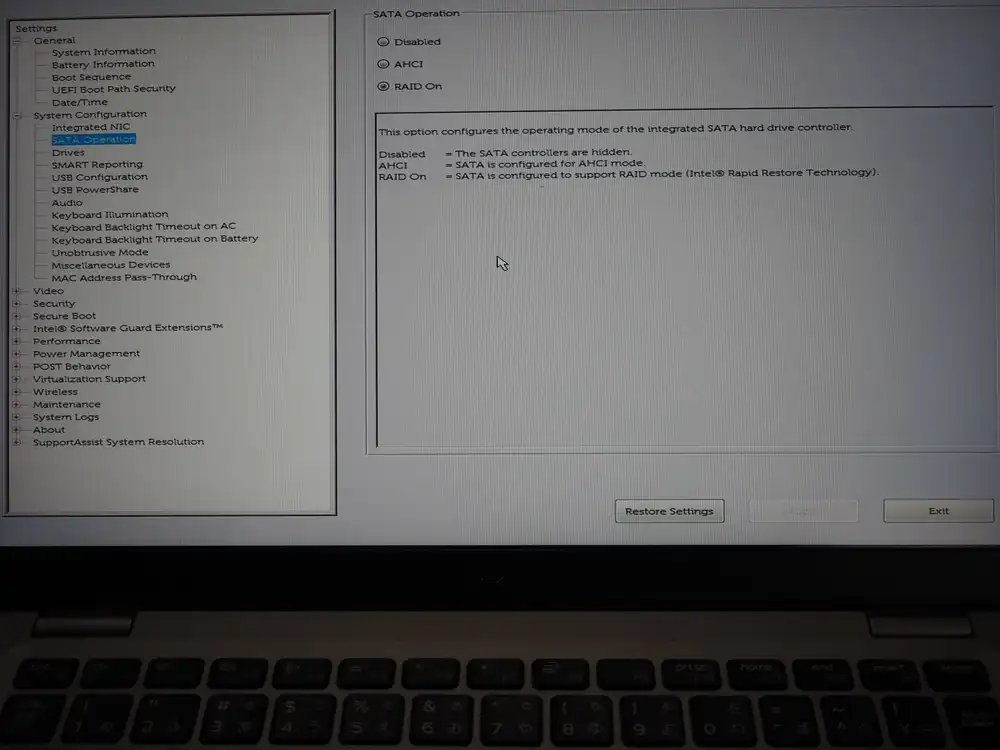
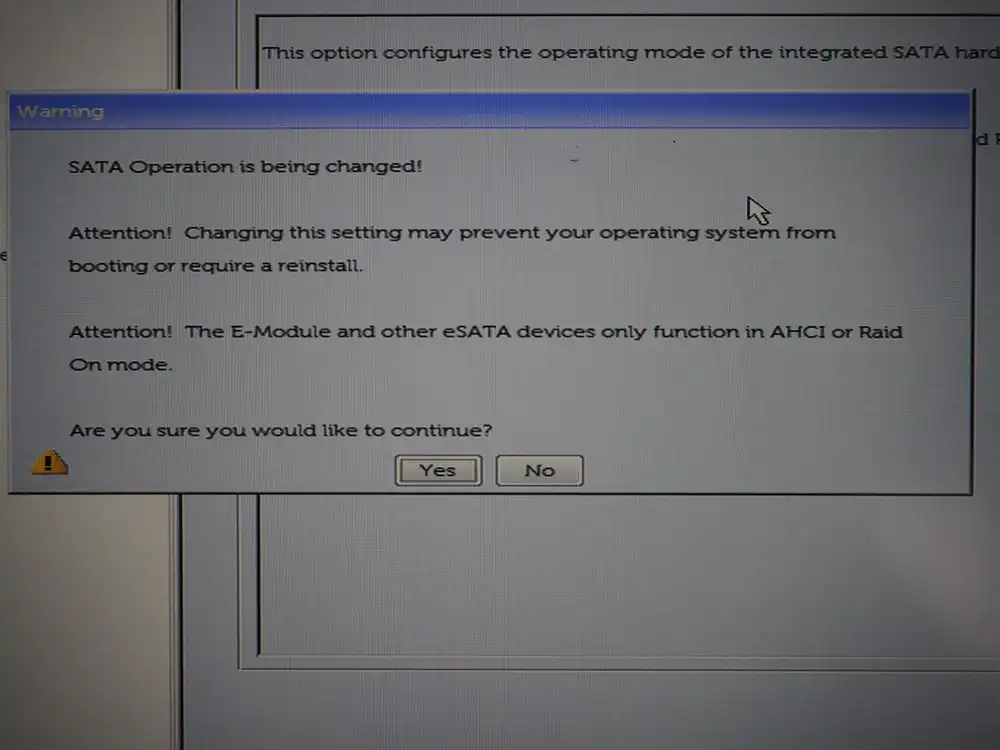
A warning shows up; confirm Yes → Exit. On a Windows install, this change makes it unbootable, but since I’m wiping Windows anyway, doesn’t matter.
Second attempt: disk selection
Restart Live → run “Install on Hard Disk” again. This time no first_usable_sector error, the wizard proceeds.
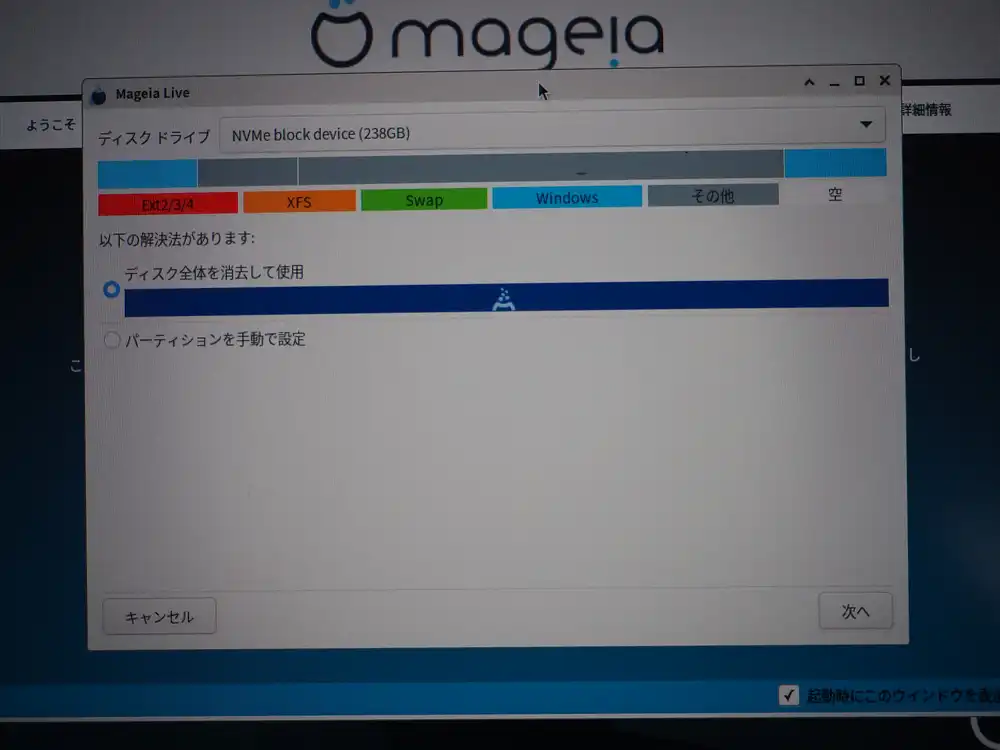
The 238GB internal NVMe finally shows up. Pick “Erase and use entire disk” and proceed.
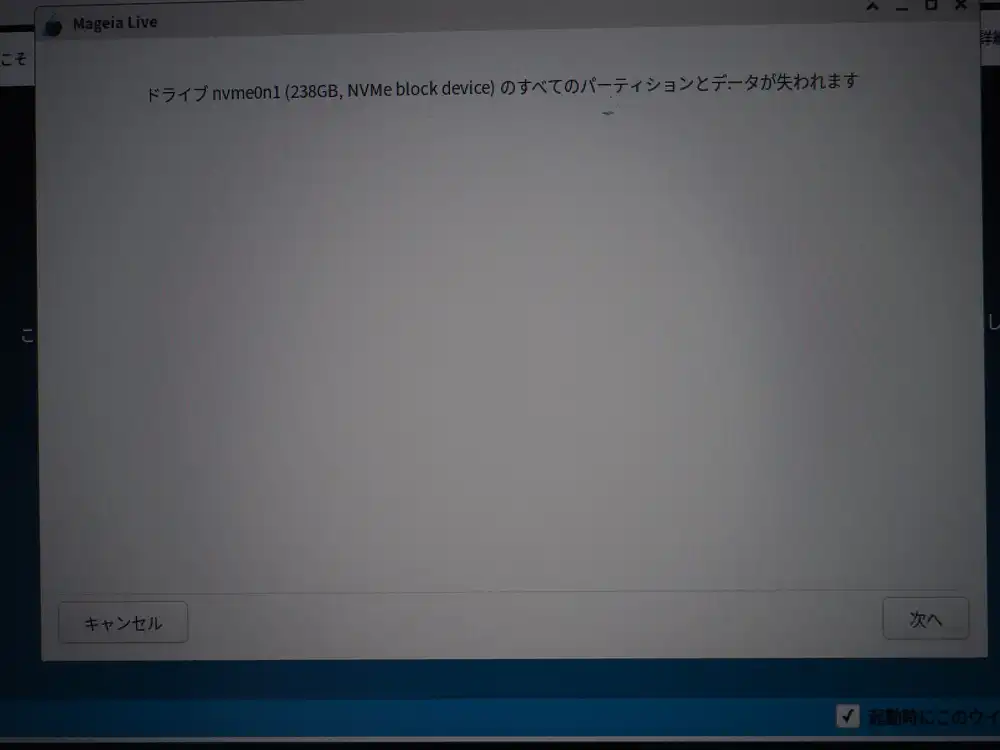
Confirm that I’m okay wiping Windows. Next.
At this point the first format runs, Windows partitions are erased, and Mageia’s auto-partitioning (nvme0n1p2 50GB / + nvme0n1p4 183GB /home) gets written to disk.
Removing unused packages
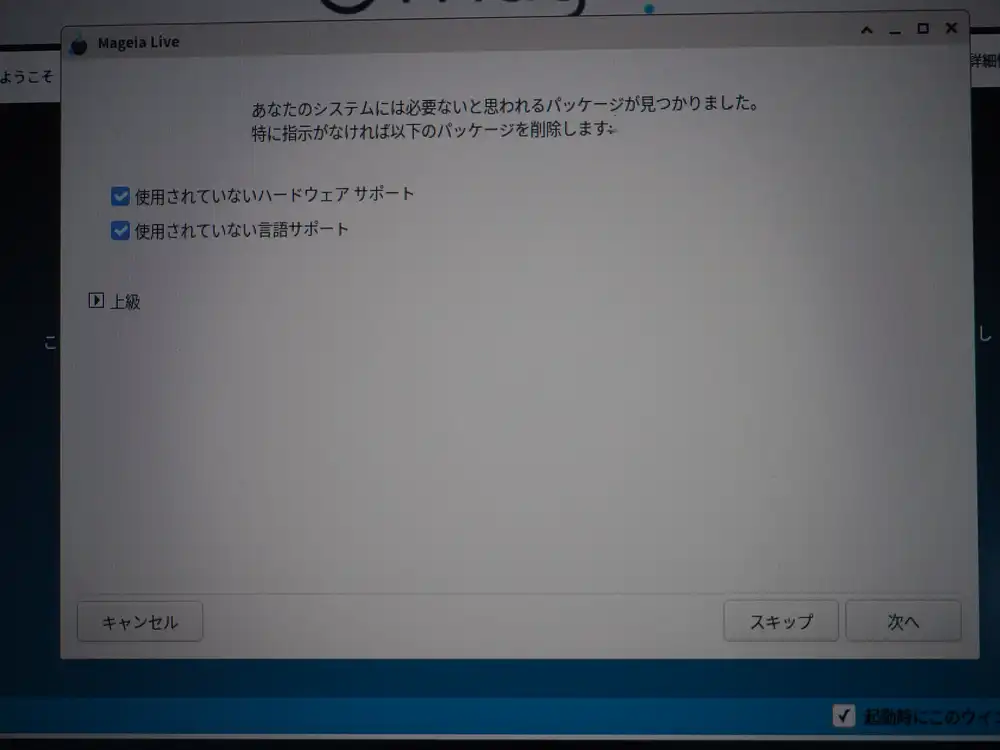
It asks whether to remove unused hardware and language support. On a verification host, leftover drivers and language packs just get in the way, so I checked both and removed them. Next.
The install itself
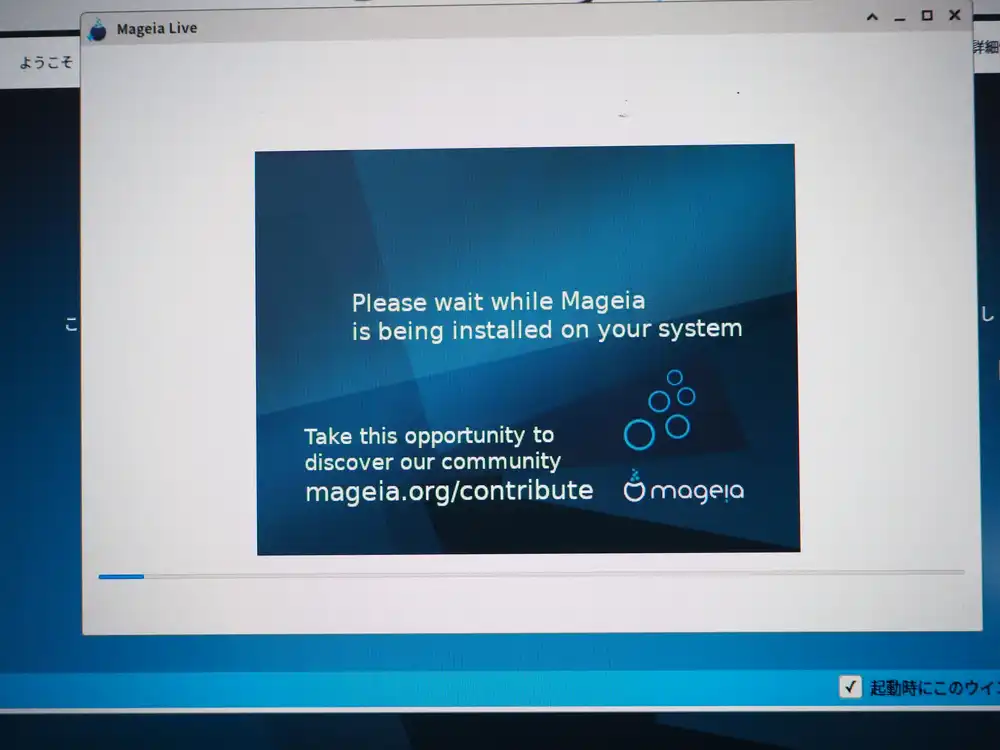
File copy runs. The mageia.org/contribute invitation shows up on the side.
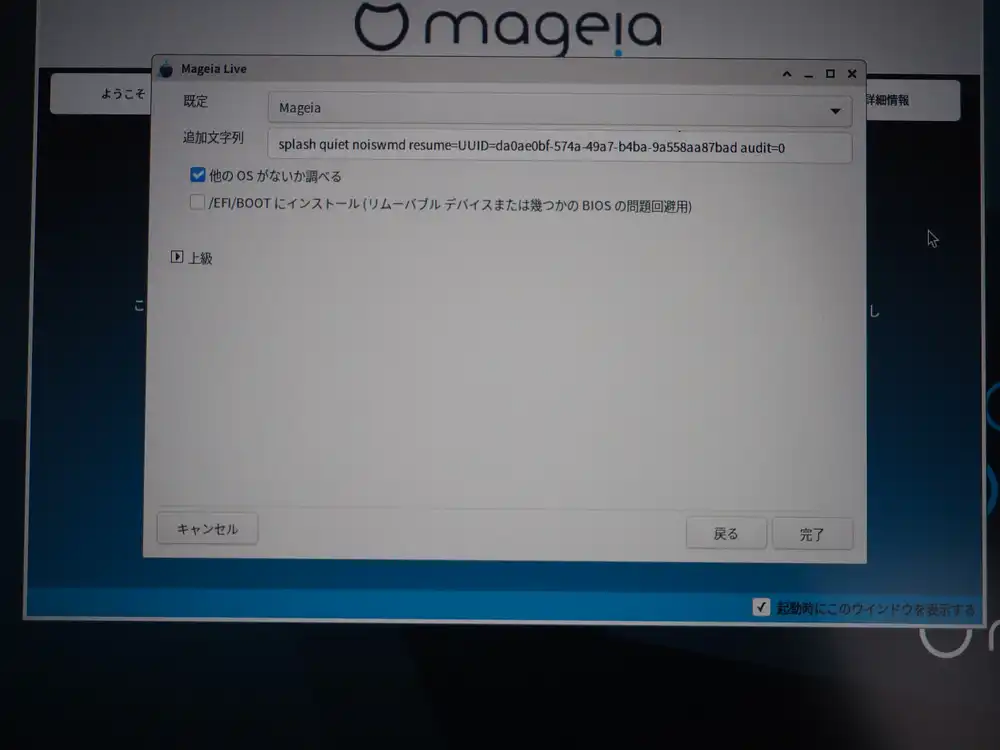
Bootloader configuration
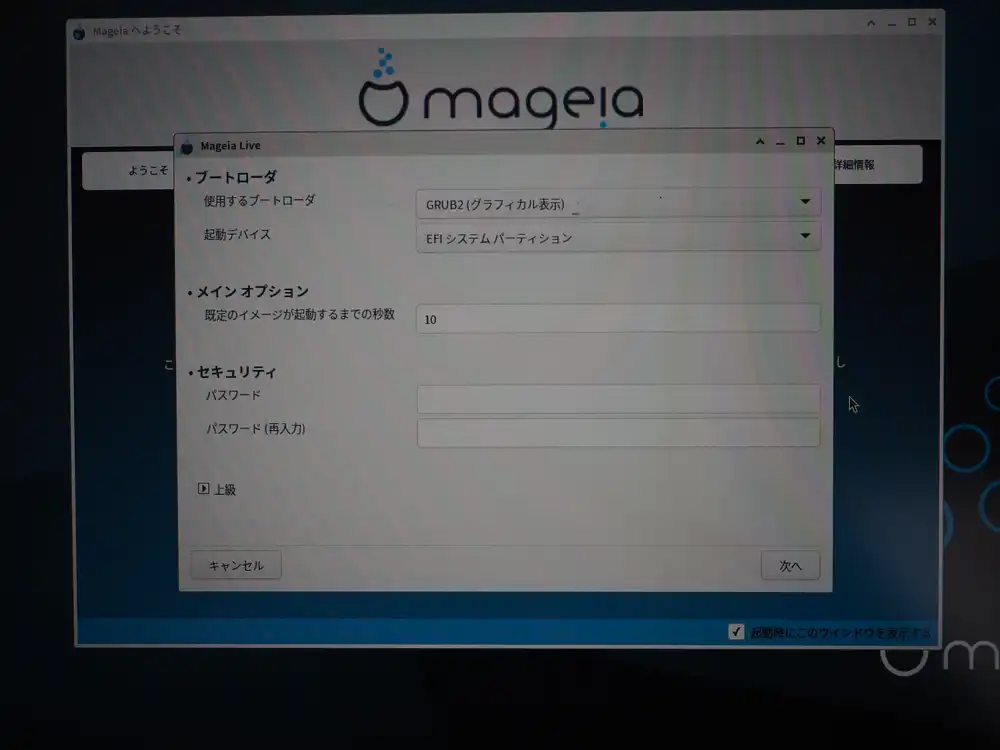
Default config: GRUB2 (graphical) written to the EFI system partition. 10-second timeout, no bootloader password. Verification box, so leave as is.
Advanced side. Kernel boot options include splash quiet noiswmd resume=UUID=.... audit=0 suppresses auditd logs. “Check for other OSes” is ON (Windows is gone, so it won’t find anything). “Install in /EFI/BOOT” forces the standard path, used as a workaround for some legacy BIOS issues — leave it OFF.
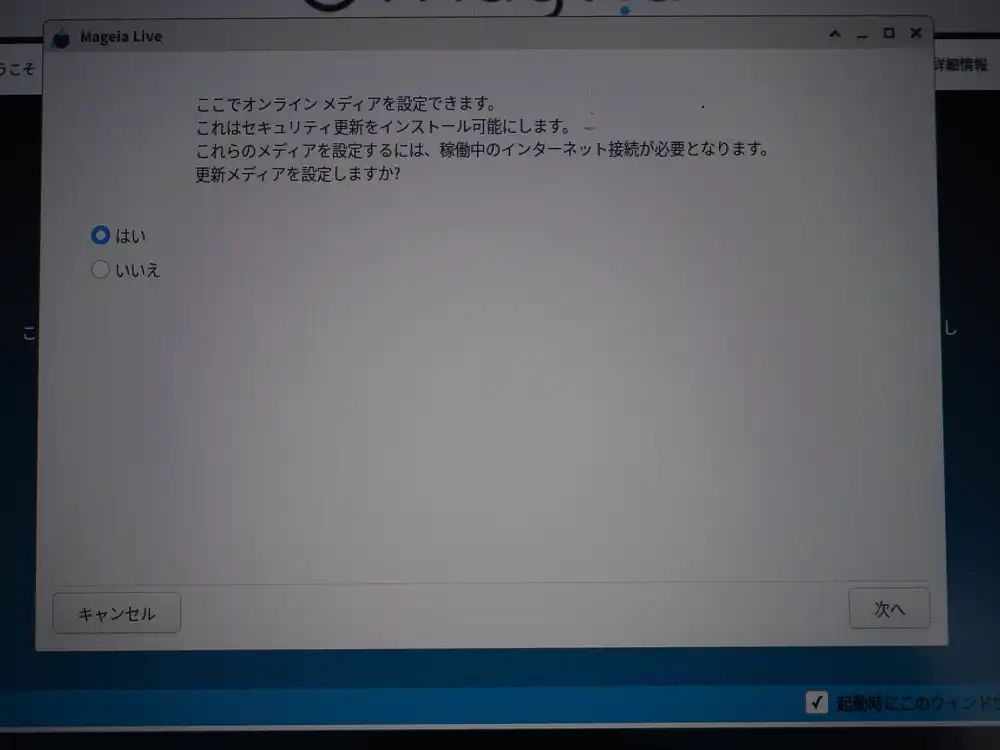
Enable online update media with “Yes”.
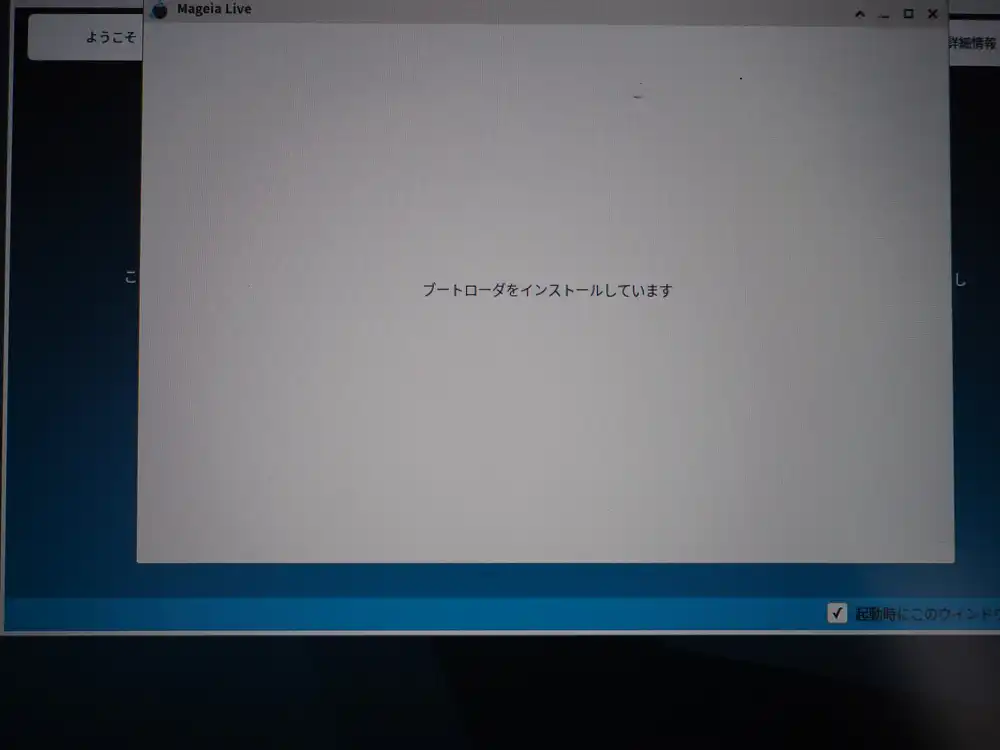
GRUB2 being written.
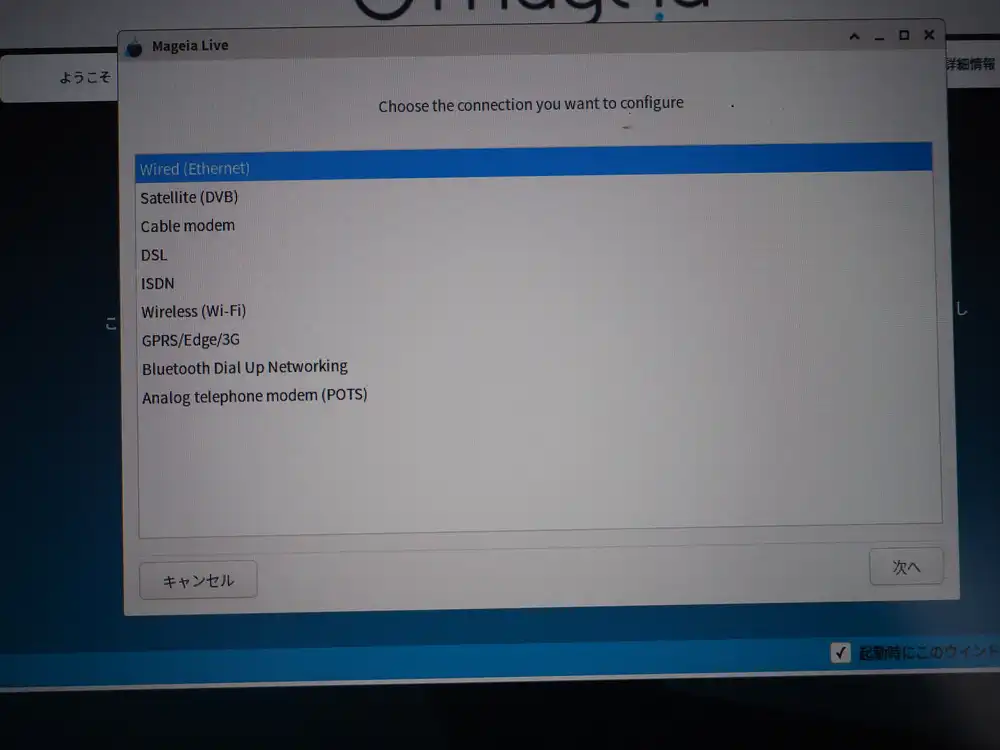
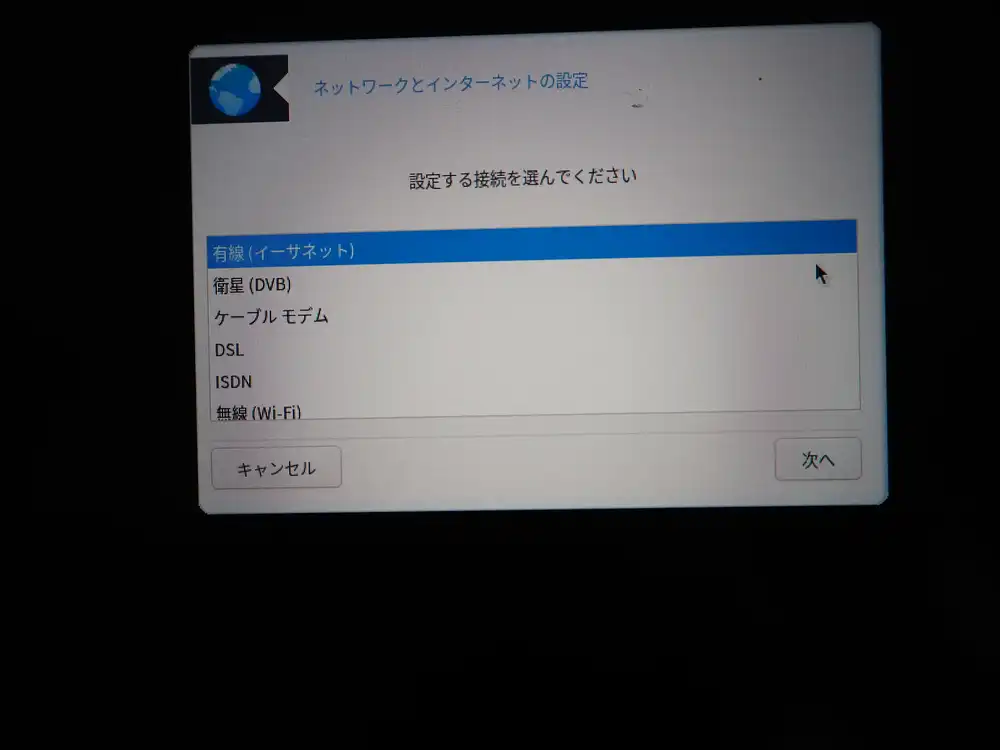
Network setup — where I accidentally closed the wizard
From here on, Japanese localization stops kicking in and you get unexpected English-only screens (a Mageia quirk). Connection type: pick Wireless and Next.
Wi-Fi interface selection. Pick wlp1s0 for the Qualcomm Atheros QCA6174 (not the ndiswrapper option).
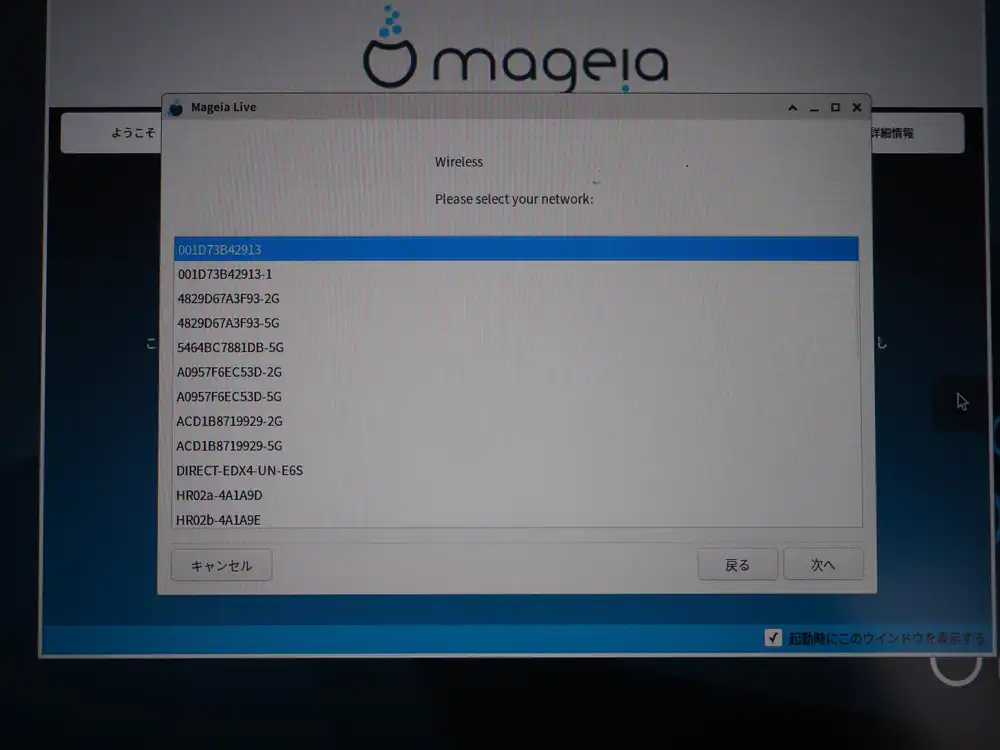
Pick my home WPA2 SSID.
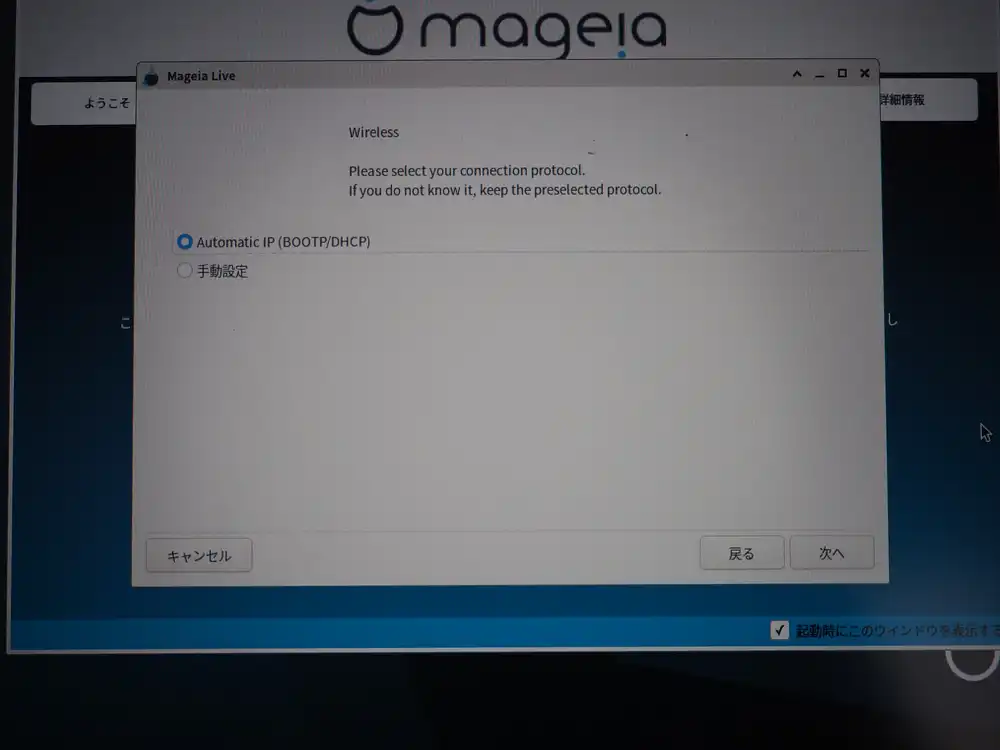
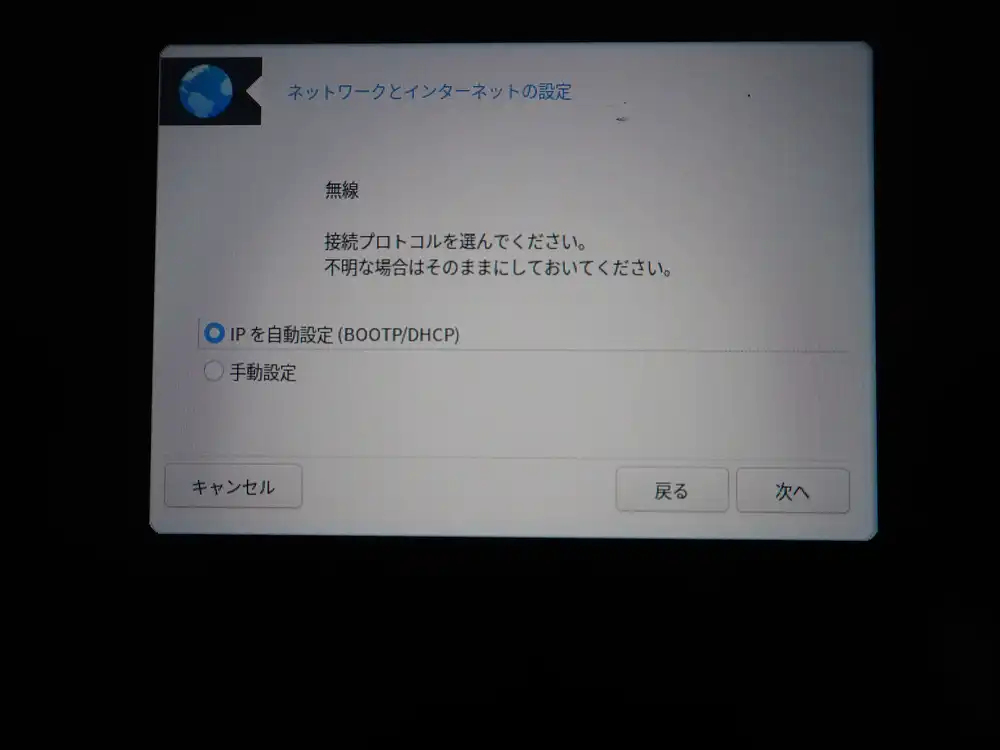
Connection protocol is Automatic IP (DHCP).
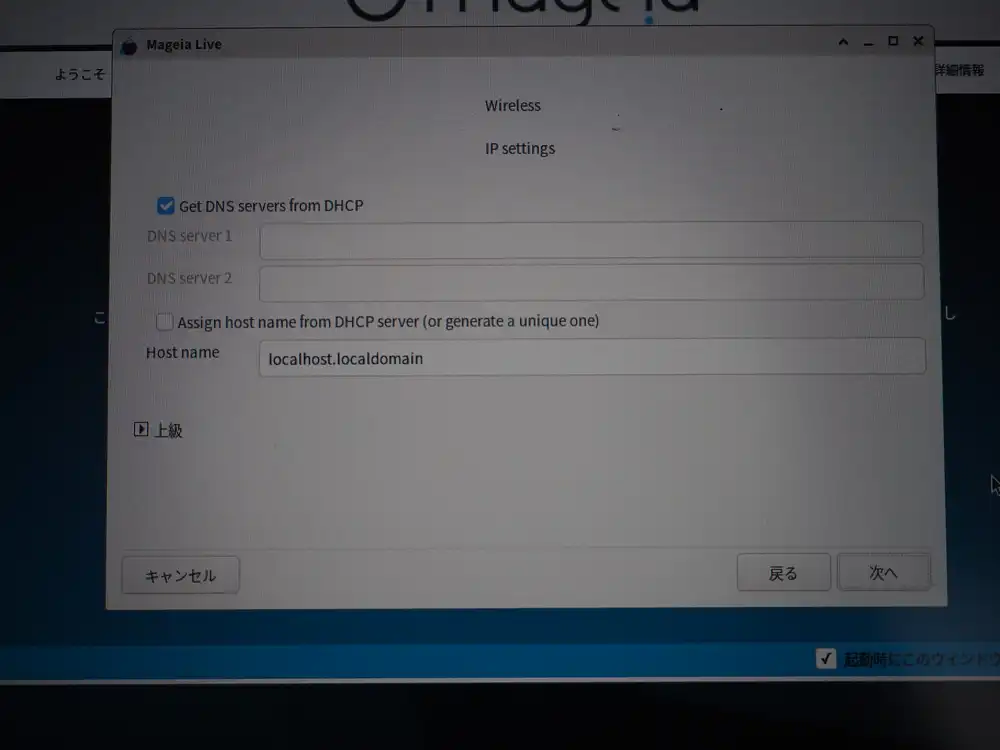
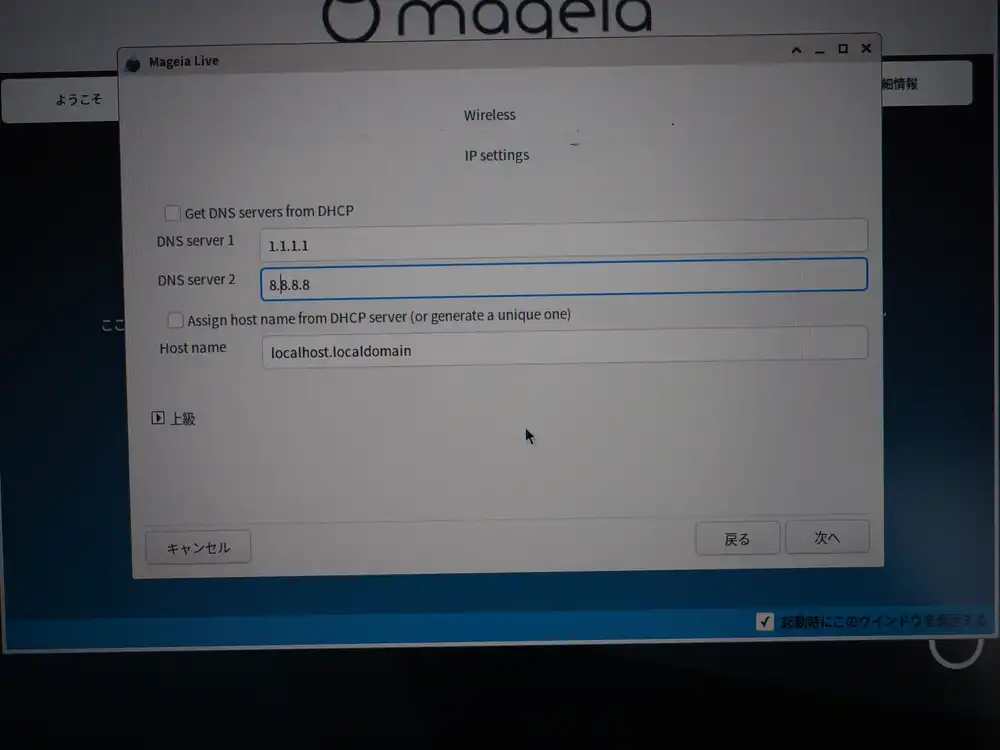
IP settings. As-is: leave DNS to DHCP, the default state.
I wanted to fix the DNS to Cloudflare here, so I unchecked the DHCP option and switched to manual entry.
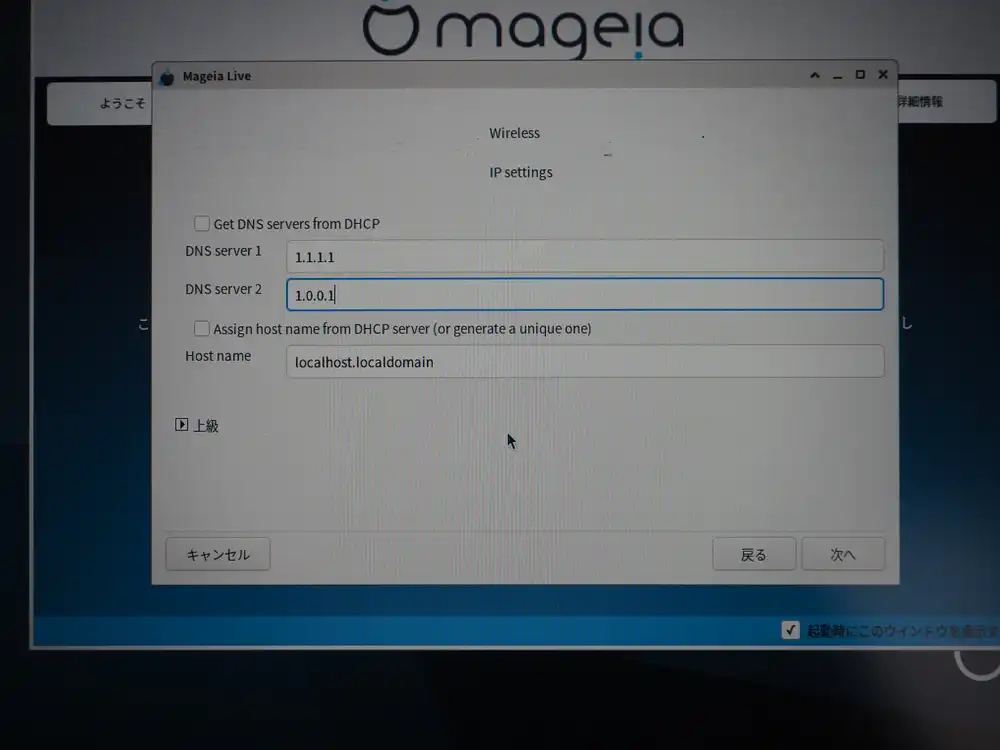
I first put both Cloudflare (1.1.1.1 + 1.0.0.1).
But Cloudflare’s DNS, while fast, had multiple short name-resolution outages from late 2025 into early 2026. Concentrating on a single provider means immediate dead-end when it falls over, so I want to include a second provider’s system.
Changed the secondary to 8.8.8.8 (Google). With this, even if CF is down, name resolution itself keeps going.
This is where the wizard-closes accident happened: I clicked “Advanced” to open the advanced panel, then clicked “Close” — and the entire wizard closed. The “Close” I clicked looked, from its position and wording, like the button that collapses just the advanced panel, but it was actually the button that exits the entire wizard. The Mageia wizard’s “Close” / “Quit” / “Cancel” / “Done” labels are hard to map to scope from position and text alone — does pressing it just fold up an advanced section, exit the current step, or kill the whole wizard? The wizard fully exits here, which means starting over.
I didn’t even need to open the advanced panel for DNS settings (entering the primary/secondary DNS directly is enough), so this is a mistake most people wouldn’t make. But the advanced panel is permanently visible at the bottom of the screen, which tempts you to click it, and then the behavior of the “Close” button is easy to misread — it’s that kind of trap.
Wizard restart → second format confirmation
The restarted wizard skipped the initial “Erase and use entire disk” step (the disk was already partitioned in Linux layout) and instead presented a format instruction for the existing Linux partitions (p2/p4).
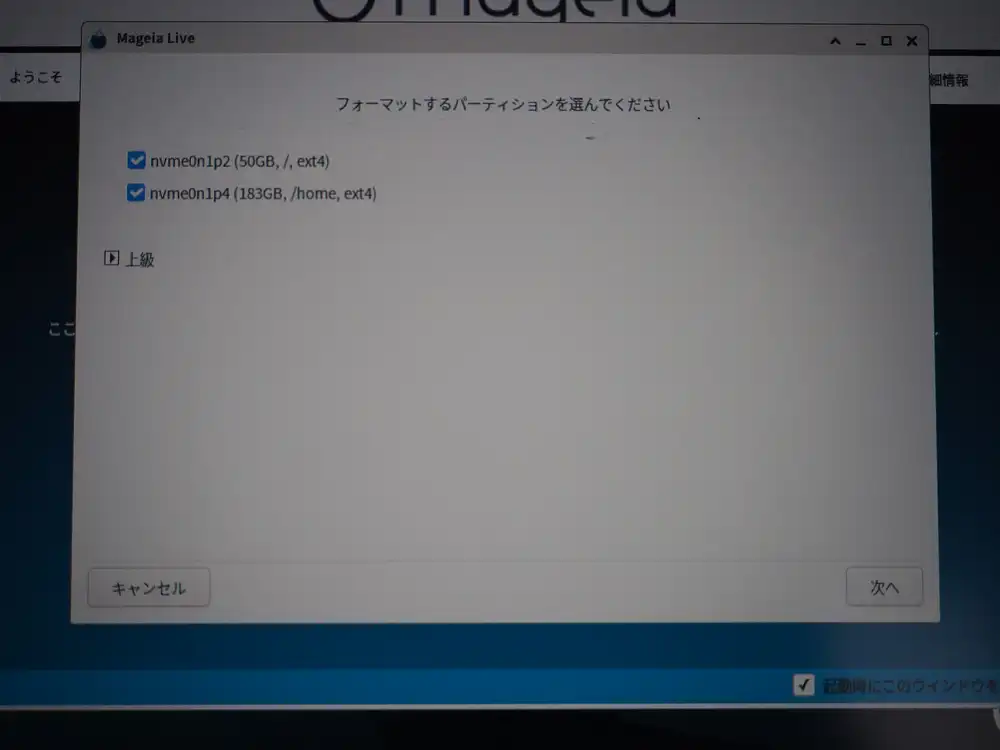
The first format already wiped Windows, so this is a second format on the Linux partitions. Leave both checked and Next.
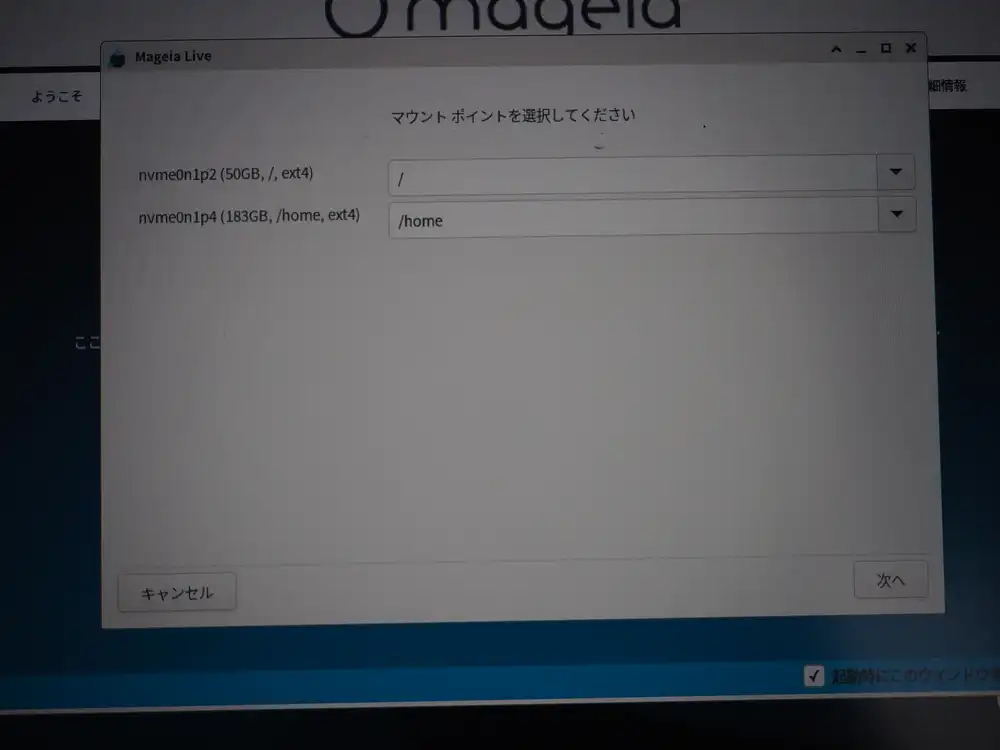
Mount point assignments are the proposed / and /home.
Wireless connection control and connection test
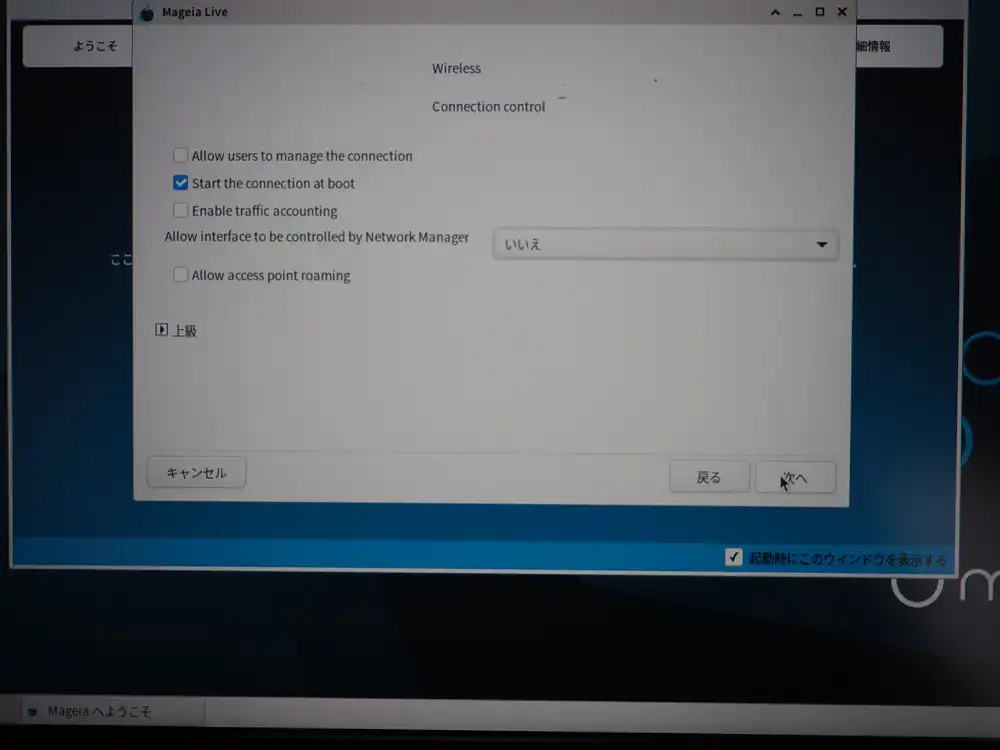
Connection control. Only Start the connection at boot is ON, the rest defaults. Note that “Allow interface to be controlled by Network Manager: No” — this is what later prevents the regular user from changing Wi-Fi settings (the connection itself still comes up automatically).
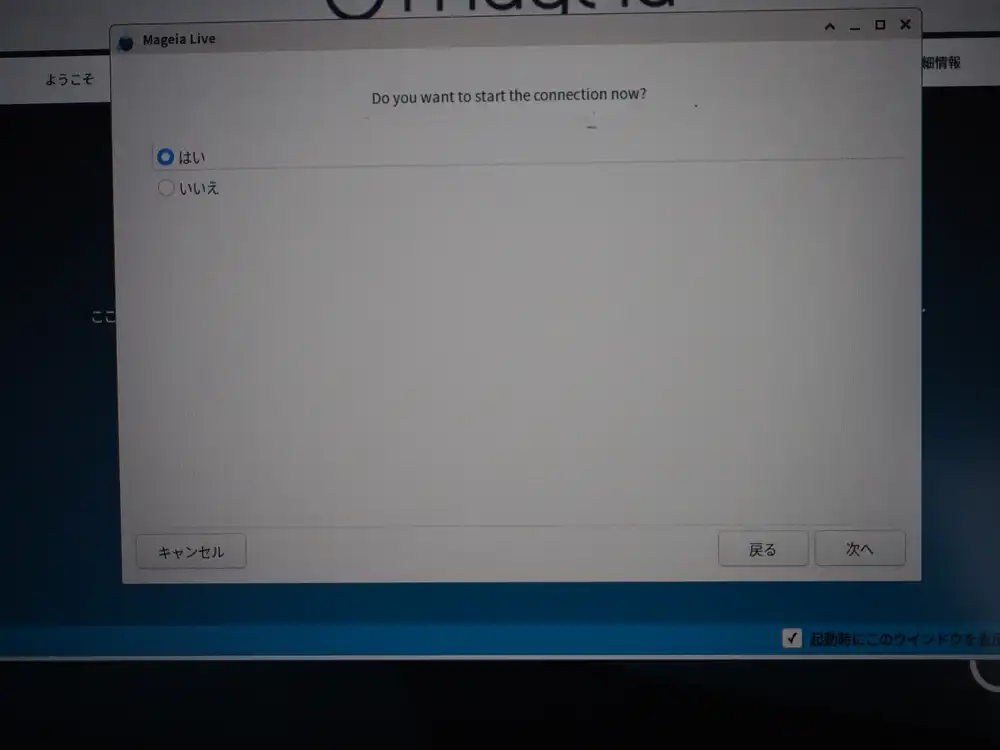
Start the connection now? Yes.
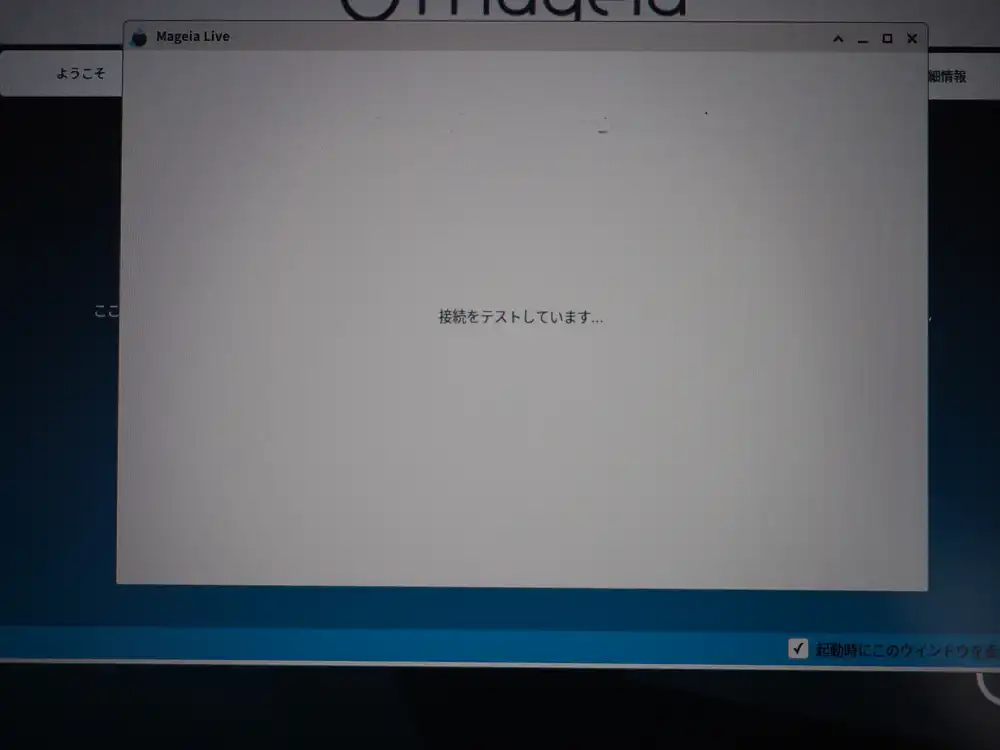
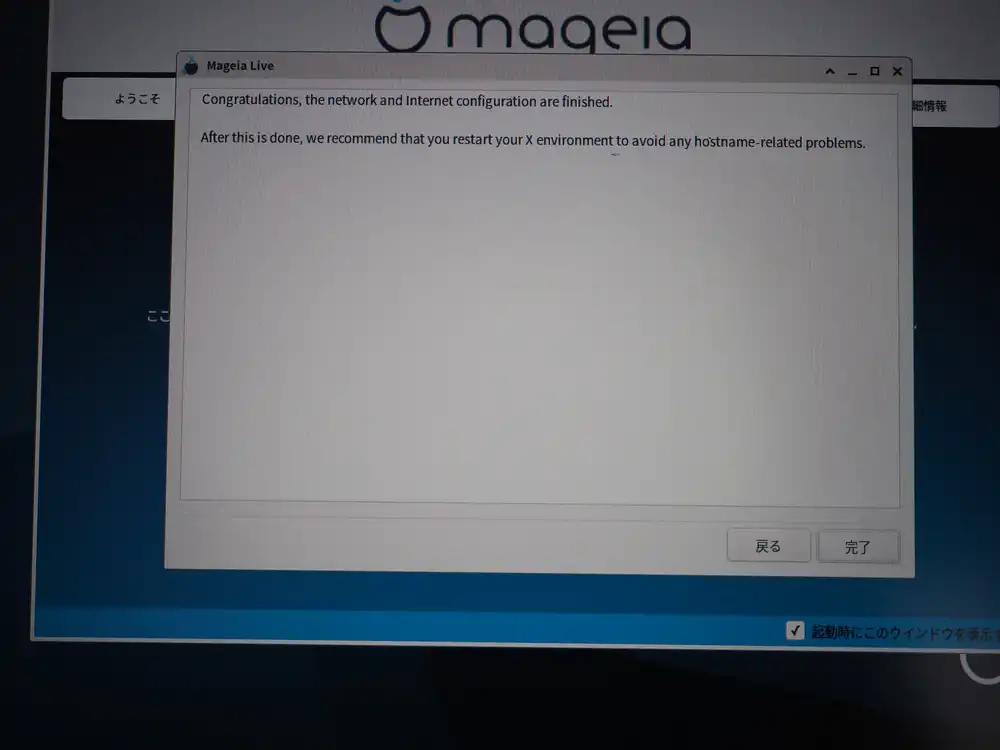
Network done.
Pulling in online updates
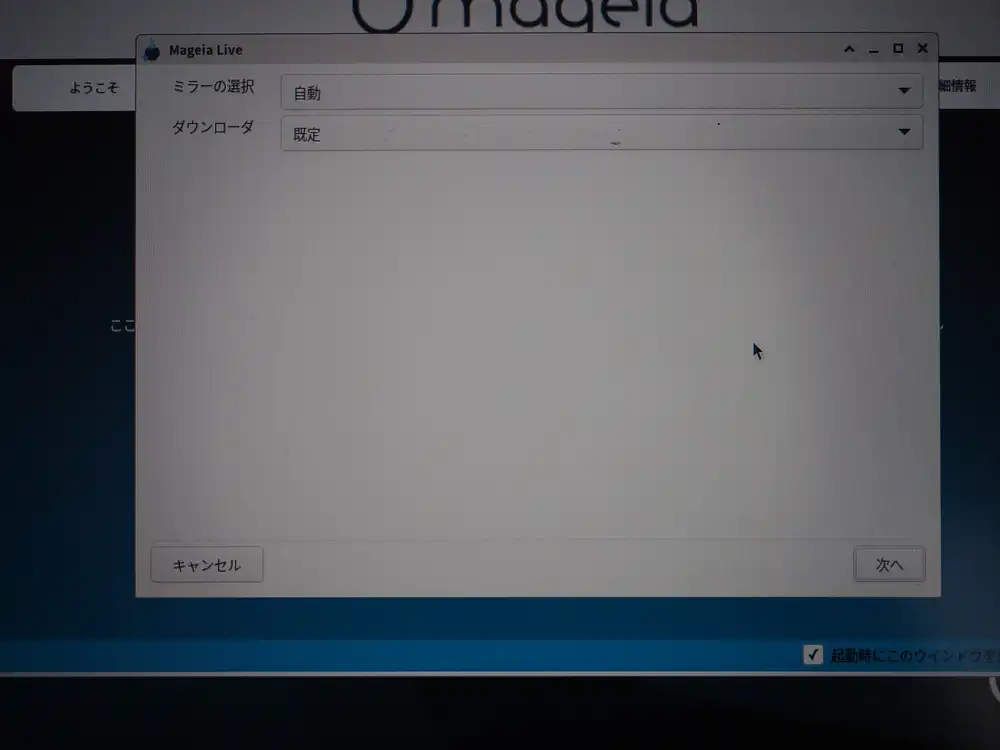
Update media mirror setup. Auto + default downloader.
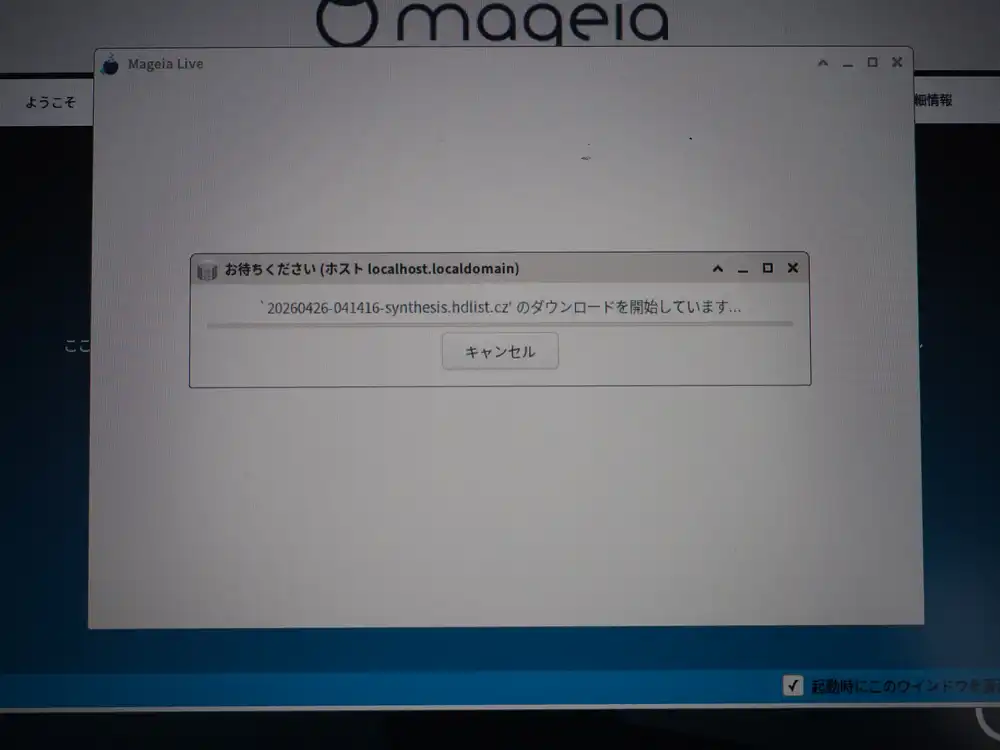
It’s fetching synthesis.hdlist.cz, the package index format urpmi uses. The Mandriva-lineage urpmi format.
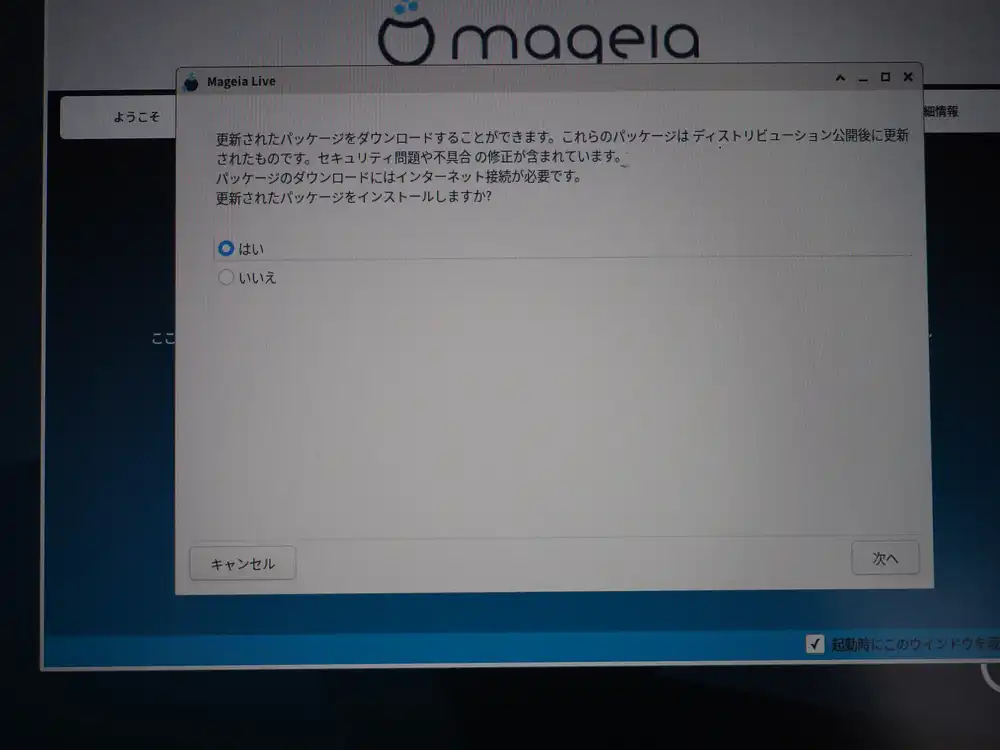
Asked whether to apply updates. “Yes”.
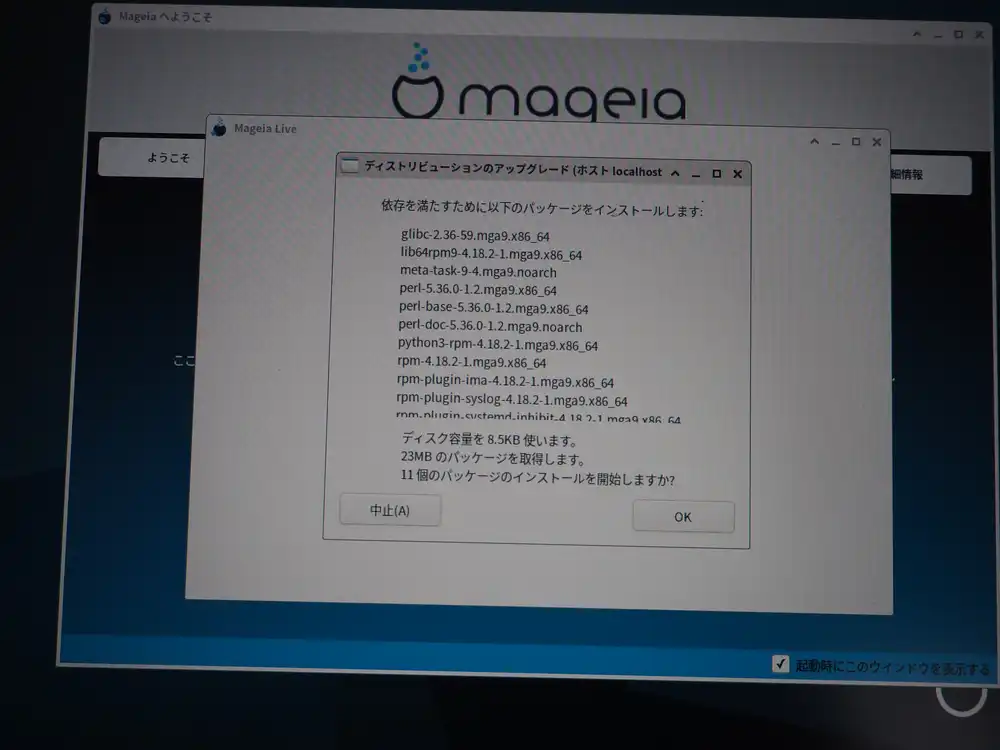
11 packages totaling 23MB, including glibc, lib64rpm9, perl-5.36, python3-rpm, and rpm-4.18.2. The size you’d expect from glibc and the rpm suite getting swapped out. OK to proceed.
Reboot request comes in two stages
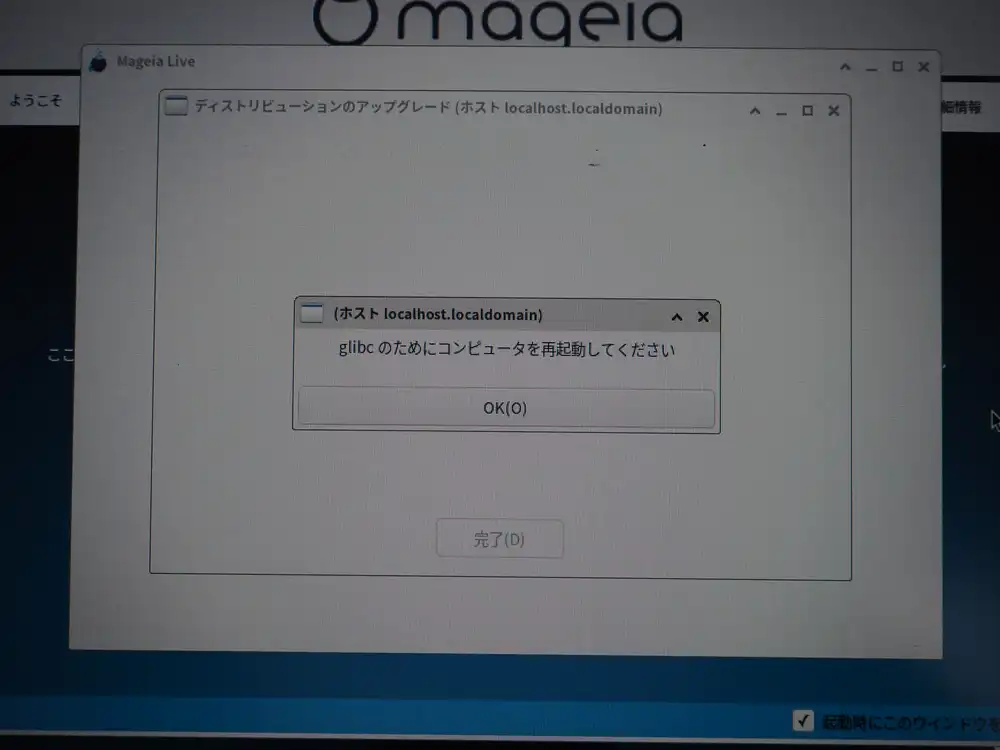
The first dialog says reboot is needed for the swapped glibc. I clicked OK → Done, but it didn’t auto-reboot — additional update jobs kept going.
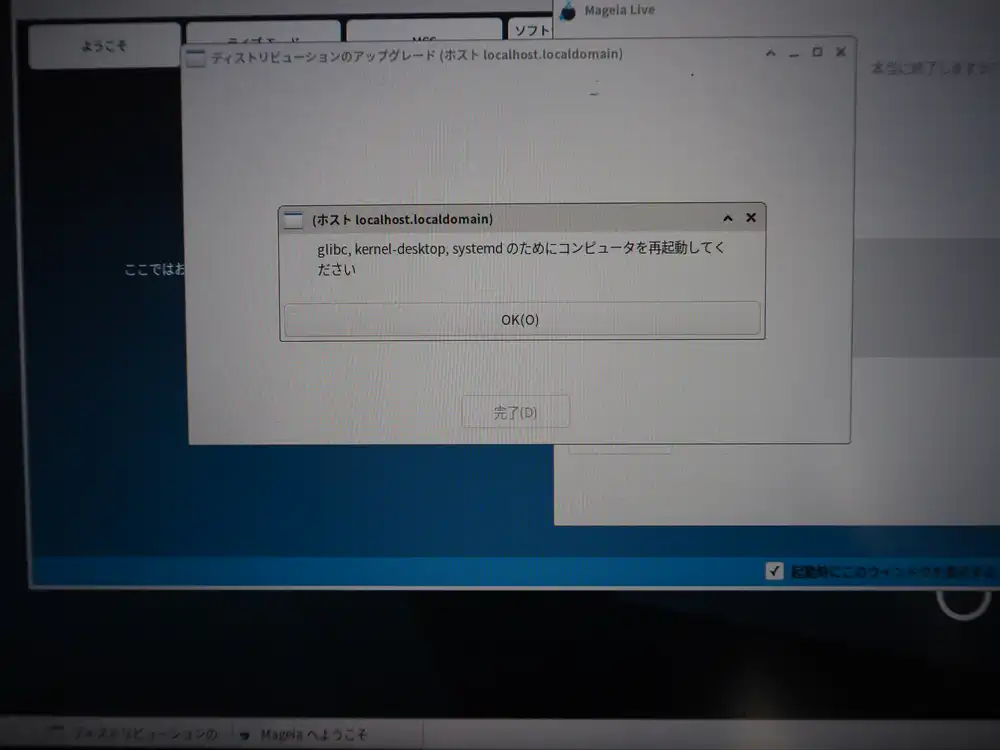
As updates progressed, kernel-desktop and systemd also got replaced, and the same dialog returned with a longer list of packages. This time I rebooted manually.
Important point here: pull the USB stick when rebooting.
Since I’d put UEFI: SanDisk, Partition 2 at the top of Boot Sequence earlier, rebooting with the USB still inserted boots back into the Live ISO. Physically pulling the USB lets Boot Sequence naturally fall through to the internal SSD, so I don’t need to redo the boot order.
After reboot: drakfirst asks the same things again
First boot from the internal SSD → Mageia splash, then the drakfirst initial setup wizard launches. What’s bewildering here: almost the same questions the Live ISO installer asked appear again. Due to Mageia 9’s design, draklive-install and drakfirst run independently, so this happens. Redundant, but it’s the spec.
Reconfigure network as wireless.
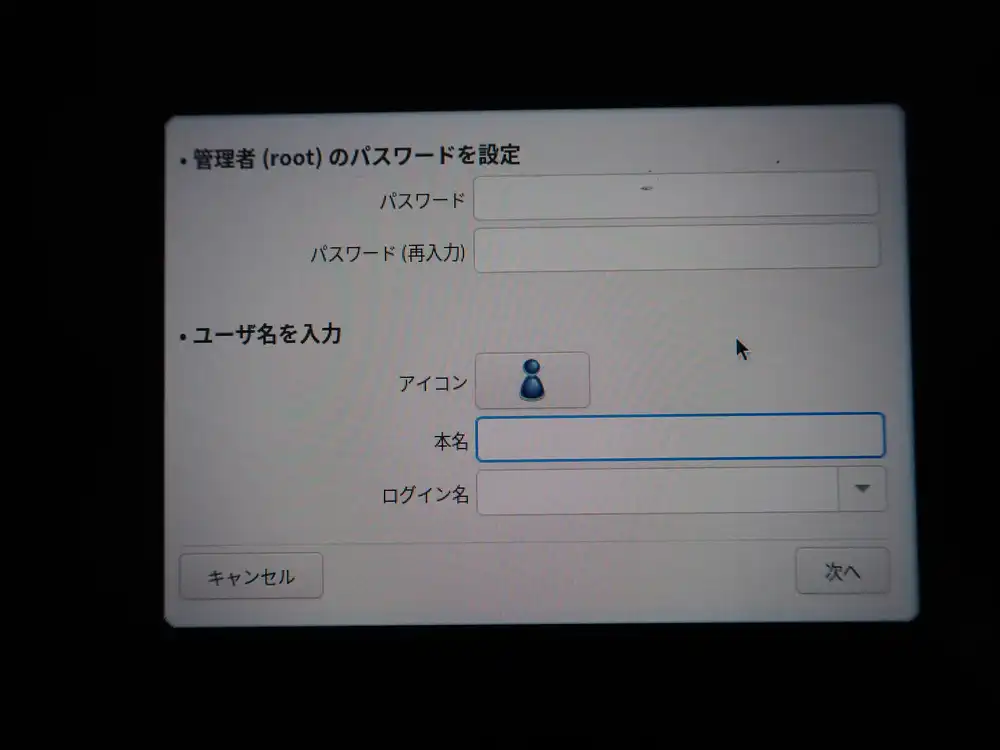
User creation. Set the root password and user hide3tu’s password.
Regular user can’t manage Wi-Fi, and the connection drops on reboot
Reboot brings up the login screen.
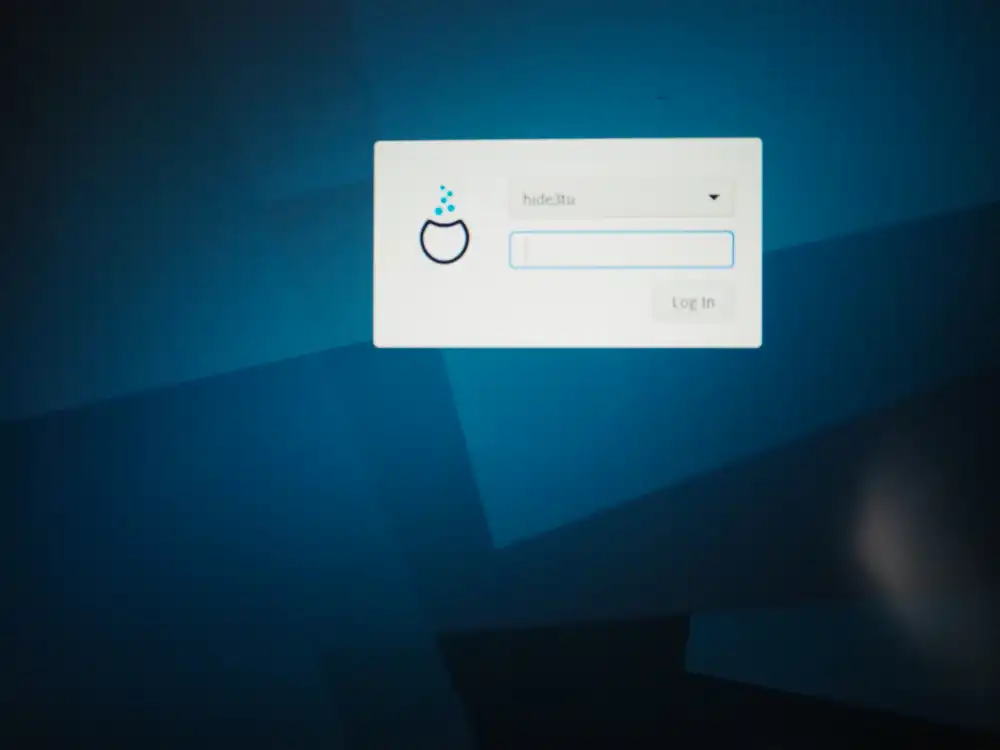
Logged in normally as hide3tu, and the desktop tray network indicator says “unmanaged” — the regular user can’t switch connections or change settings. I first thought “the connection comes up automatically and I just can’t manage it”, but then after a reboot, the connection itself drops and doesn’t reconnect automatically — that came out in subsequent reboots.
Opening drakconnect as root and manually reconnecting every time isn’t a sustainable operation, so I went after the root cause.
Triage: wlp1s0 is unmanaged by NetworkManager
The state is easy to see from the terminal.
$ nmcli device
DEVICE  TYPE      STATE    CONNECTION
eno1    ethernet  unavailable  --
lo      loopback  unmanaged    --
wlp1s0  wifi      unmanaged    --
wlp1s0 is unmanaged, so nmcli can’t scan or connect through it.
On the ip link side it shows state UP mode DORMANT — the interface is alive but not associated with an AP.
Running nmcli device set wlp1s0 managed yes returns result="success" in audit logs but the state doesn’t change. grep -rn unmanaged /etc/NetworkManager/ /usr/lib/NetworkManager/ doesn’t show an explicit unmanaged directive anywhere.
The ifcfg-wlp1s0 file has NM_CONTROLLED=yes properly set.
So the situation is “configuration says NM should manage it, but the internal state stubbornly stays unmanaged”.
Root cause: the ifcfg-rh plugin can’t parse Mageia-specific ifcfg
After triage, the cause turned out to be NetworkManager’s plugin configuration.
Mageia 9’s default NetworkManager runs with plugins=ifcfg-rh,keyfile.
ifcfg-rh is the plugin that reads and writes RHEL-style sysconfig/network-scripts/ifcfg-* files, but Mageia’s ifcfg files contain RHEL-absent custom fields (WIRELESS_ENC_KEY, WIRELESS_WPA_DRIVER=wext, KEY_MGMT=WPA-PSK, WPA_PSK=..., RESOLV_MODS, PEERYP, etc.). The ifcfg-rh plugin can’t parse them properly, and as a result it never reads NM_CONTROLLED=yes and silently pins wlp1s0 to unmanaged.
device set managed yes returning success while doing nothing, conf.d/[device-wlp1s0] managed=true not taking effect — all of this is the same effect.
Fix: migrate all profiles to keyfile and drop ifcfg-rh
The fix is “stop using the ifcfg-rh plugin and unify on the keyfile format”. NetworkManager 1.40 added the nmcli connection migrate command, which takes existing ifcfg-based connections and writes them out as keyfile format.
Procedure:
su -

# Convert all existing profiles to keyfile format
nmcli connection migrate

# Edit /etc/NetworkManager/NetworkManager.conf to set:
#   plugins=keyfile     (drop ifcfg-rh)

# Clear runtime cache and restart
rm /run/NetworkManager/devices/3   # wlp1s0 runtime state (empty file)
systemctl restart NetworkManager
After this, wlp1s0 changes to managed state and the autoconnect setting takes effect, so the connection comes up automatically.
The converted profiles get stored at /etc/NetworkManager/system-connections/<connection-name>.nmconnection in keyfile format (INI-style, permission 600). With ifcfg-rh dropped, NM can no longer see the ifcfg-wlp1s0 side, so keeping it around as a .bak does no harm.
State after it worked
$ nmcli device
DEVICE  TYPE      STATE      CONNECTION
wlp1s0  wifi      connected  aterm-ikeda-a
eno1    ethernet  connected  System eno1
lo      loopback  unmanaged  --

$ nmcli -f all device show wlp1s0
GENERAL.NM-MANAGED:  yes
IP4.ADDRESS[1]:      192.168.11.37/24
IP4.GATEWAY:         192.168.11.1
IP4.DNS[1]:          1.1.1.1
IP4.DNS[2]: 8.8.8.8- Automatically reconnects after reboot
- Wi-Fi connection now appears in the regular user’s desktop too
- The DNS settings I configured (Cloudflare + Google) are preserved
- Setting
connection.autoconnect-priority=50makes this connection win in multi-Wi-Fi environments
About the Mageia-specific ifcfg vs ifcfg-rh mismatch
Mageia has historically had a dual structure of drakx-net (its own network management inherited from Mandriva) and NetworkManager, and ifcfg includes its own custom fields. That those don’t mesh with the RHEL-oriented ifcfg-rh plugin was the root cause here.
Even if you create a Wi-Fi configuration via drakconnect in Mageia 9 with NM_CONTROLLED=yes, NetworkManager only sees it through ifcfg-rh, so an ifcfg with Mageia-specific fields ends up entirely unsupported.
Two directions for handling this:
- Migrate to keyfile (the approach taken here): Modern NetworkManager usage, knowledge that carries over to other distros
- Lean on drakx-net: Traditional
systemctl enable network+wpa_supplicant.servicesetup. This is the Mageia way, but you lose the NM-side GUI
I went with keyfile since carryover Linux knowledge is more useful for a verification host. Keeping wired (eno1) plugged in during the work means you can keep working even when Wi-Fi cuts out. Having a physical cable on hand provides peace of mind.
Making Japanese IME (Mozc) the default
ibus-mozc itself was already installed by default with the Japanese locale on Mageia 9 (urpmi ibus-mozc reports “already installed”).
The problem was that the panel indicator showed JA (keyboard layout indicator) right after login, the Mozc engine wasn’t selected, and pressing 半角/全角 didn’t switch to Japanese conversion.
After checking the registered Mozc engine via ibus list-engine and the current active engine via ibus engine, I pinned preload-engines to Mozc:
gsettings set org.freedesktop.ibus.general preload-engines "['mozc-jp']"
gsettings set org.freedesktop.ibus.general engines-order "['mozc-jp']"
This makes the system start in Mozc mode right after login.
Didn’t take effect on the first reboot: After the first reboot, the preload-engines change didn’t apply, and JA still required manual switching. It finally applied on the second reboot.
I can only speculate at the cause (leftover ~/.cache/ibus/ cache, race between ibus-daemon startup order and gsettings load), but the practical lesson is try rebooting twice when ibus behavior is flaky after a settings change.
gsettings is per-user, so root’s ibus settings are managed separately. I don’t use GUI Japanese input as root in practice, so I left it for now. If needed, run the same commands inside su - for root.
Installing Chrome: refusing to run as root is the correct behavior
I wanted Chrome as the browser, so I downloaded the official google-chrome-stable_current_x86_64.rpm for Fedora/openSUSE, went root with su -, and installed with urpmi ./google-chrome-stable_current_x86_64.rpm. That part went without issue.
After that, running google-chrome-stable from a root terminal won’t launch. By design, Chrome on Linux refuses to launch as root (its sandbox process model relies on dropping privileges from a parent, but when you start as root, there’s nothing further to drop to). Tacking on --no-sandbox will get it to start, but as the name implies, that runs with the sandbox disabled, which is unsafe — don’t use it.
Logging in as the regular user hide3tu and running the same command opened Chrome normally. This is the correct behavior, and there’s no need to start Chrome as root. Install with root, launch as the regular user — that’s the operational pattern.
In the end, this box is going to be left running and accessed over SSH from another machine for most things. The GUI is just for initial setup and as a fallback during troubleshooting; I’ll touch it remotely from other PCs normally. I also installed Claude Code and Codex, so it doubles as a development box. The original goals for the verification host (containers, pulling back from VPS, reproducing Linux kernel-side security issues, Wine/Proton) now have a foundation to build on.
A couple of things I noticed after buying. The first is that BIOS reports battery health as “Good”. Even left without power for a while, the battery barely drains. For a 10th-gen Latitude in the 10,000-yen range with a live battery, this is a hit as a junk find. The second is that some of the number row keys feel iffy. Pressing on a hard surface improves them, so it seems like a contact issue, but the troubled keys are specific and skewed toward certain positions. I almost want to suspect the previous owner was constantly typing a specific password, which wore those keys down disproportionately.
The exterior is rough, certain keys flake out, but the battery is healthy. The visual-vs-internal mismatch leaves me wondering whether the previous owner actually used it much, but for verification host purposes there’s nothing to complain about. For 10,000-yen range, this much running, no complaints.
The current wallpaper.